Festive Dark Chocolate Bars
December 20, 2020


· gluten-free · soy-free ·
Chocolate is definitely our favorite dessert, snack, and go-to flavor for anything sweet. No, really. I don’t think we’ve gone a day where we haven’t eaten any chocolate. We either put it in our breakfast in the morning, we have a small (and sometimes not-so-small) square after lunch, or some sort of chocolate dessert after dinner.
What can we say – there’s just something about chocolate that is just intoxicating. Chocolate lovers like us will know what we’re talking about. And added bonus: chocolate is said to be good for the brain! So you can feel good about eating it!
So naturally, we wanted to make some special chocolate treats for Christmas. We aren’t pastry chefs, but we love desserts, and ´tis the season for holiday dessert making, so we thought we’d try making these vegan dark chocolate bars. We’re quite proud of them, so we’re sharing the recipe with you.
Making chocolate bars is really a lot easier than it might seem. The secret is in the tempering. All tempering is having control of the temperature of the chocolate. That’s why it’s critical to have a thermometer on hand for this recipe- either a sugar thermometer or a laser thermometer like this one that we use will do. Making sure your chocolate is tempered correctly ensures it comes out nice and shiny like store-bought and boxed chocolate.
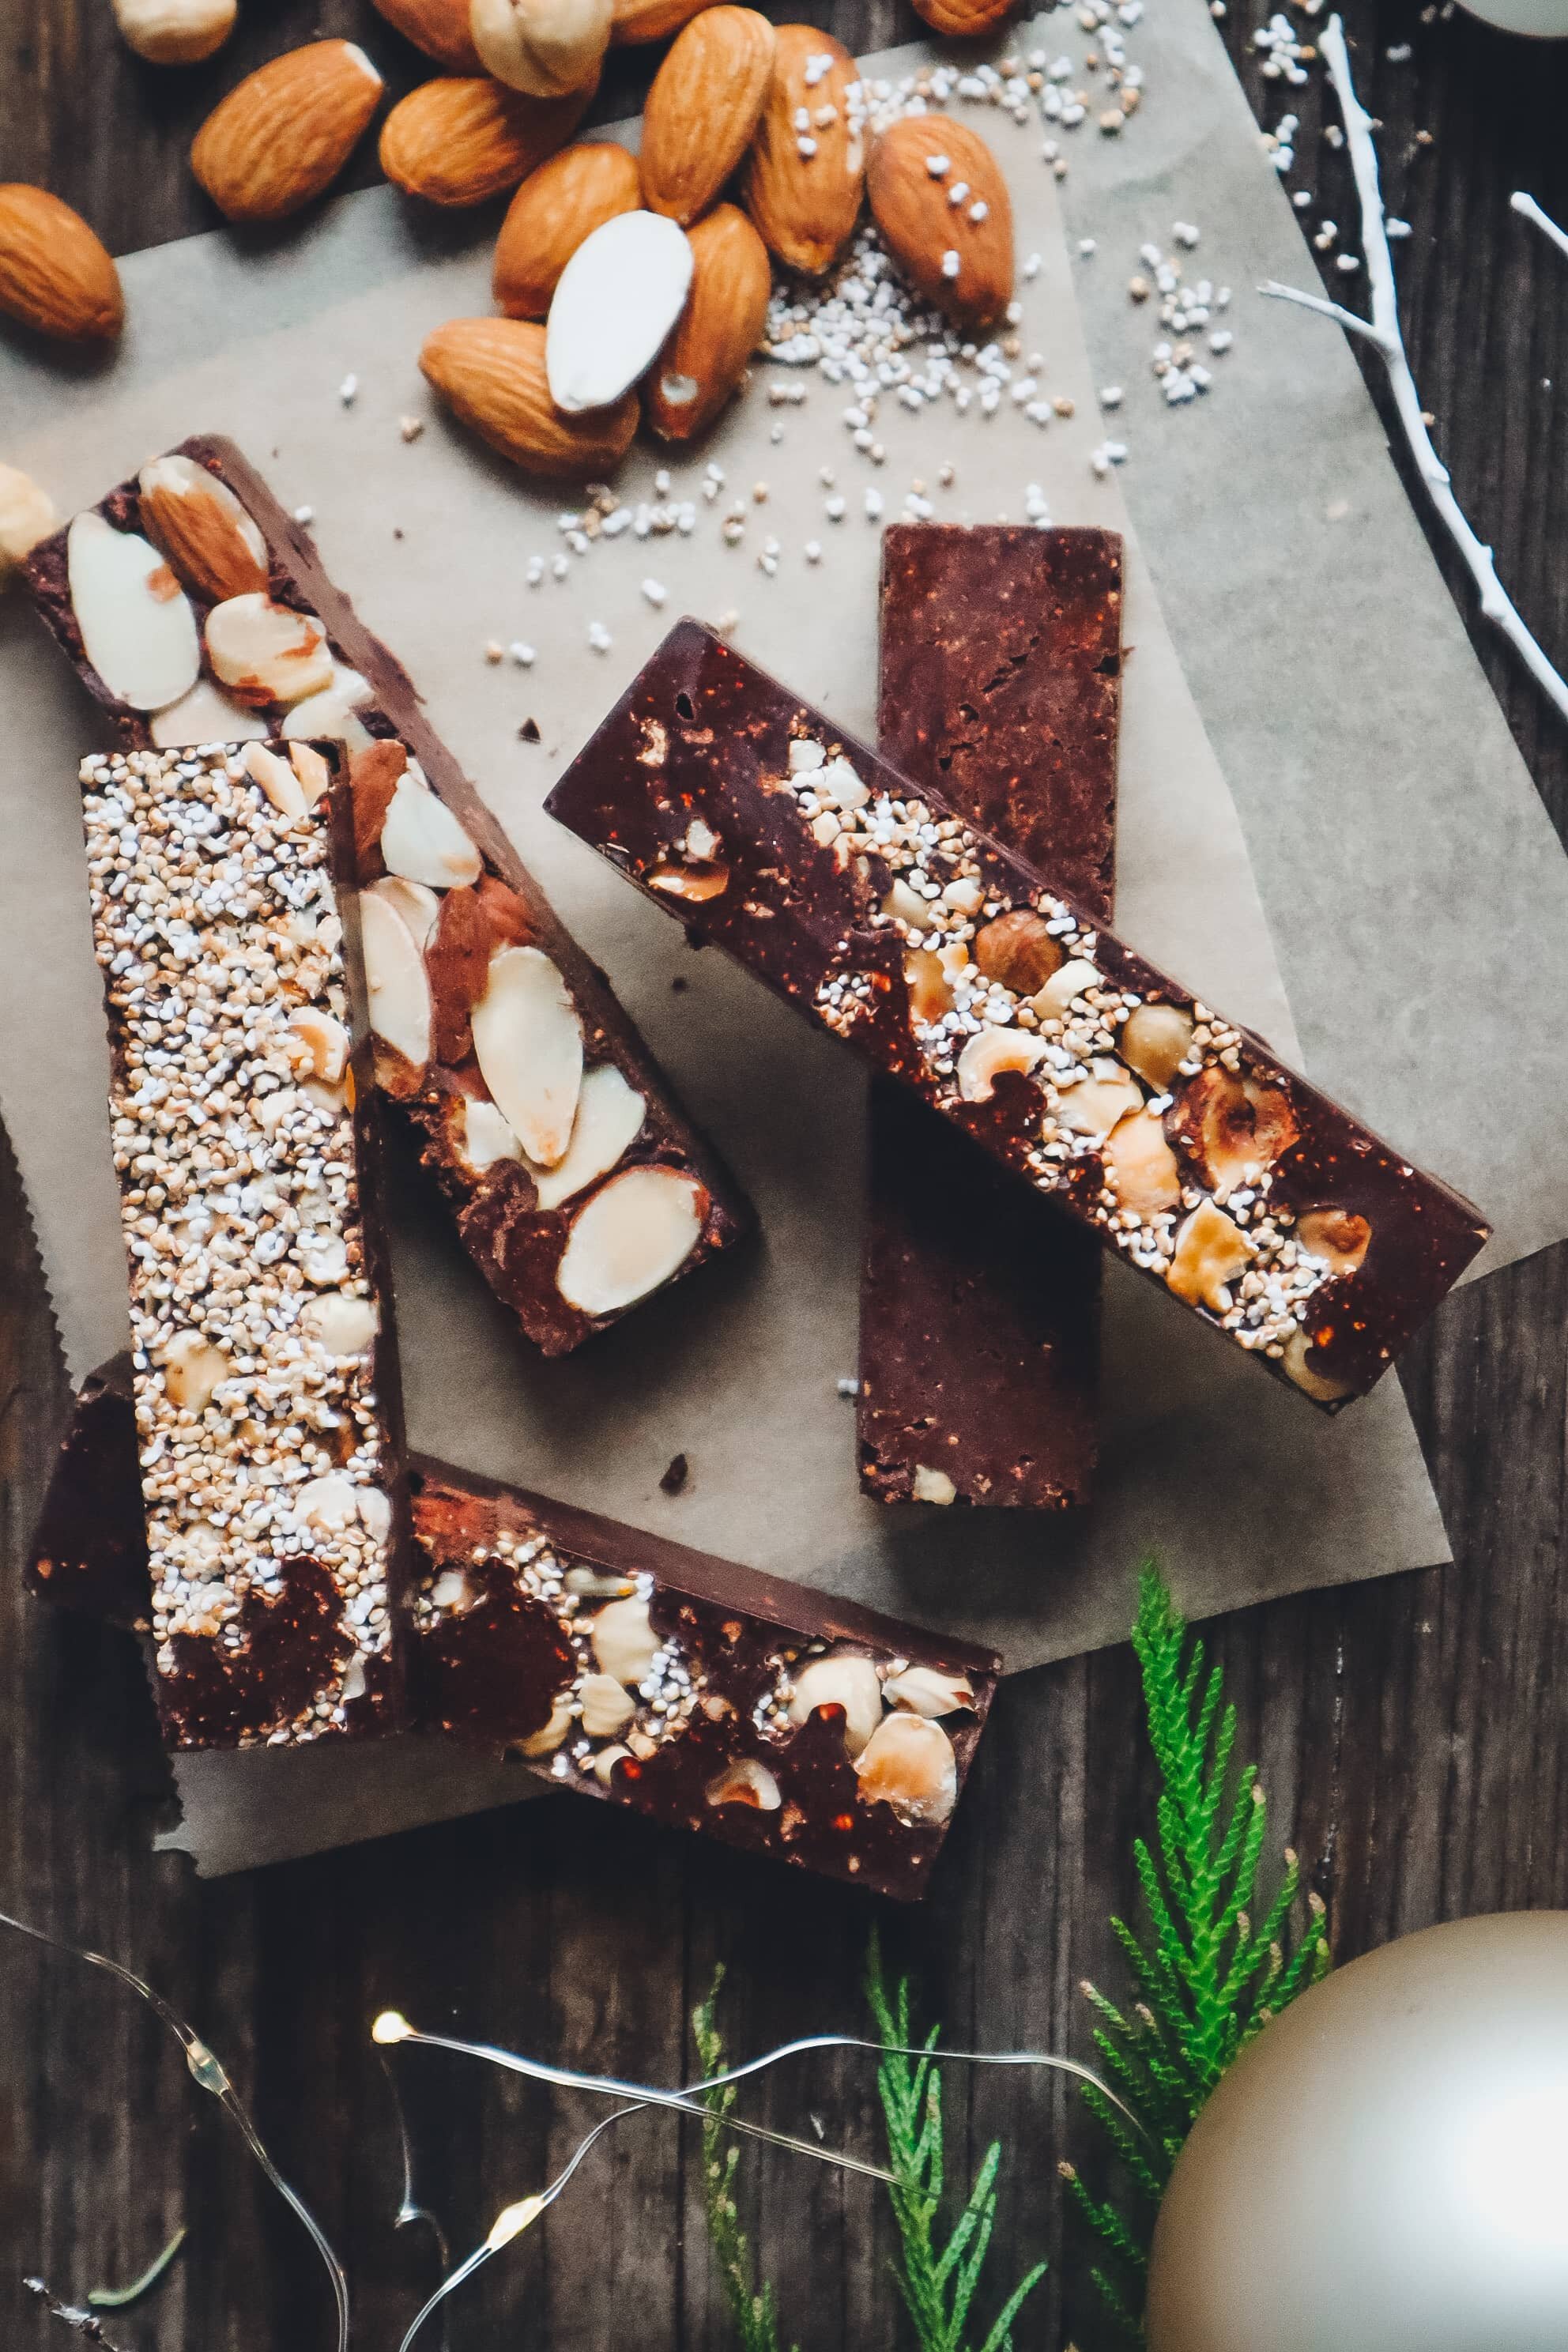
We’re adding a festive touch to our chocolate bars by adding toasted hazelnuts, candied oranges (check out the recipe for those here), and puffed amaranth. This is what we had on hand, but feel free to experiment and add the toppings and flavors that you want.
Scroll down for the recipe ↓
how to easily Temper chocolate
This recipe shows you an easy way to temper chocolate so that your bars come out looking shiny, crunchy, and gorgeous.
Most commercial chocolates are already tempered but when you melt that chocolate, the whole structure of it changes and it’s no longer shiny. That’s why you need to temper it again so that you can restructure it and get it back to that state.
We start off with 85% dark chocolate. This can be any plain dark chocolate of your liking, but we really recommend you buy the best quality chocolate you can find. Remember: the quality of your ingredients determines the quality of your outcome.
Then we melt that chocolate over a bain-marie to reach a certain temperature. Then we cool it down by adding some more room-temperature chopped chocolate and lower the temperature. Then we bring it back to the heat and melt that all together, and once we reach the necessary temperature range, that’s when we can fill in our molds. As you can see, temperature is crucial here and that is why a thermometer is absolutely necessary—it won’t work if you try and do it by eye!

Benefits of dark chocolate
Did you know that dark chocolate has been found to be beneficial for the brain? All the more reason to eat it!
The reason we use 85% dark chocolate in this recipe instead of 75% or 60% is because the darker the chocolate, the more beneficial it is for your body, and of course the darker it is, the less sugar it contains.
Most vegan chocolate is dark anyway because milk chocolate is made with dairy milk, but a lot of chocolate marketed as “dark” chocolate will often have traces of milk in them, so be careful and always check the ingredients.

Festive Dark Chocolate Bars
Makes 6 3.9 X 9 X 0.6” bars
1 cup | 220ml water
1 1/4 cup | 137g 85% chopped dark chocolate, divided
TOPPINGS
1/2 cup | 64g chopped toasted hazelnuts
1/2 cup | 24g puffed amaranth (optional)
1/4 cup | 50g chopped candied oranges (see recipe here)
1/4 cup toasted sliced almonds (optional)
1 pinch Maldon salt or other flaky salt
-
Place water in a medium pot and bring to a boil. Lower to a simmer.
-
Place 1 cup of chocolate in a large heat-proof bowl and rest on top of the pot (make sure the water isn’t touching the bottom of the bowl) to form a bain-marie.
-
Keep the water on low flame as the chocolate melts in the bowl for 5-10 minutes. Use a small rubber spatula to mix it around every now and then to distribute the heat evenly. Use a thermometer to bring the chocolate to 113-120ºF /45-50ºC, then take the bowl off the flame.
-
Mix in the remaining 1/4 cup of chopped chocolate into the hot melted chocolate using the rubber spatula. Stir until all melted (this helps bring the temperature of the chocolate down).
-
Use your thermometer to measure the temperature of the chocolate. You want it to be around 82.4-84.2ºF / 82-29ºC. Keep stirring until the chocolate reaches that temperature range. Once there, put the bowl back onto the simmering pot.
-
Now bring the chocolate to 87.8-89.6ºF / 32-32ºC, still on low flame. This will take 2-3 minutes, so keep an eye on it and keep stirring to make sure the temperature is even.
-
Take off the heat and add most of the hazelnuts, amaranth, and oranges to the mix, but reserve some of each for toppings. Mix everything into the chocolate to combine.
-
Sprinkle the reserved toppings into the molds as desired, being careful not to put too much into each bar if making bars. You can add sliced almonds here too if you want. We used a silicone bar mold, but you could use any mold you like as long as it’s easy to remove (like silicone), or it’s lined with parchment paper. Pour chocolate into the molds up to the top and sprinkle with some Maldon salt. Set aside to cool at room temperature for 25 minutes.
-
After 25 minutes, remove from mold or container. The chocolate should be beautiful and shiny. Store in an airtight container in a dry place or in the fridge for up to 2 months.
Did you make this recipe? tag us on Instagram @eatogether.co so that we can see it!
You might also like:


be the first to comment