Vegan Chocolate Layer Cake with Coffee and Blackberry Jam
July 8, 2021


Happy World Chocolate Day!
What better day to share my first ever cake recipe? You know I had to make it a chocolate cake, and a damn good one at that!
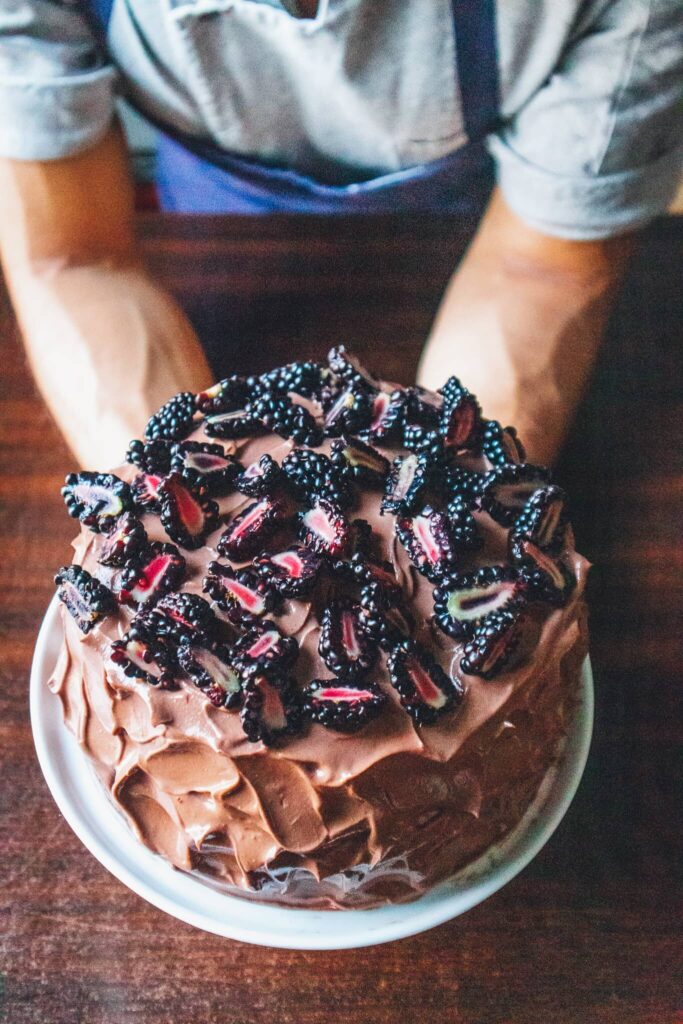
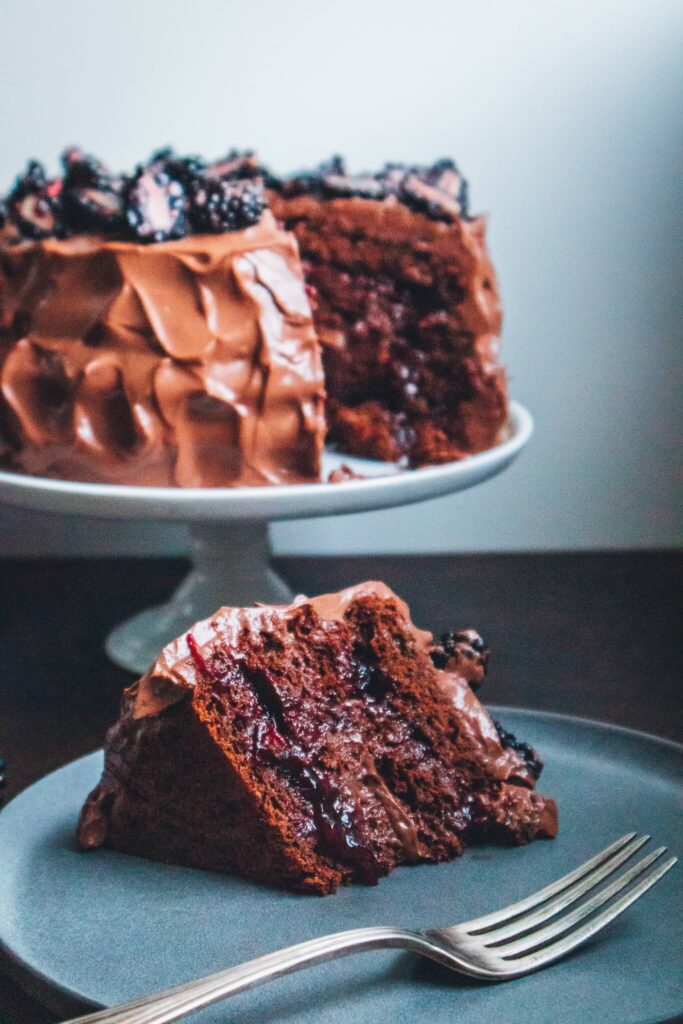
This cake is a chocolate lover’s dream. It’s a 4-layer cake made up of a gorgeous airy chocolate sponge, layers of blackberry jam, and covered in an incredible chocolate mousse you could never tell was vegan! It’s also slightly lightly with coffee which gives it another level and it’s all topped off with fresh, in-season blackberries.
Need I say more?
Substitutions:
-
Instead of maple syrup in the coffee-flavored milk, feel free to use 30g of coconut sugar instead
-
Change up the fruit and use whatever’s in season for the jam and the fresh fruit on top. I recommend any sort of black berry or cherry.
-
If you don’t like coffee, just omit it from the coffee-flavored milk. Leave it plain with just maple syrup or infuse it with spices instead like cardamom, star anise, or cinnamon.
Great for:
Birthday parties, celebrations, or just for no reason other than you want cake!
Vegan Chocolate Cake with Coffee and Blueberry Jam
Makes 1 X 4-layer 6.5-inch cake
chocolate mousse cream
yields 240g
200g silken tofu, blended (about 1 block)
18ml filtered water
43g 80% dark chocolate, chopped
58ml maple syrup
10ml vanilla extract
Pinch sea salt
1.5g agar powder or 3g agar flakes
Chocolate Sponge Cake
makes 1 6.5-inch chocolate sponge (You’ll need to make this recipe X2)
100g spelt flour, plus more for lining cake tin
25g almond flour
60g coconut sugar
25g cacao powder
Pinch sea salt
0.5g xanthan gum
4g baking powder
2g baking soda
60ml full-fat coconut milk
110ml filtered water
Coffee-flavored milk
yields 180ml
150ml almond milk or plant-based milk of choice
30ml maple syrup
3g medium-roast ground coffee
Assembling
248g blackberry jam
1/2 pint fresh blackberries, halved
chocolate mousse cream
-
To a small pot add blended tofu, water, maple syrup, vanilla, and salt. Turn onto a medium flame and start whisking everything together until warm (2-4 minutes).
-
Add chocolate and whisk in to combine. Add agar and whisk well to combine. Use a sugar thermometer to check when the mix hits 85ºC. It needs to reach 85ºC for the agar to start activating and thickening the mix. Once there, keep it around that temperature, whisking continuously to prevent it from burning. Cook for about 2 minutes.
-
Remove from heat and either use an immersion blender or transfer to an upright blender to blend so that there are no clumps from the agar. Once smooth, transfer to a container and set aside at room temperature for about 3 hours to set.
-
Once set, put the mix into a blender or food processor and blend on high until completely smooth again. Set aside.
Chocolate Sponge Cake
Note: You’ll need to make 2 of these cakes. If you have 2 cake tins of the same size, make them at the same time. If not, do one after the other.
-
Preheat your oven to 325ºF. Prepare your cake tin by cutting out a circle of parchment paper the size of the base of your cake tin and placing it at the bottom of it. Brush your cake tin with a drizzle of olive oil or coconut oil and line the sides of your tin with some extra spelt flour or any flour of your choice.
-
Sift spelt flour, almond flour, and coconut sugar into a large mixing bowl. Add cacao powder and salt and mix to combine. Then add xanthan gum, baking powder, baking soda and mix again.
-
In a separate, small bowl combine coconut milk and water. Add to the cake mix and use a whisk or spatula to mix until just combined.
-
Transfer the mix to your lined cake tin and spread out evenly. Bake for 25 minutes, or until a cake tester or toothpick comes out clean. Remove from oven and set aside to cool in the tin for 10 minutes, then remove from tin and place on a baking rack to cool completely. Repeat to make the second cake.
-
Once completely cool, cut both cakes in half lengthwise using a long serrated knife, keeping your hand on top of the cake and applying a small amount of pressure for stability. You should now have 4 thin cakes. Set aside.
Coffee-Flavored Milk
-
Add all ingredients to a small pot on medium heat. Whisk to combine.
-
Cook on medium heat for 3-5 minutes, or until the milk starts boiling. Remove from heat, strain, and set aside.
Assembling
-
Spoon some coffee-flavored milk onto the cut side of each of the cake layers so that it absorbs into the sponge, being careful not to put too much that it makes the cakes mushy.
-
Start assembling the cake. On a cake stand or plate, place 1 cake layer cut-side up. Add a few spoonfuls of blackberry jam and spread it out evenly across the top of the cake. Then add another cake layer, cut-side up, and 2 big dollops of the mousse cream. Spread out in an even layer using a rubber or offset spatula. Repeat the same process for the next 2 layers, alternating with jam and then mousse cream. On the top layer, add a larger amount of mousse cream. Spread it out so that you have a thick, flat surface on the top (don’t worry, this doesn’t need to be perfect!).
-
Now start adding dollops of mousse cream to the sides of the cake and spreading them out, being careful not to move the layers of the cake. Try to keep your hand and spatula vertical, parallel to the side of the cake so that you don’t push it in any direction while spreading. Cover the whole cake with a thin layer, then do another thicker layer on top.
-
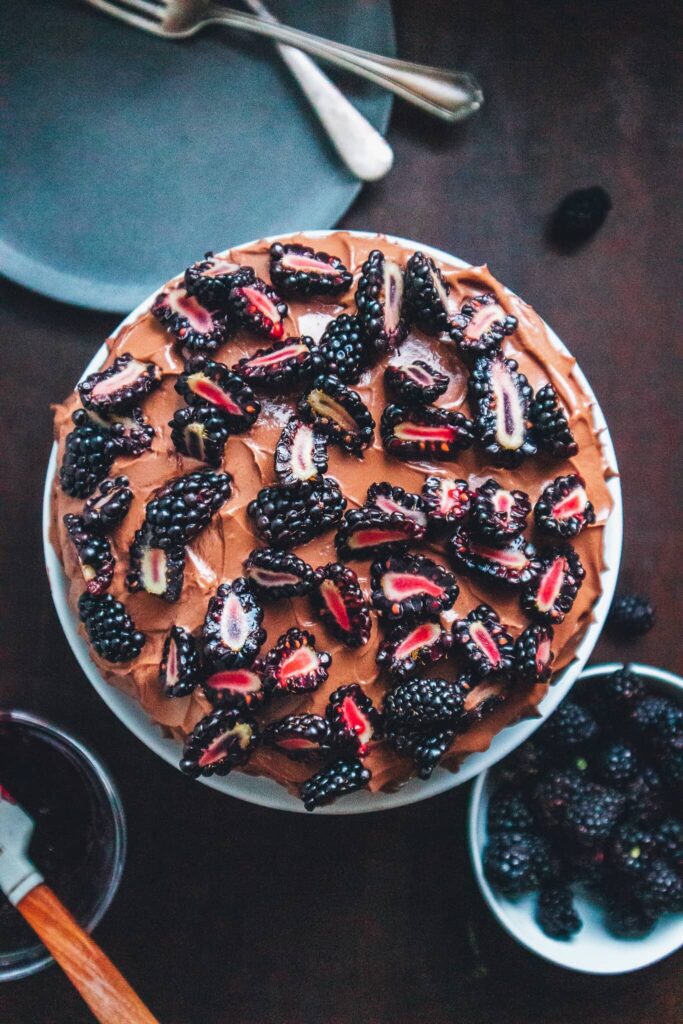
Now use your spatula or whichever tool you have on hand to make small peaks in the mousse as a rustic design. I recommend using a small offset spatula or the handle of a serving fork/knife/spoon for this. Have fun with it, and get creative.
-
Finish it off by adding the fresh blackberries on the top of the cake.


be the first to comment