How to Cook Grains
June 12, 2021


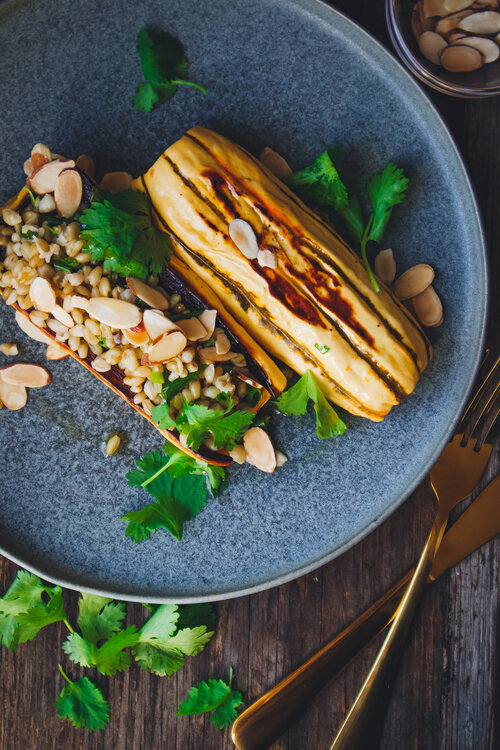
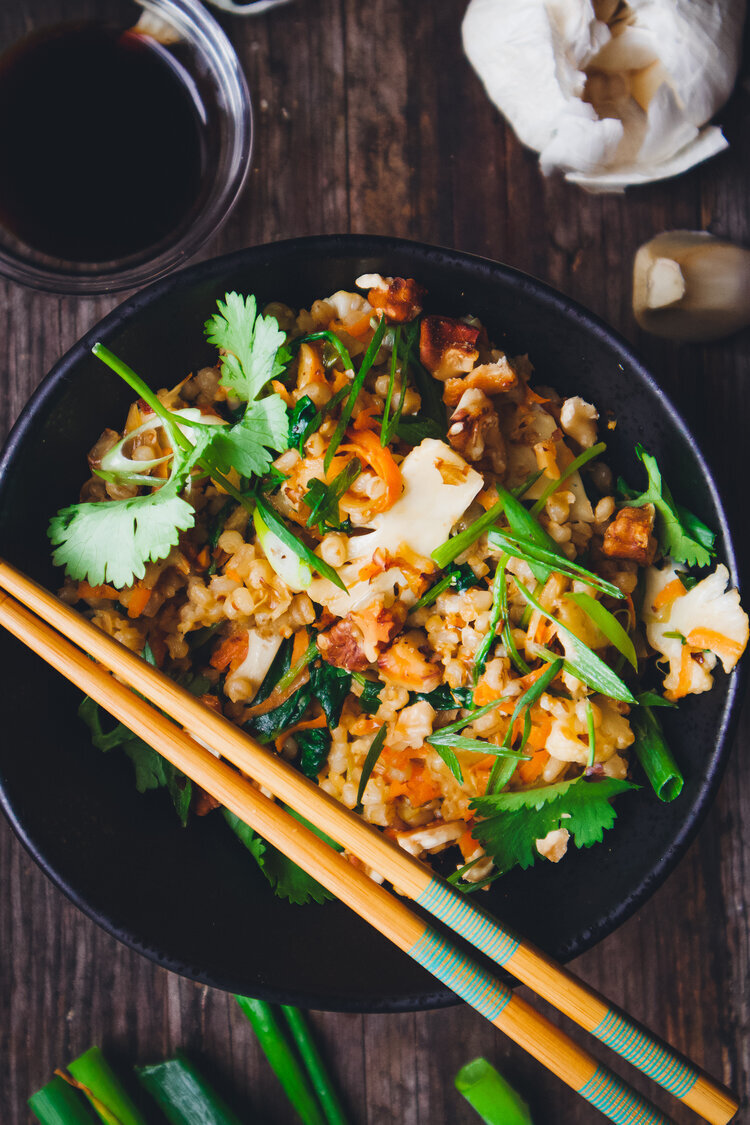
If you’re eating a whole-food diet, grains are a staple. On a plant-based diet especially, where grains make up 60% of your diet, it’s important to know how to cook grains properly. Here is everything you need to know to get this basic cooking method down to a T.
-
Soaking your grains
First thing’s first. Grains need to be soaked in water before cooking. This serves 2 purposes:
-
From a culinary point of view, soaking your grains helps them to absorb water and therefore cook faster.
-
From a nutritional point of view, soaking grains helps break down phytic acid, which is a unique natural substance that’s present in grains, legumes, nuts, and seeds. This substance diminishes the absorption of zinc, iron, calcium, and minerals. This is why it’s referred to as an anti-nutrient. Removing it makes the grain more digestible for the body.
How much water do I soak them in?
Whatever the amount of grains that you’re soaking is, you want to soak them in 4X the amount of water. This ensures enough room for them to absorb water and expand as much as they want.
How long do I soak them?
You want to soak your grains between 10-24 hours before you plan on cooking them. This does mean that you need to plan ahead a little bit, but one really simple way of remembering (and what I do) in my day-to-day is before you go to bed, just think about what grain(s) you want to cook the next day and soak them in the pot you’re going to cook them in and leave them on your stove overnight. By the time you’re ready to cook them the next day, they’ll have already soaked for about 10 or 12 hours. That way you don’t need to spend your days waiting for your grains to soak and there are no extra dishes. Win-win!
Note: I recommend soaking your grains at room temperature, but if your house or apartment is very warm, soak them in the fridge. Otherwise, the grains will start to absorb water and ferment very rapidly. So what’s too warm? 85ºF / 29ºC or above should move to the fridge.
What if my plans change?
If for whatever reason you can’t cook the grains that you were planning to but you’ve already soaked them, no problem. Just drain and rinse the soaked grains well and store them in an airtight container in the fridge. You can cook them the next day.
2. Cooking your grains
When you’re ready to cook, drain and rinse your soaked grains thoroughly. Then put them in a pot (if you soaked them in a pot, rinse the pot and put them back in) and add water.
How much water do I use to cook them?
All grains are different. In size, texture, and density. People will tell you to use different water-to-grain ratios for each grain, but I’ve found that a much easier way than memorizing all these different ratios is using a 3:1 water-to-grain ratio for all of them. This works because this gives most grains an ample amount of water to cook in and it’s much better to have more water than necessary than too little because you can always drain off excess water, but if you’re grains run out of water while cooking you have to add more which slows down the cooking time because it reduces the temperature in the pot.
The only exception to this rule is sorghum. Sorghum is a very hard grain that requires a lot of water to cook, so I recommend using a 4:1 ratio for it instead.
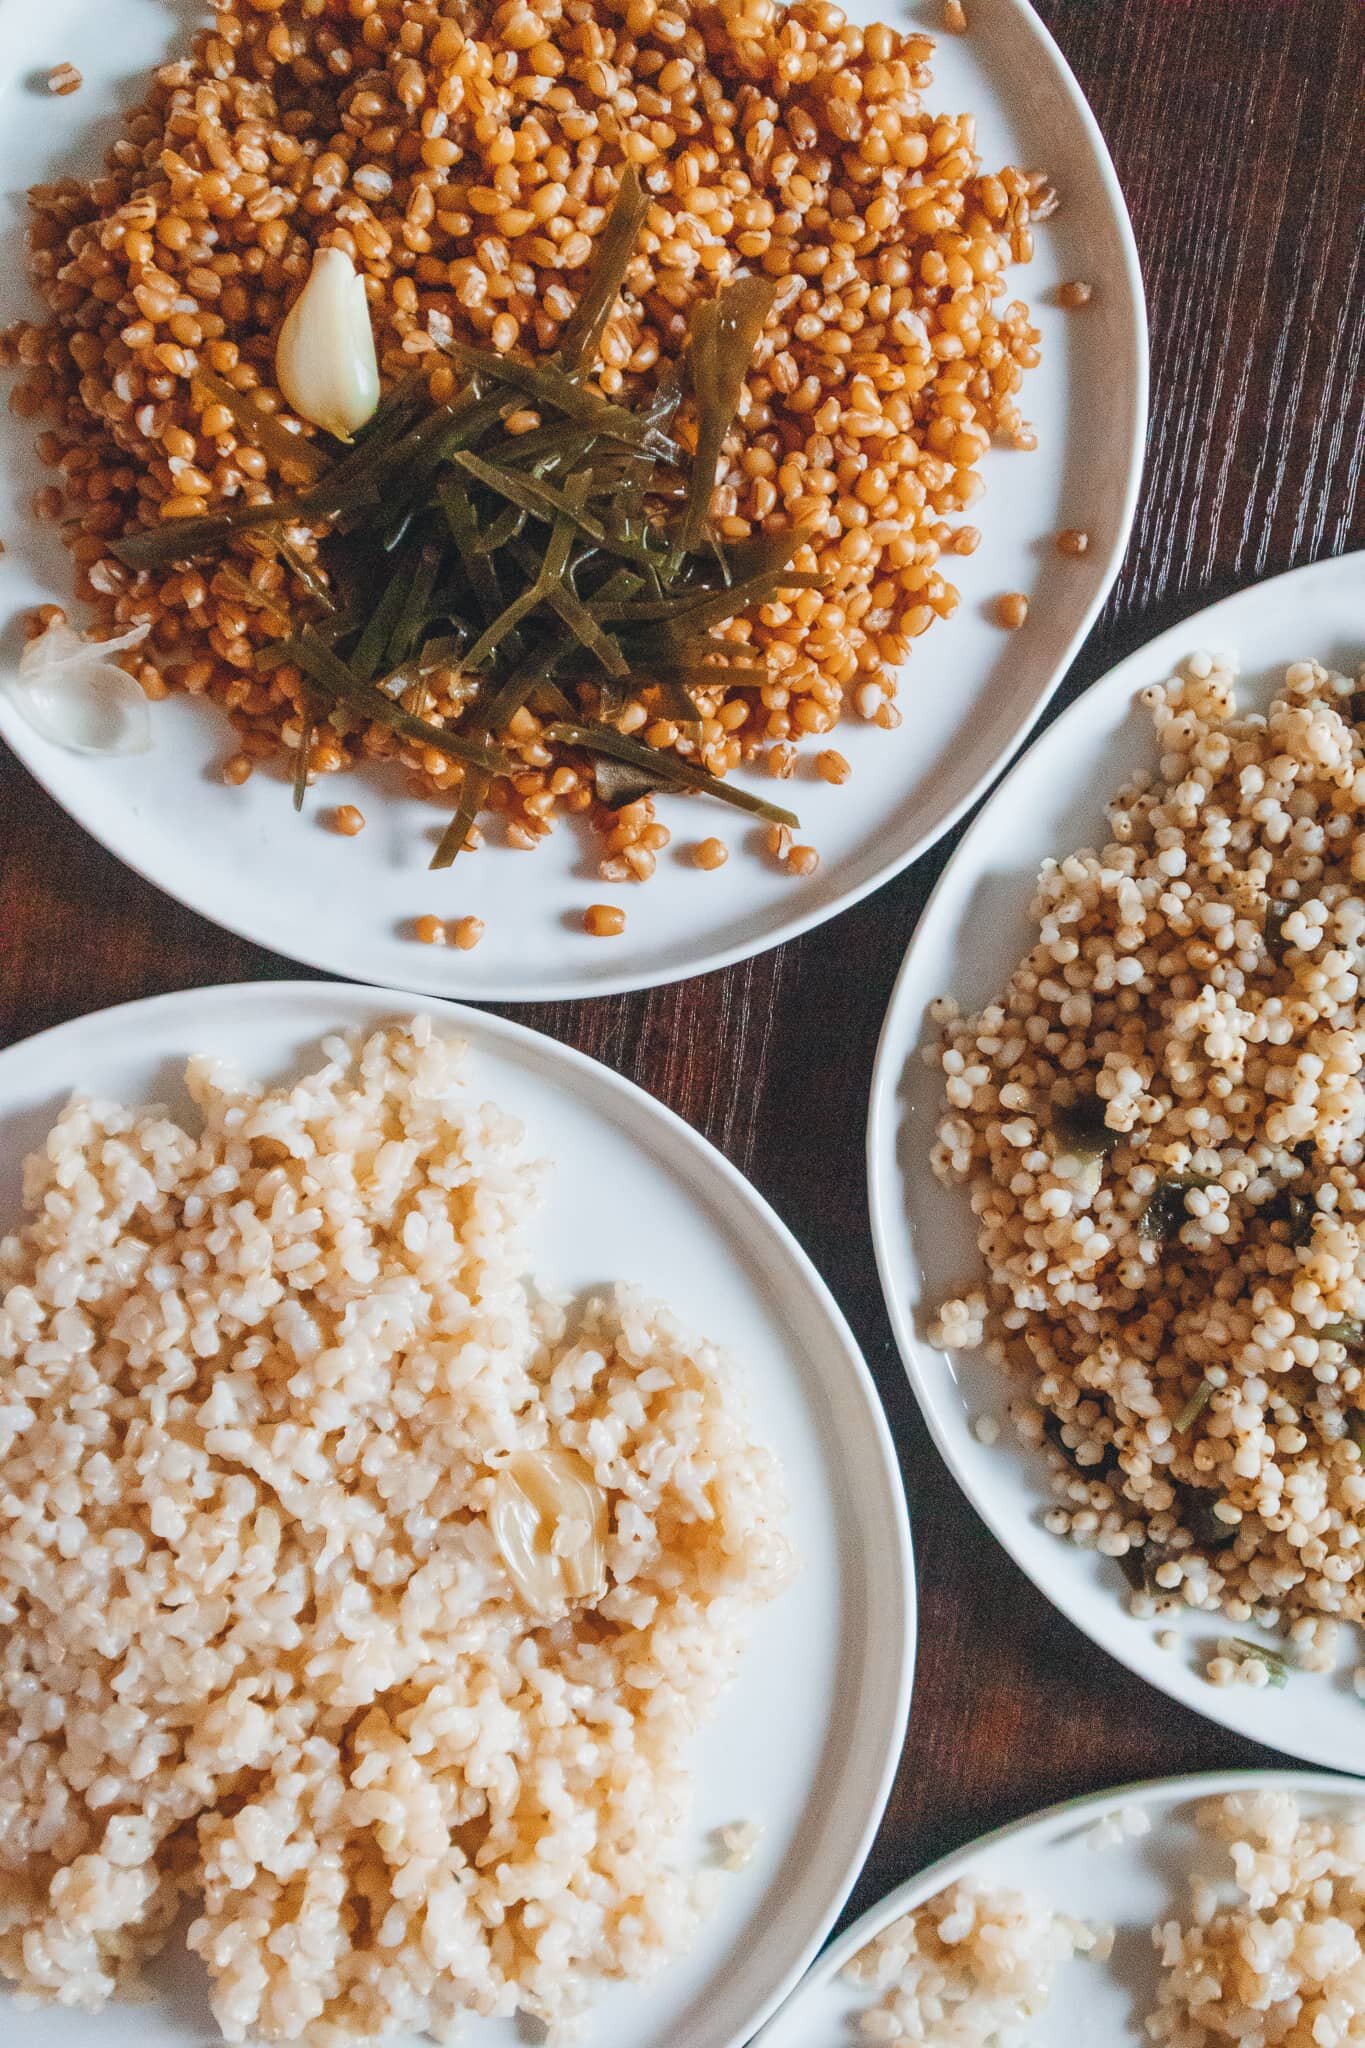
Adding flavor while cooking
You can make your grains much more flavorful just by adding a few simple things to them in the pot. Here are my favorite flavorings:
-
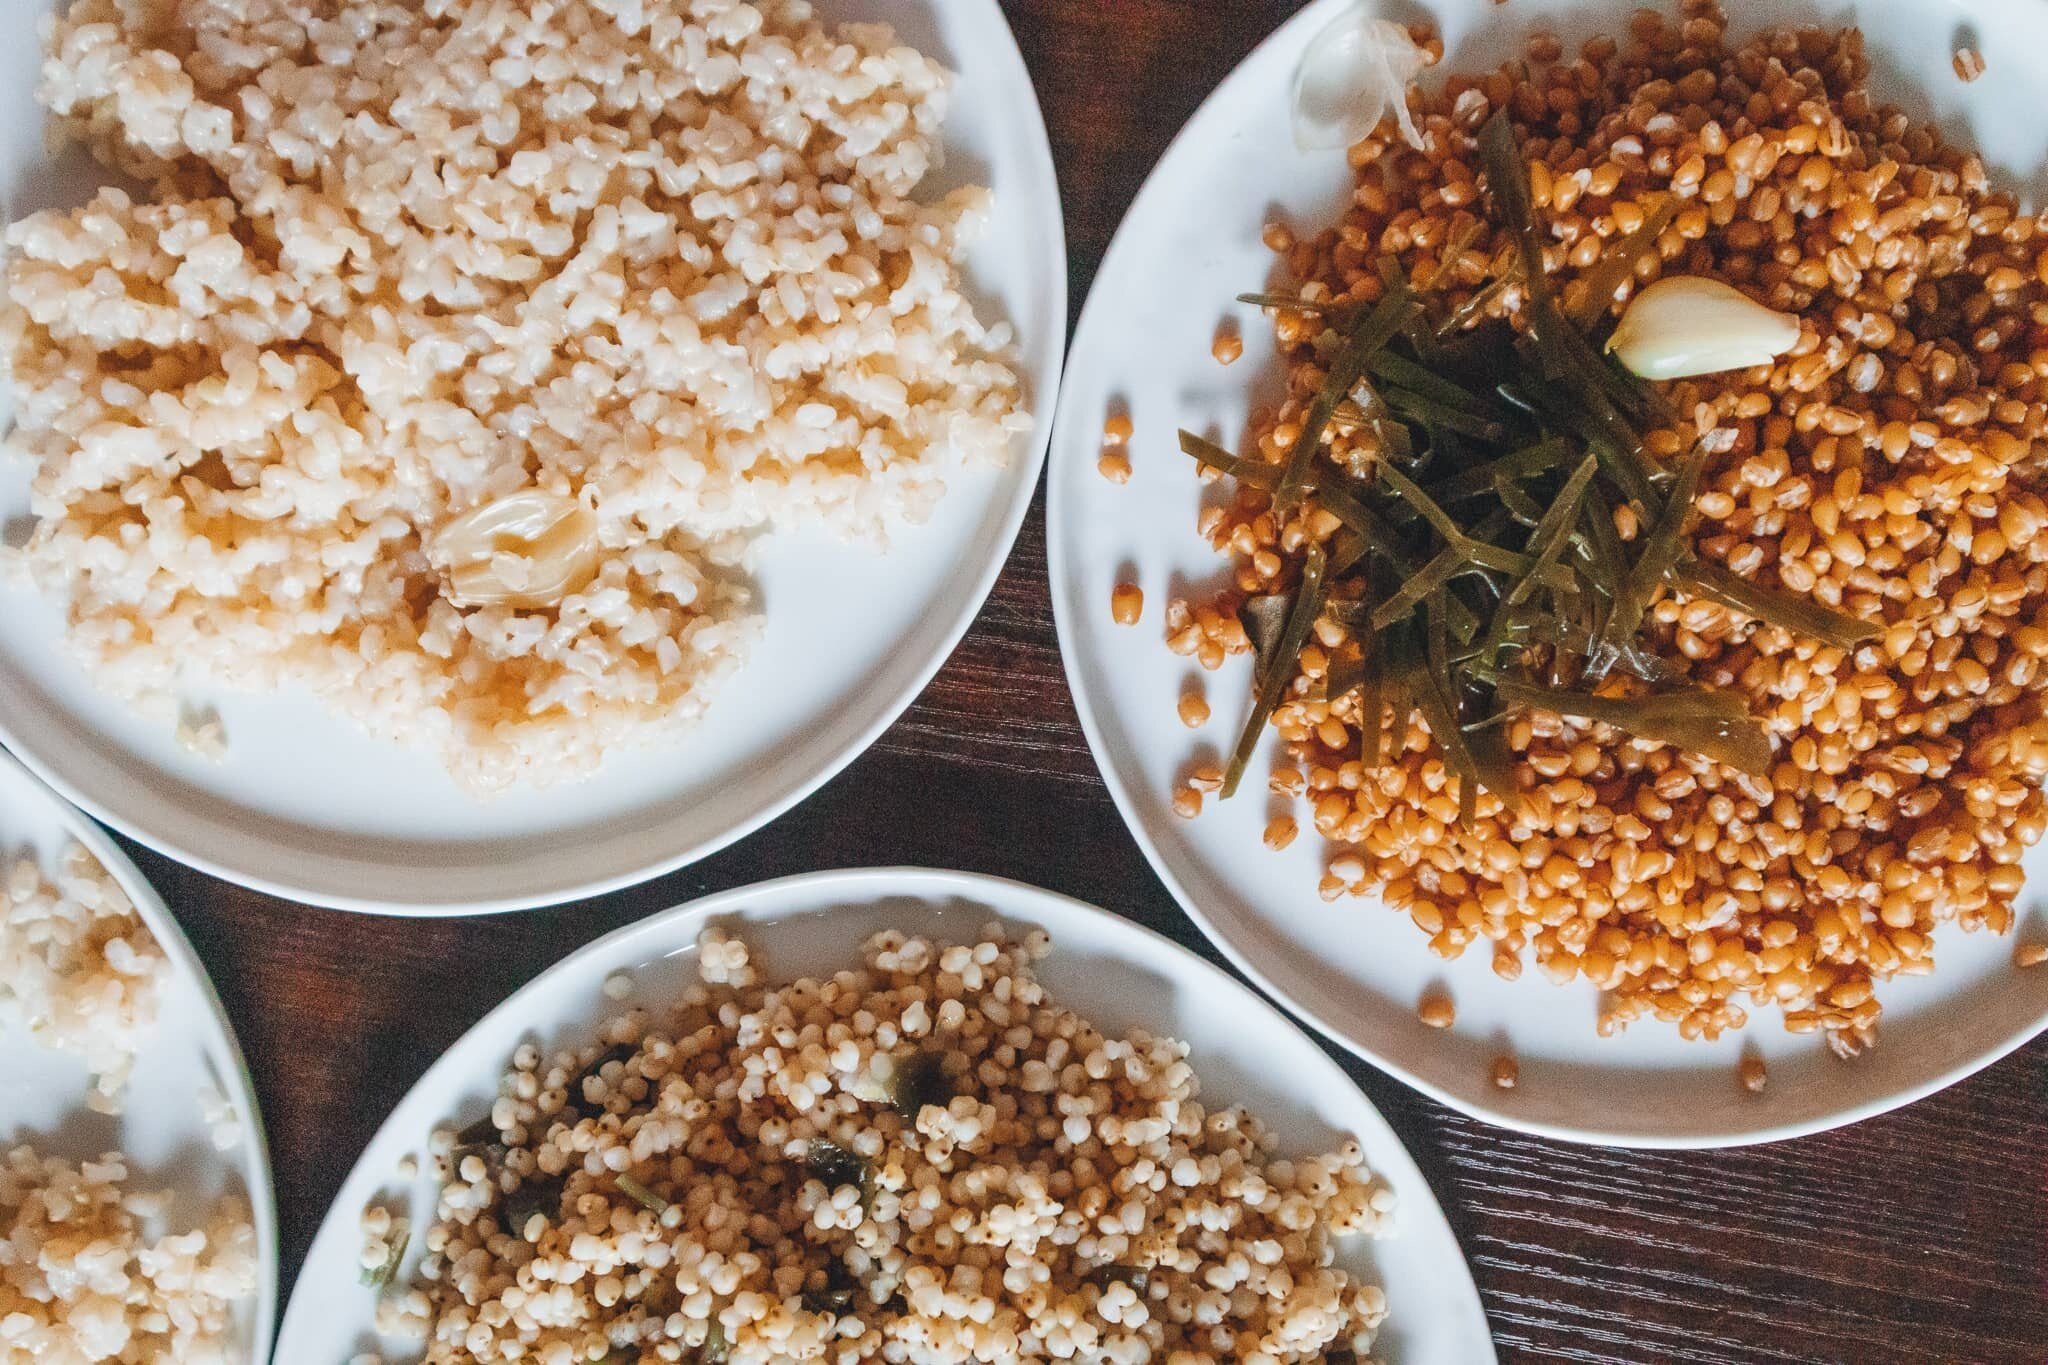
Garlic: You can add the cloves to the pot whole (just crush them slightly with your knife) or mince them so that they disintegrate into the cooked grains.
-
Onion: Add 1/4 of a large yellow or white onion to the pot and remove it when your grains are cooked or dice your onion small and add to the pot so that it disintegrates into the grains.
-
Kombu seaweed: Adding a 2X3-inch piece of kombu to the pot with your cooking grains is super beneficial as it contains a lot of iron, iodine, and vitamins A and C. And as an added benefit, it adds a great umami flavor to the grains. When the grains are cooked, you can either remove it or cut it up and mix it into the grain or use it in your miso soup.
-
Foody herbs: Add sprigs of thyme, rosemary, and bay leaves to your grains as they cook for an incredible fusion of flavor. Once your grains are cooked, you can remove them from the pot. It’s important to use woody herbs as they are much more resistant than more delicate fresh herbs like parsley and cilantro, which will completely disintegrate in a matter of minutes and lose all their nutritional properties. Add these kinds of fresh herbs at the end of cooking instead, before ready to serve.
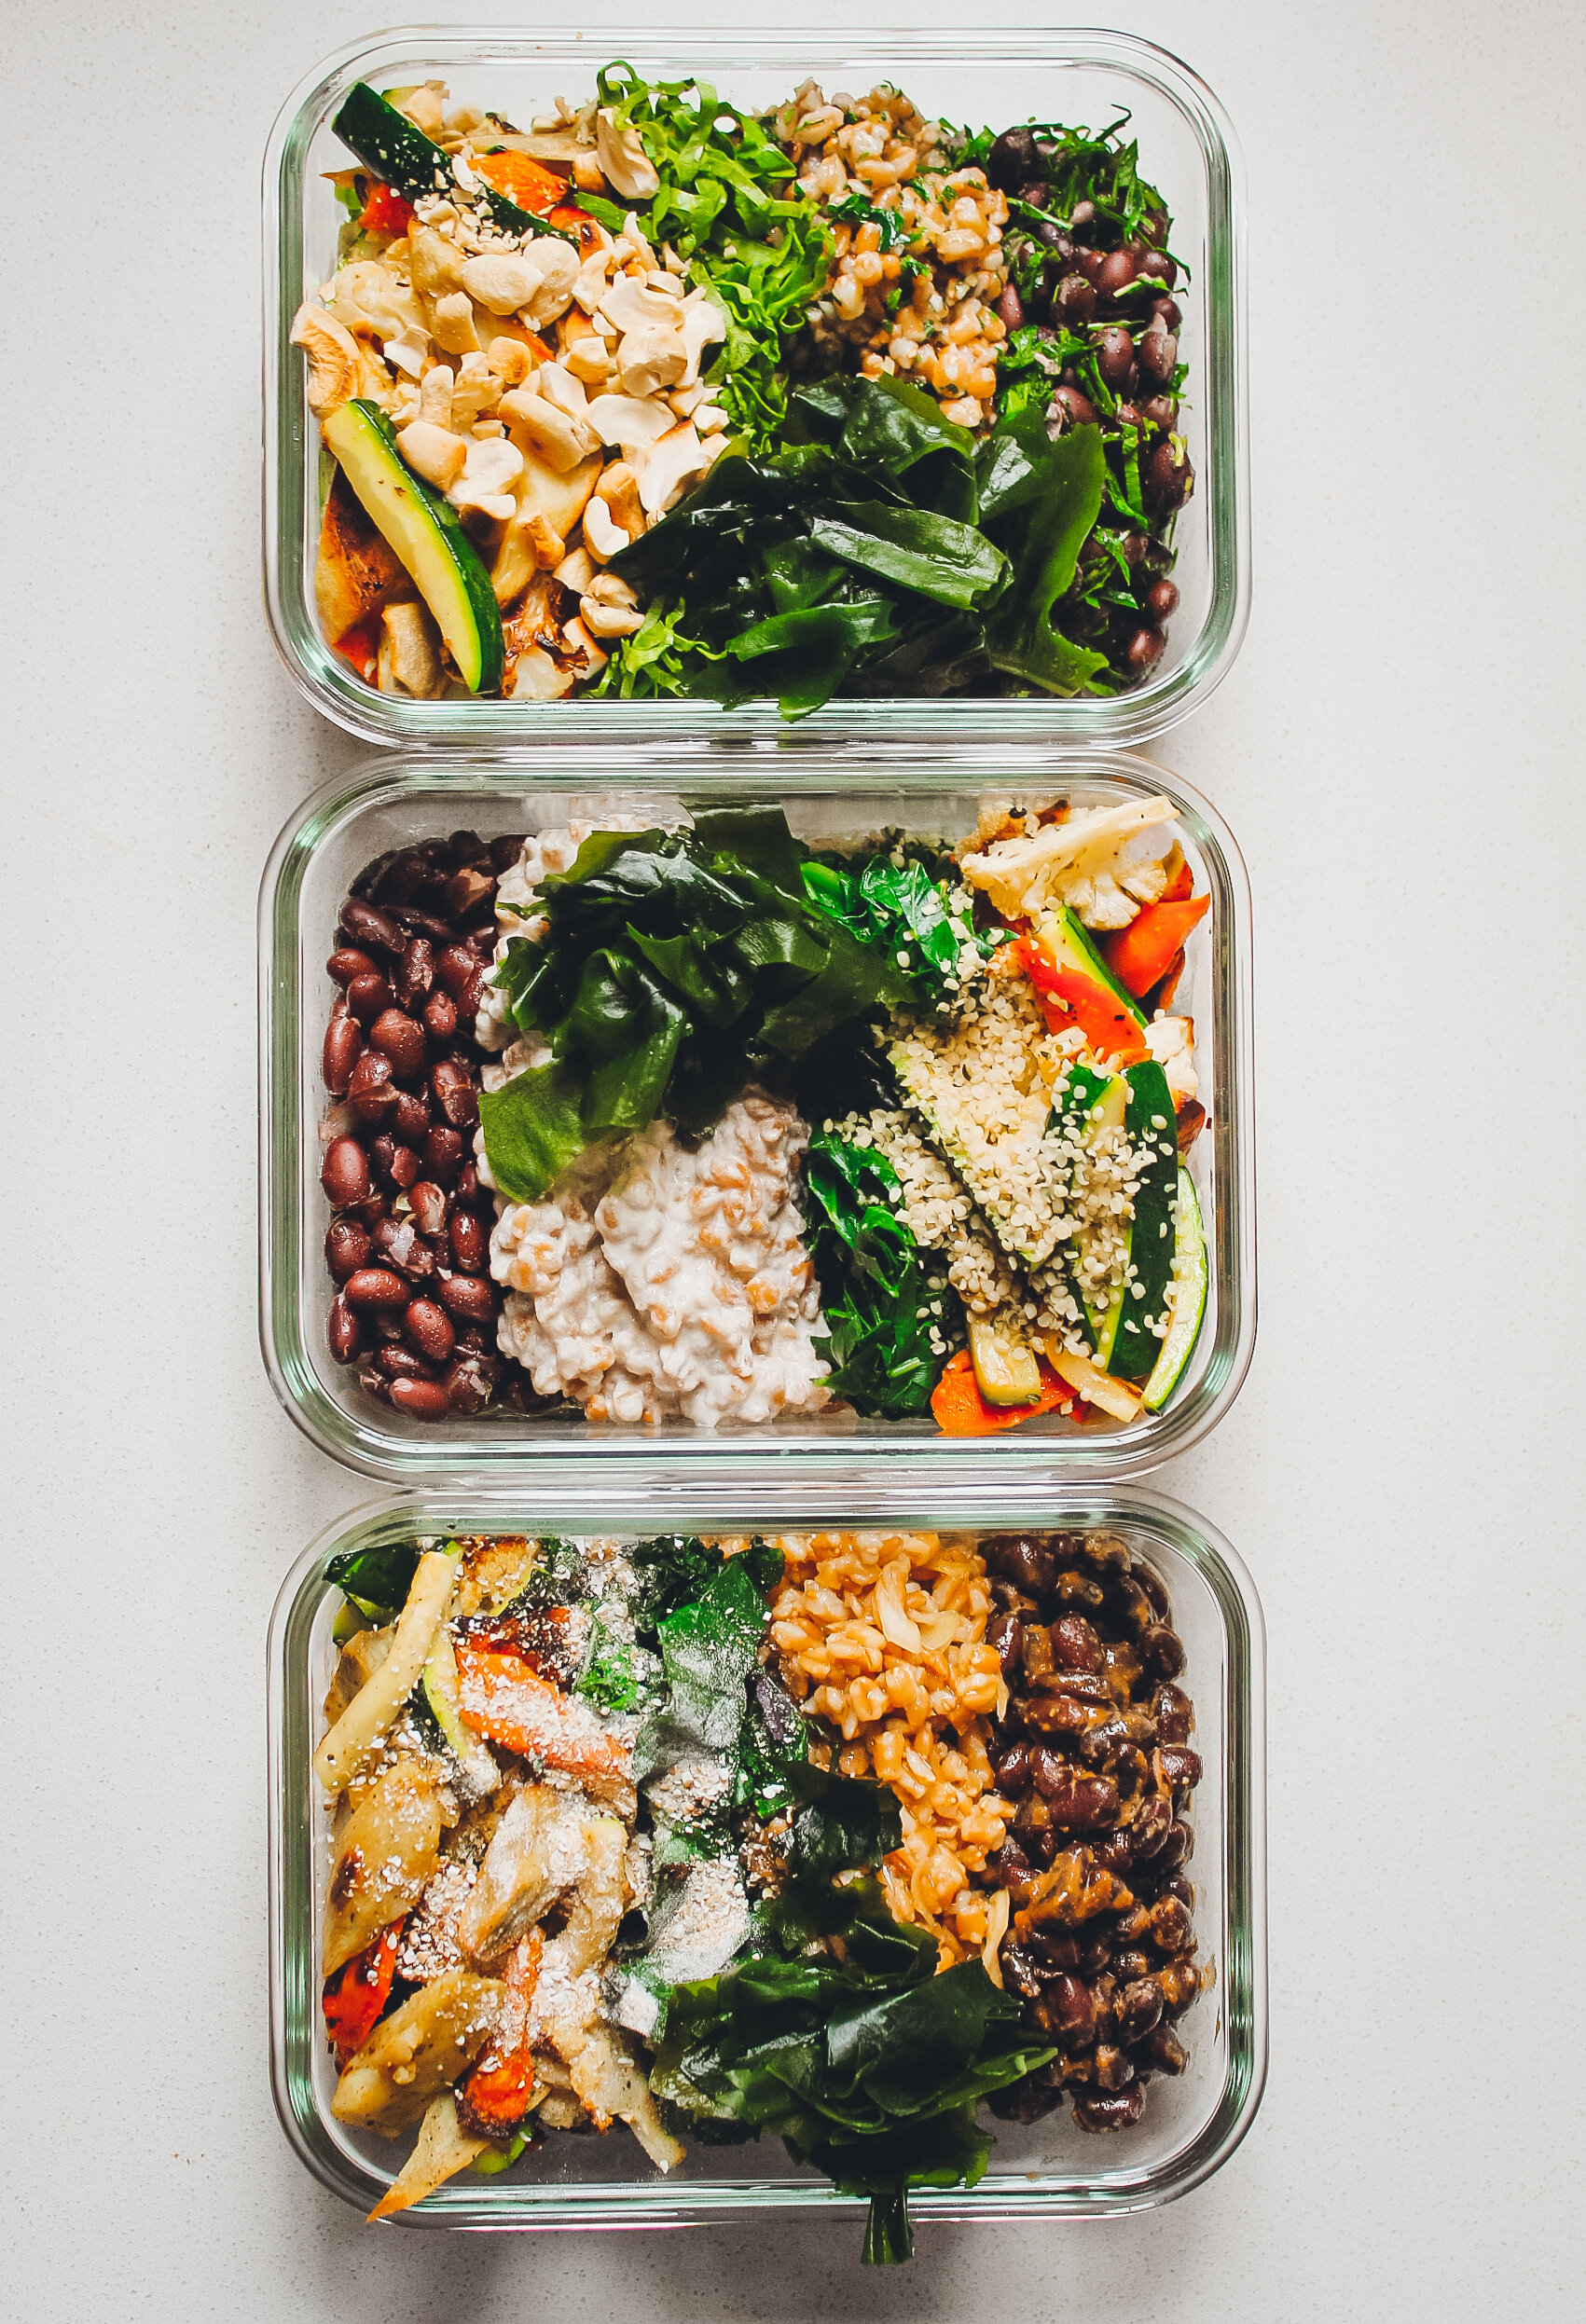
3. After cooking
Once cooked, drain off any excess water left in the pot and either serve immediately or store in an airtight container in the fridge. Every grain will keep for a different amount of time, so check the recipe you’re making.
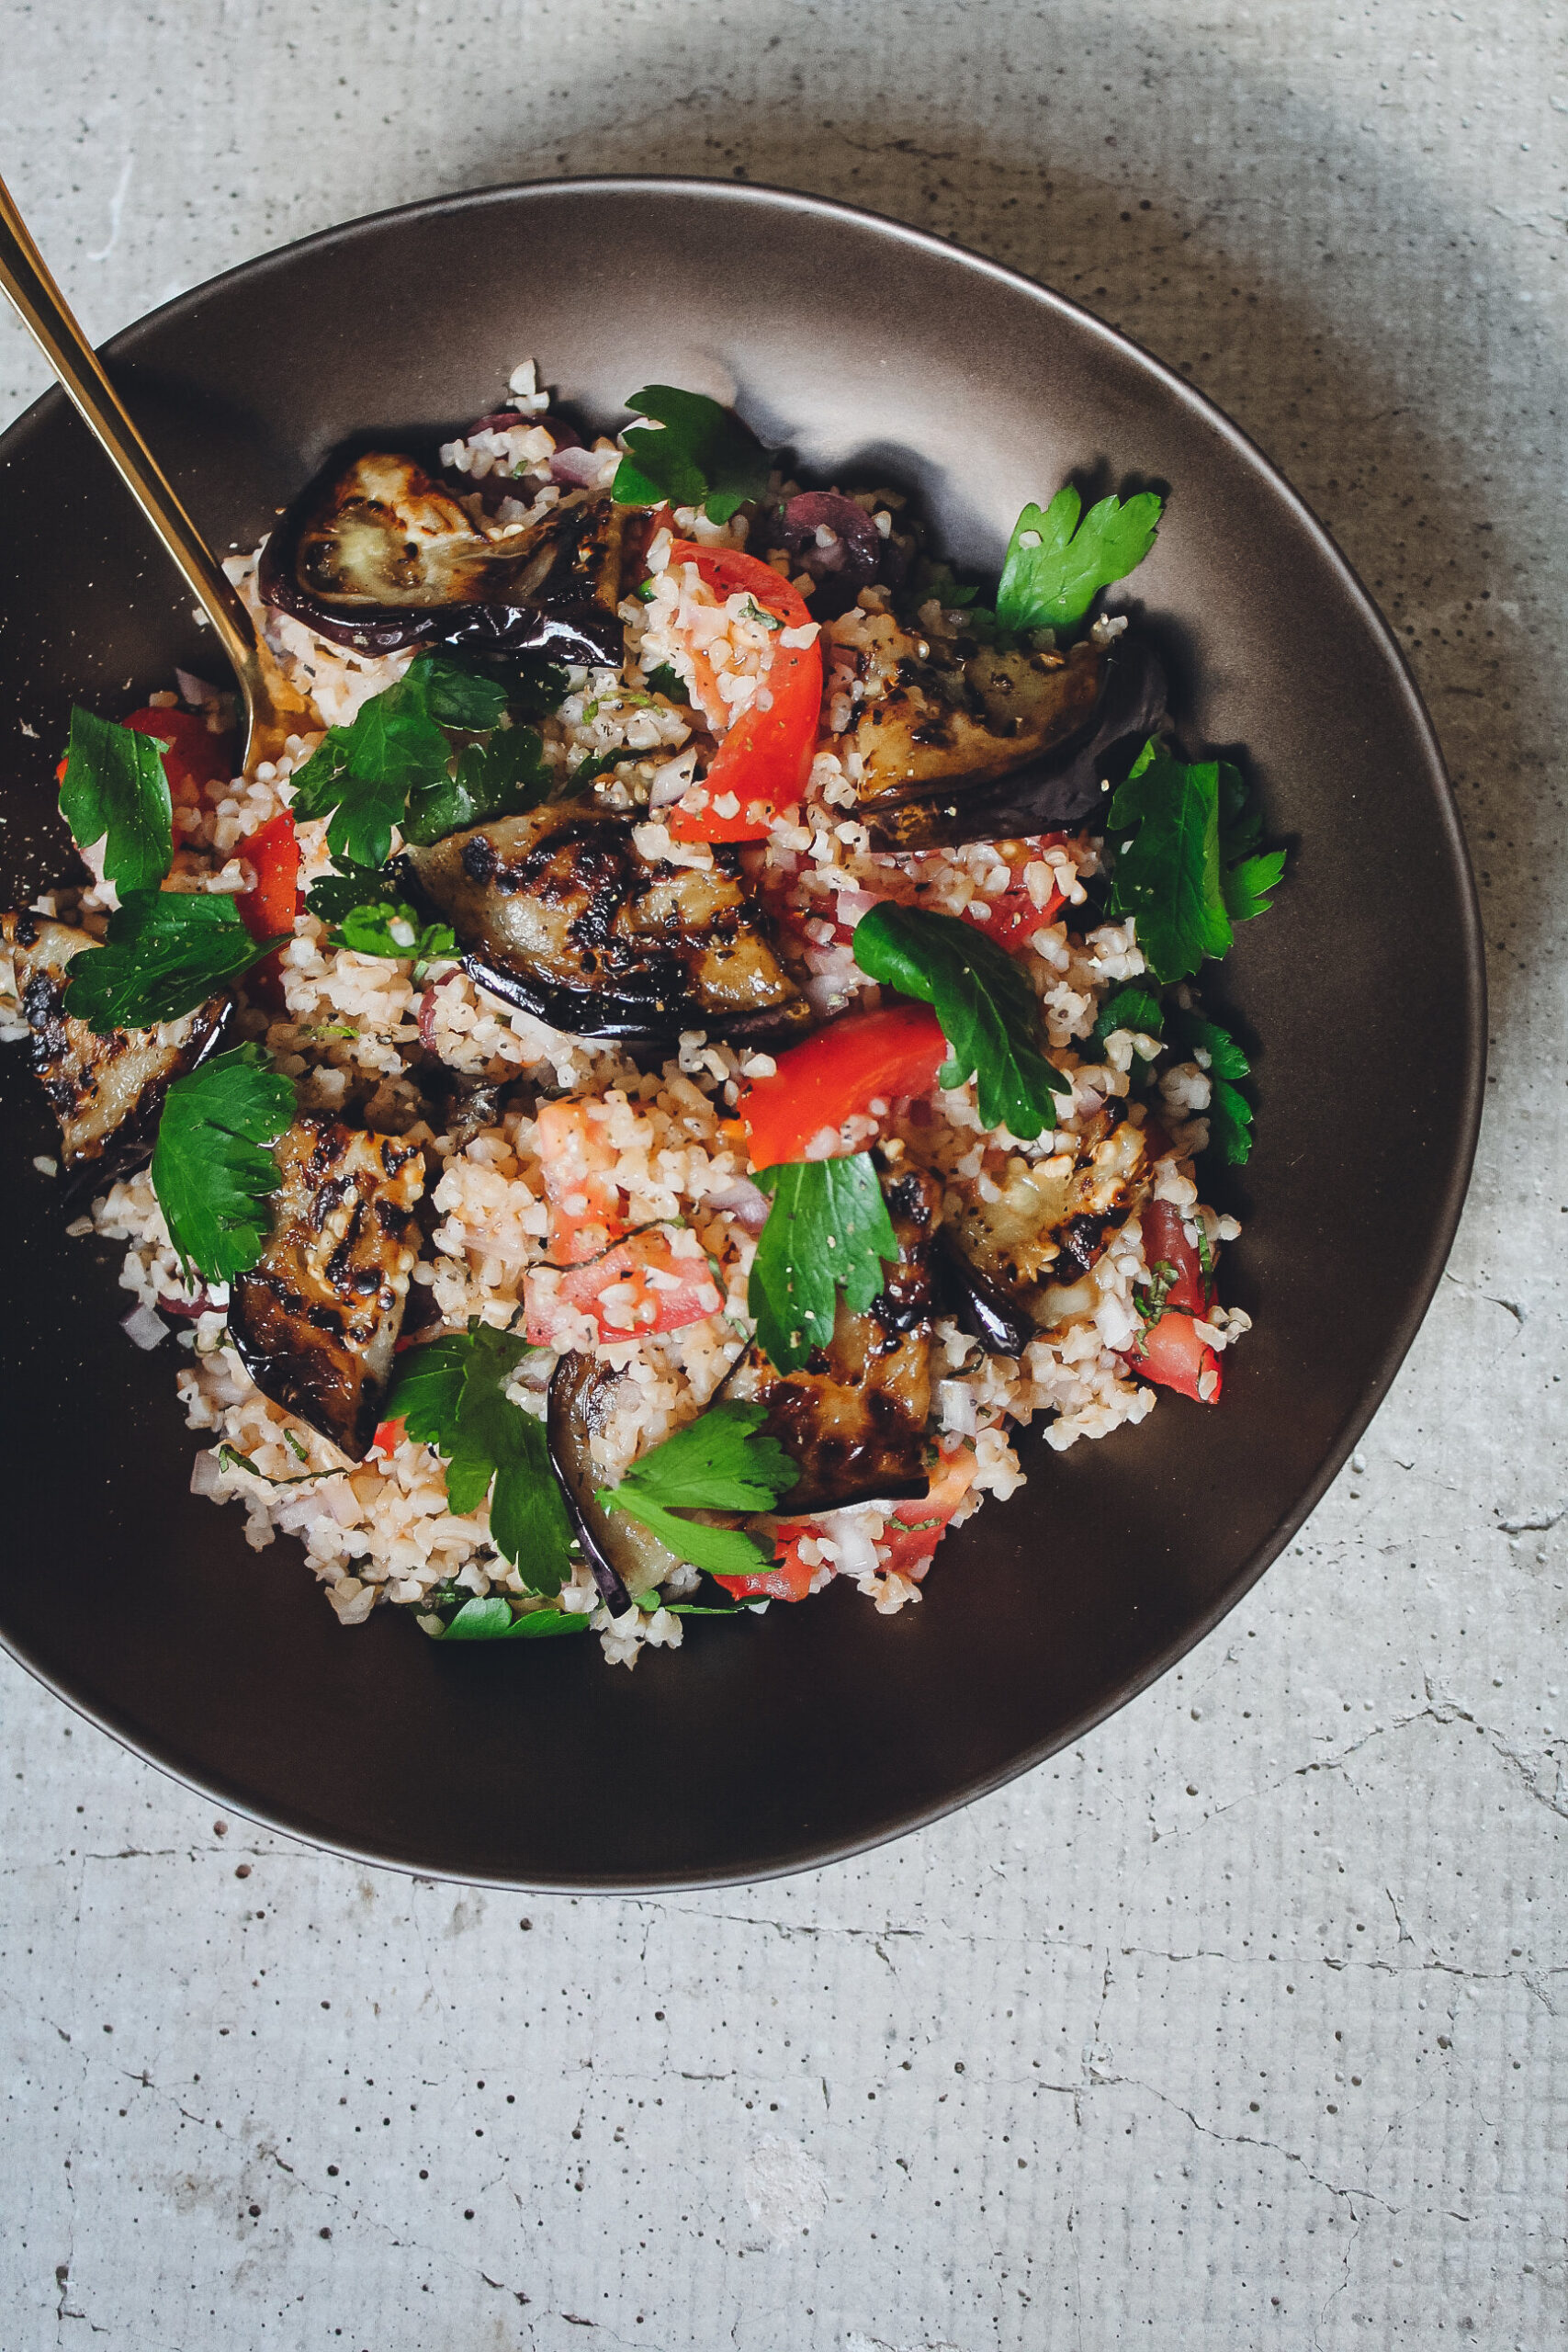
To rinse or not to rinse?
Whether you should rinse your grains or not depends on their starchiness. Brown, millet, and quinoa are all starchy grains and the starch comes out when cooking. If you notice once it’s cooked that it’s sticky and clumping up on itself (note that there’s a difference between a grain that’s clumping and a grain that’s been overcooked. If a grain is cooked properly, the grain itself will remain intact. An overcooked grain, however, will explode and become sticky and mushy) rinsing it will help get rid of that.
A good example of this is brown rice. Brown rice contains a good amount of starch and will stick together when cooked, which isn’t great for dishes like fried rice or rice salads. Just rinse and drain it completely and the grains will separate. On the other hand, if you want to keep it clumpy you can use it for rice porridge or pudding.
find whole grain recipes, cooking tips, and more in my ebook
“Whole Grains: A Plant-Based Guide to Discovering, Cooking, and Eating Grains”


be the first to comment