Healthy Whole Food Vegan Meal Prep (with free PDF download)
October 8, 2020
We all want more time to do what we love while staying healthy and eating good food, right? That’s the dream. And meal prepping is a great way to accomplish that. You can bang out your meals for the week so that you can save time from having to cook every day. Plus you can make sure you’re making a healthy meal for yourself while you have time instead of relying on whatever’s available as you desperately try to put something together for lunch. Meal prepping is a great way to make sure you have more control over what you’re eating.
That’s why in this blog post we’re going to show you how you can prep delicious, healthy, and varied whole food vegan meals so that you can make sure you’re getting a nutritious, tasty meal every day of the week. With our method, you can prep efficiently, eat deliciously, and still have time to do the things you love.
There’s a video where we walk you through the step-by-step process below. Plus, we’re including a free PDF that you can download where you’ll get all the recipes, shopping lists, and method in one handy place.
Scroll down for the step-by-step video and free pdf download ↓
Start off with the right mindset
Firstly and most importantly, you have to have the right mindset going into your meal prep.
This is not something a lot of people talk about, but it is of the utmost importance! If you go into it feeling annoyed or frustrated because you have to spend time making your meals for the week, it’s not going to benefit you in any way because a) your food won’t taste as good (we all know the secret ingredient to anything is to make it with love!) and b) since the food won’t be made with care, that toxic energy will be transferred to you when you eat that food later on in the week.
So first, we have to make sure we’re going into the kitchen with a smile on our face and an excitement—a desire—to make good, nourishing food for yourself. Because, at the end of the day, this is food you’re making for yourself. You are nourishing yourself and giving yourself the energy you want, so we want that to be joyful, energizing stuff! Remember: cooking for yourself is a form of self-care. So do it with love.
>
“The energy you cook with is the energy you eat”
Here’s a little mantra to tell yourself as you cook:
“I’m cooking this because it’s going to give me the energy I need to be the best version of myself.”
No 5, 6, or 7-day meals
Now here’s a controversial idea. DON’T cook for all days of the week in one session. We mean it—it’s gross!
Why? Because:
a) The food loses its nutritional properties. If it sits in your fridge for 5 or 6 days, it’s not going to be fresh any more, and the strength of the vitamins and minerals that it contains initially is going to fade with every passing day.
b) It’s not going to look very pretty or appealing. The more food sits there, the more it wilts, grays, or dries out. No one wants to open up their lunch on a Thursday afternoon and see a sad bunch of spinach. And finally,
c) It’s just not going to taste as good. Think about it: would you really want to eat food that’s 6 days old?!
Instead, what we suggest is to break it up into two 2-hour sessions a week. Now, before you say “I don’t have time for that,” remember the importance of food. Food is literally your energy, your fuel. Just like a car, your body can’t function properly if it doesn’t have the right fuel in it, so nourishing yourself with the right food should be your #1 priority. Taking the time to cook energizing meals for yourself is the most important thing you could be doing for your health and well-being. When you start to look at it like that, 4 hours a week is really no time at all.
Let’s say you want to meal prep on Sunday. You’ll meal prep for 3 days—Monday, Tuesday, and Wednesday. Then you’ll meal prep on Wednesday for the next 2 or 3 days (depending on whether you have a 5-day or 6-day week).
And since we’re going to be cooking grains or legumes, they need to be soaked in water overnight before they’re cooked, so here’s how the daily breakdown would go, assuming the first meal prep day is Sunday:
SATURDAY: Soak grains/legumes/nuts/seeds
SUNDAY: Meal prep day
MONDAY: —
TUESDAY: Soak grains/legumes/nuts/seeds
WEDNESDAY: Meal prep day
THURSDAY: —
FRIDAY: —
And if, after all this, you still want to meal prep for the whole week in one sitting… then go ahead. There’s nothing we can convince you of if you don’t want to do what’s better for your body. We’re giving you the best method you can use for nourishing, energizing, and delicious meals throughout the week because that’s what we do best. At least let us be a source of inspiration for what kind of food you can prepare.
step-by-step process to meal prepping healthy whole food vegan meals
1. Make a Shopping List
Pick what grain and legume you want to use for the first 3 days. Then pick what greens and veggies (including sea veggies if using) you want to pair with them. Finally, decide on how you’re going to season them differently, so decide on 3 different dressings and 3 different toppings. We like to do this by dividing our list into categories, like this:
-
Grains (preferably whole grains)
-
Legumes (beans, lentils, and pulses)
-
Greens
-
Seasonal veggies
-
Fruit
-
Sea vegetables (optional)
-
Nut and seeds
-
Dressings/sauces/seasonings
-
Toppings (optional)
Note: We didn’t include things like tofu or tempeh because we wanted to keep it simple, but feel free to add them in if you wish for an extra protein boost. We recommend adding to—not substituting—your legumes.
For the dressings, we recommend keeping it simple. There are an infinite number of simple and tasty vegan dressings and seasonings, so pick what you want. Check out our video for some inspiration (all recipes are in the free PDF). You also don’t need to pick a different seasoning for each and every component like we did in the video, you can use the same one twice or leave your items bare if you prefer. For example, instead of seasoning the grains and beans for every separate day, you could only season your beans differently and leave your grains plain. Whatever you decide to make, make sure to write out the exact ingredients you need to make them for the amount you’re making.
Now you’ll have a clear idea of what items to get at the grocery store.
2. Buy the Ingredients
Take your organized list to wherever you get your food and buy your ingredients.
Make sure to wash and store your items properly before storing (this will cut washing time out of your meal prepping sessions). For more information about how you should wash your produce, check out this blog post.
3. Figure Out What Order to Make Things
Ask yourself, “what do I have to soak?”
This is the first thing you’re going to do since soaking happens the night before you cook any grains or legumes. To soak them, simply add whatever grains and legumes you’re using to separate containers (we like to use the pots we’re going to cook them in) and cover them each with about 4 parts water so that they have plenty of liquid to absorb overnight.
The next day, simply drain and rinse your items and put them back in the pot to cook. If you’re planning on cooking them in vegetable stock like we do in the video, make sure you have some on hand (defrost if necessary). For the veggie stock recipe, click here.
If you’re making nut or seed milk or cream, make sure to soak those too.
Now ask yourself “what takes longest to cook?”
Usually this’ll be your grains and legumes. So now you know that those items need to be prepared first on your meal prep days, so that they can cook while you make the rest. Roasting also takes time, so if you’re roasting any vegetables, make sure you do it early on.
4. Get Cooking
On meal prep day, start by cooking your grains and legumes. They’ll cook while you prep the other stuff. If you’re roasting anything, cut and roast your vegetables at this point.
If you’re making anything else with heat, we also suggest to do this around the beginning so that the food has time to cool before you store it. Cut and steam your greens.
Then make your seasonings/dressings for your items. These can be vinaigrettes, sauces, marinades, or other dressings.
Hydrate seaweed, if using.
Finally, chop any nuts, seeds, etc that you’ll be using as toppings.
5. Season Your Grains and Legumes
Put everything together. Mix your seasonings into your grains, legumes, or greens and adjust the seasoning if needed. It’s important to taste what you’re making here so that you don’t have to re-season when you’re actually eating these meals.
6. Store Your Meals in Glass Containers in the Fridge
Finally, plate your meals into glass containers and seal tightly. Store in the fridge, and they’re ready to go!
Now that you know how the process goes, just switch up the ingredients and replicate it for your second meal prepping session.
Watch the video here:
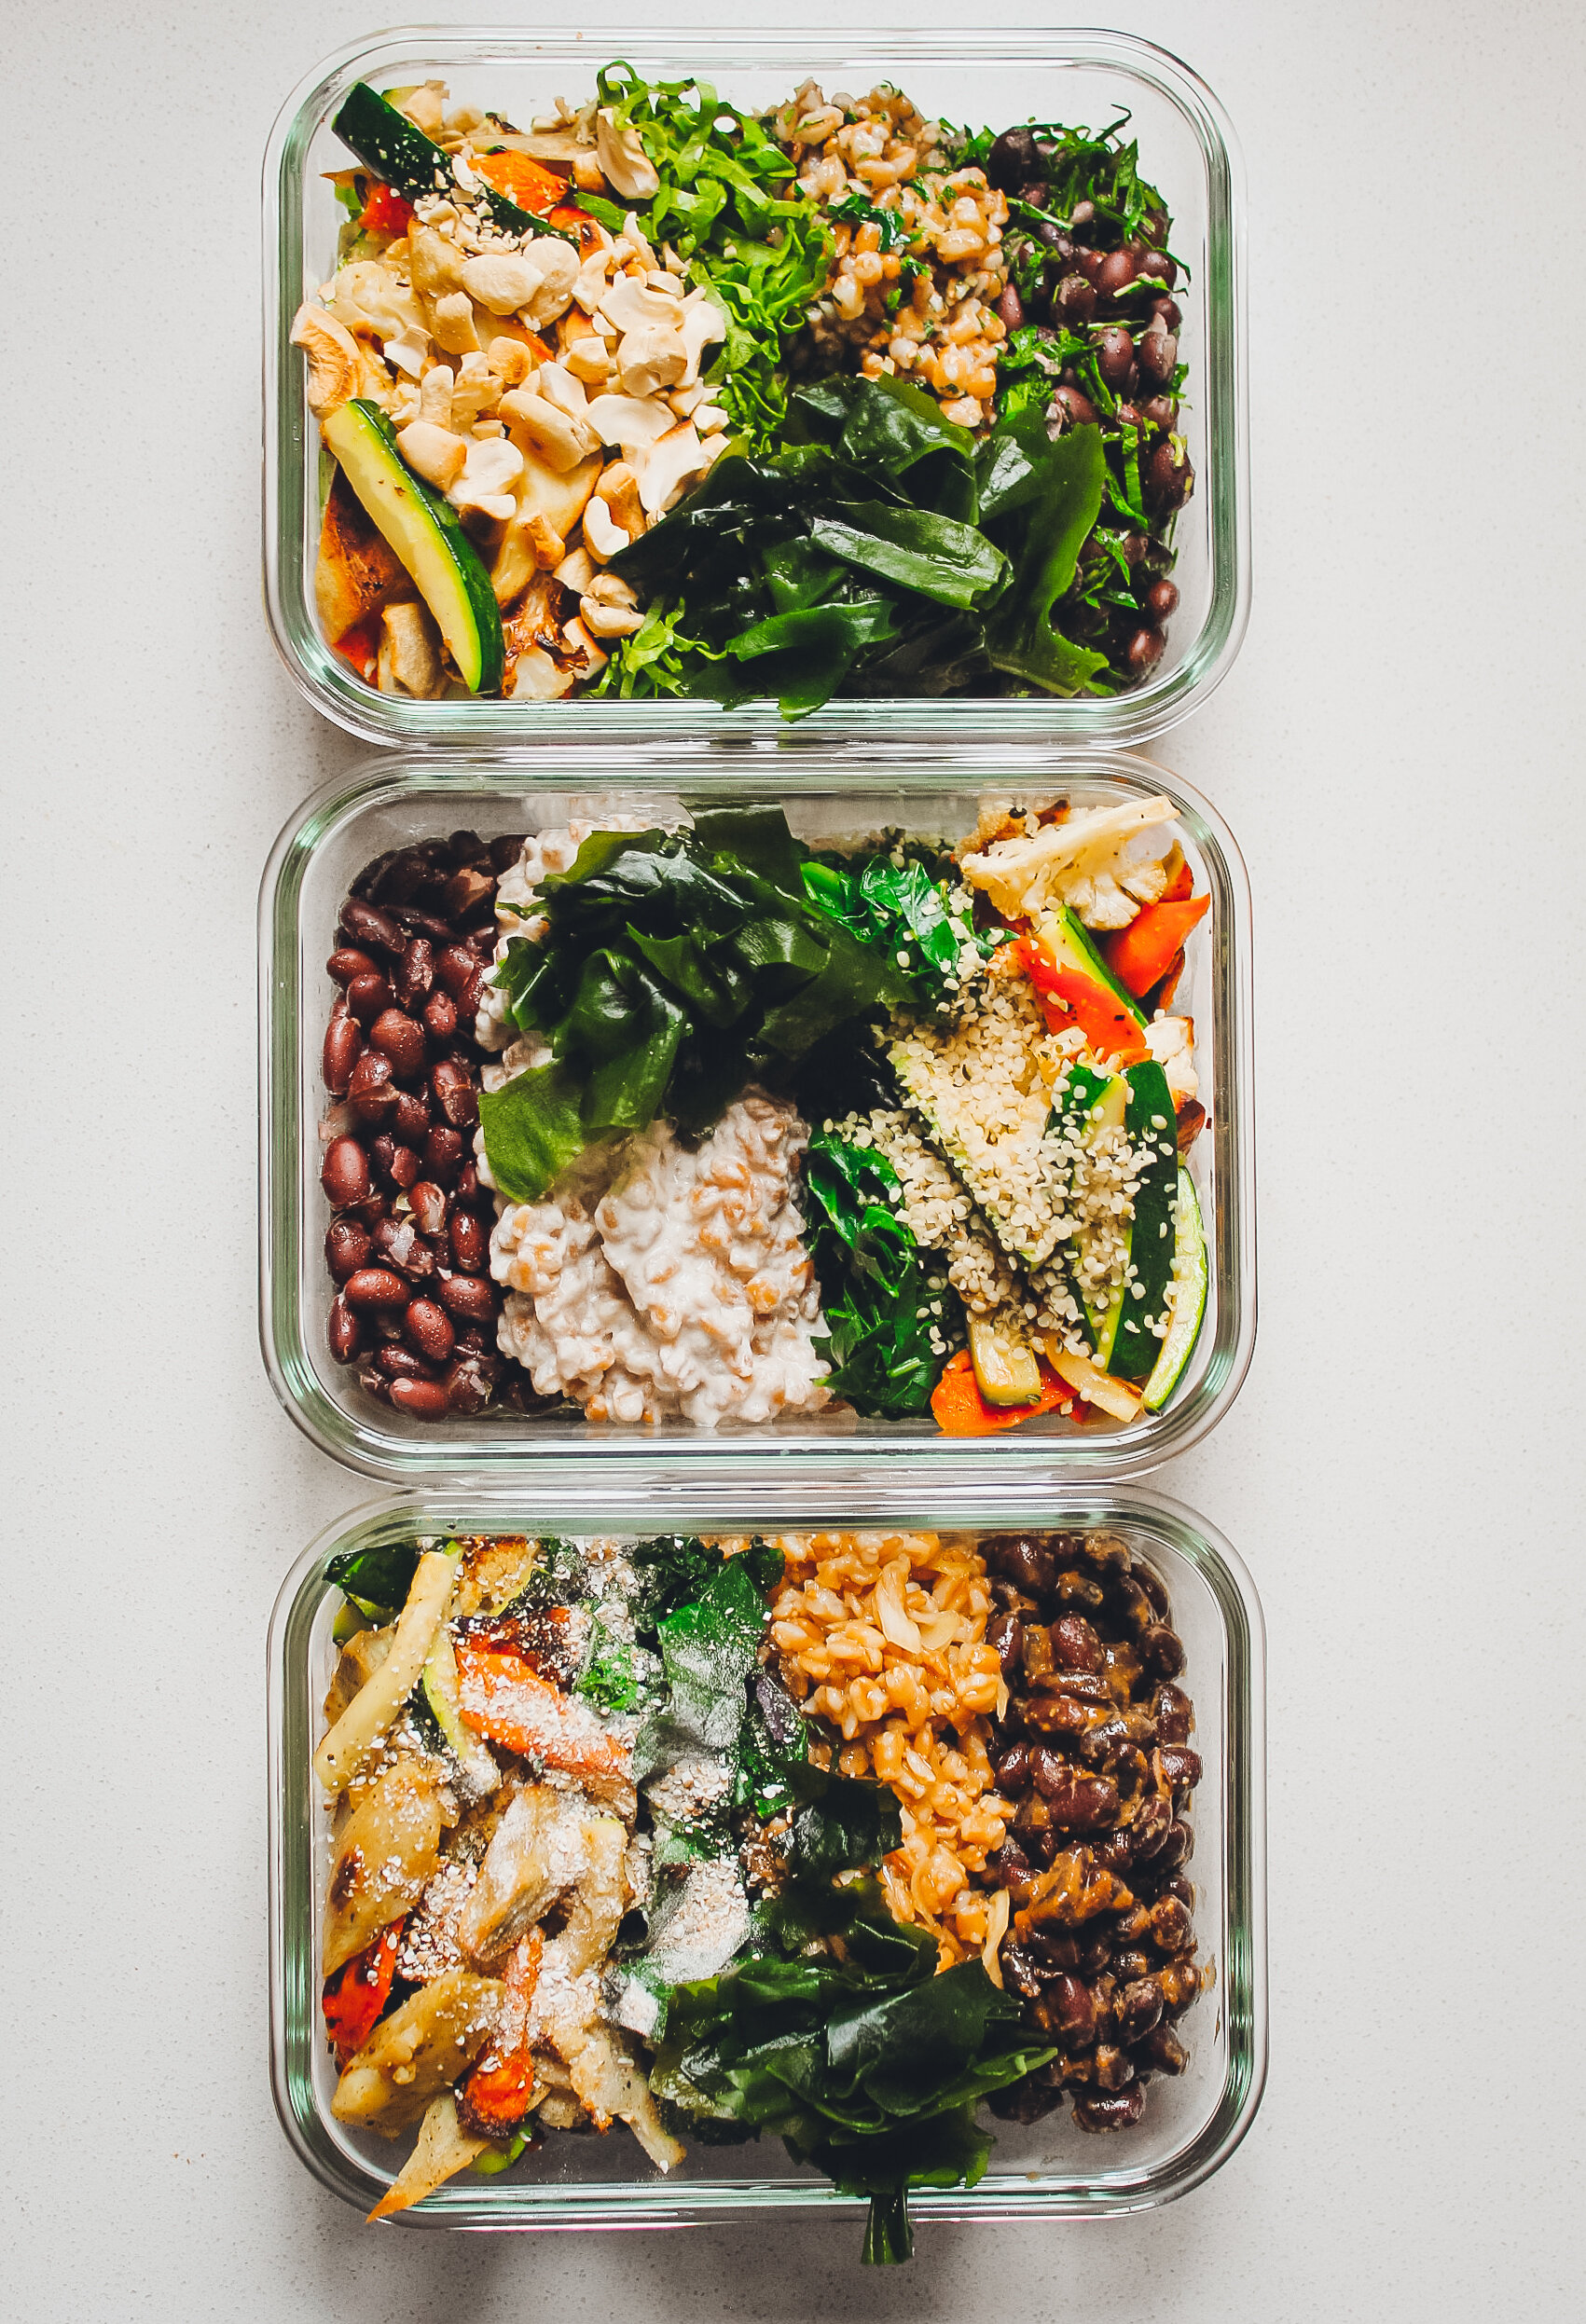
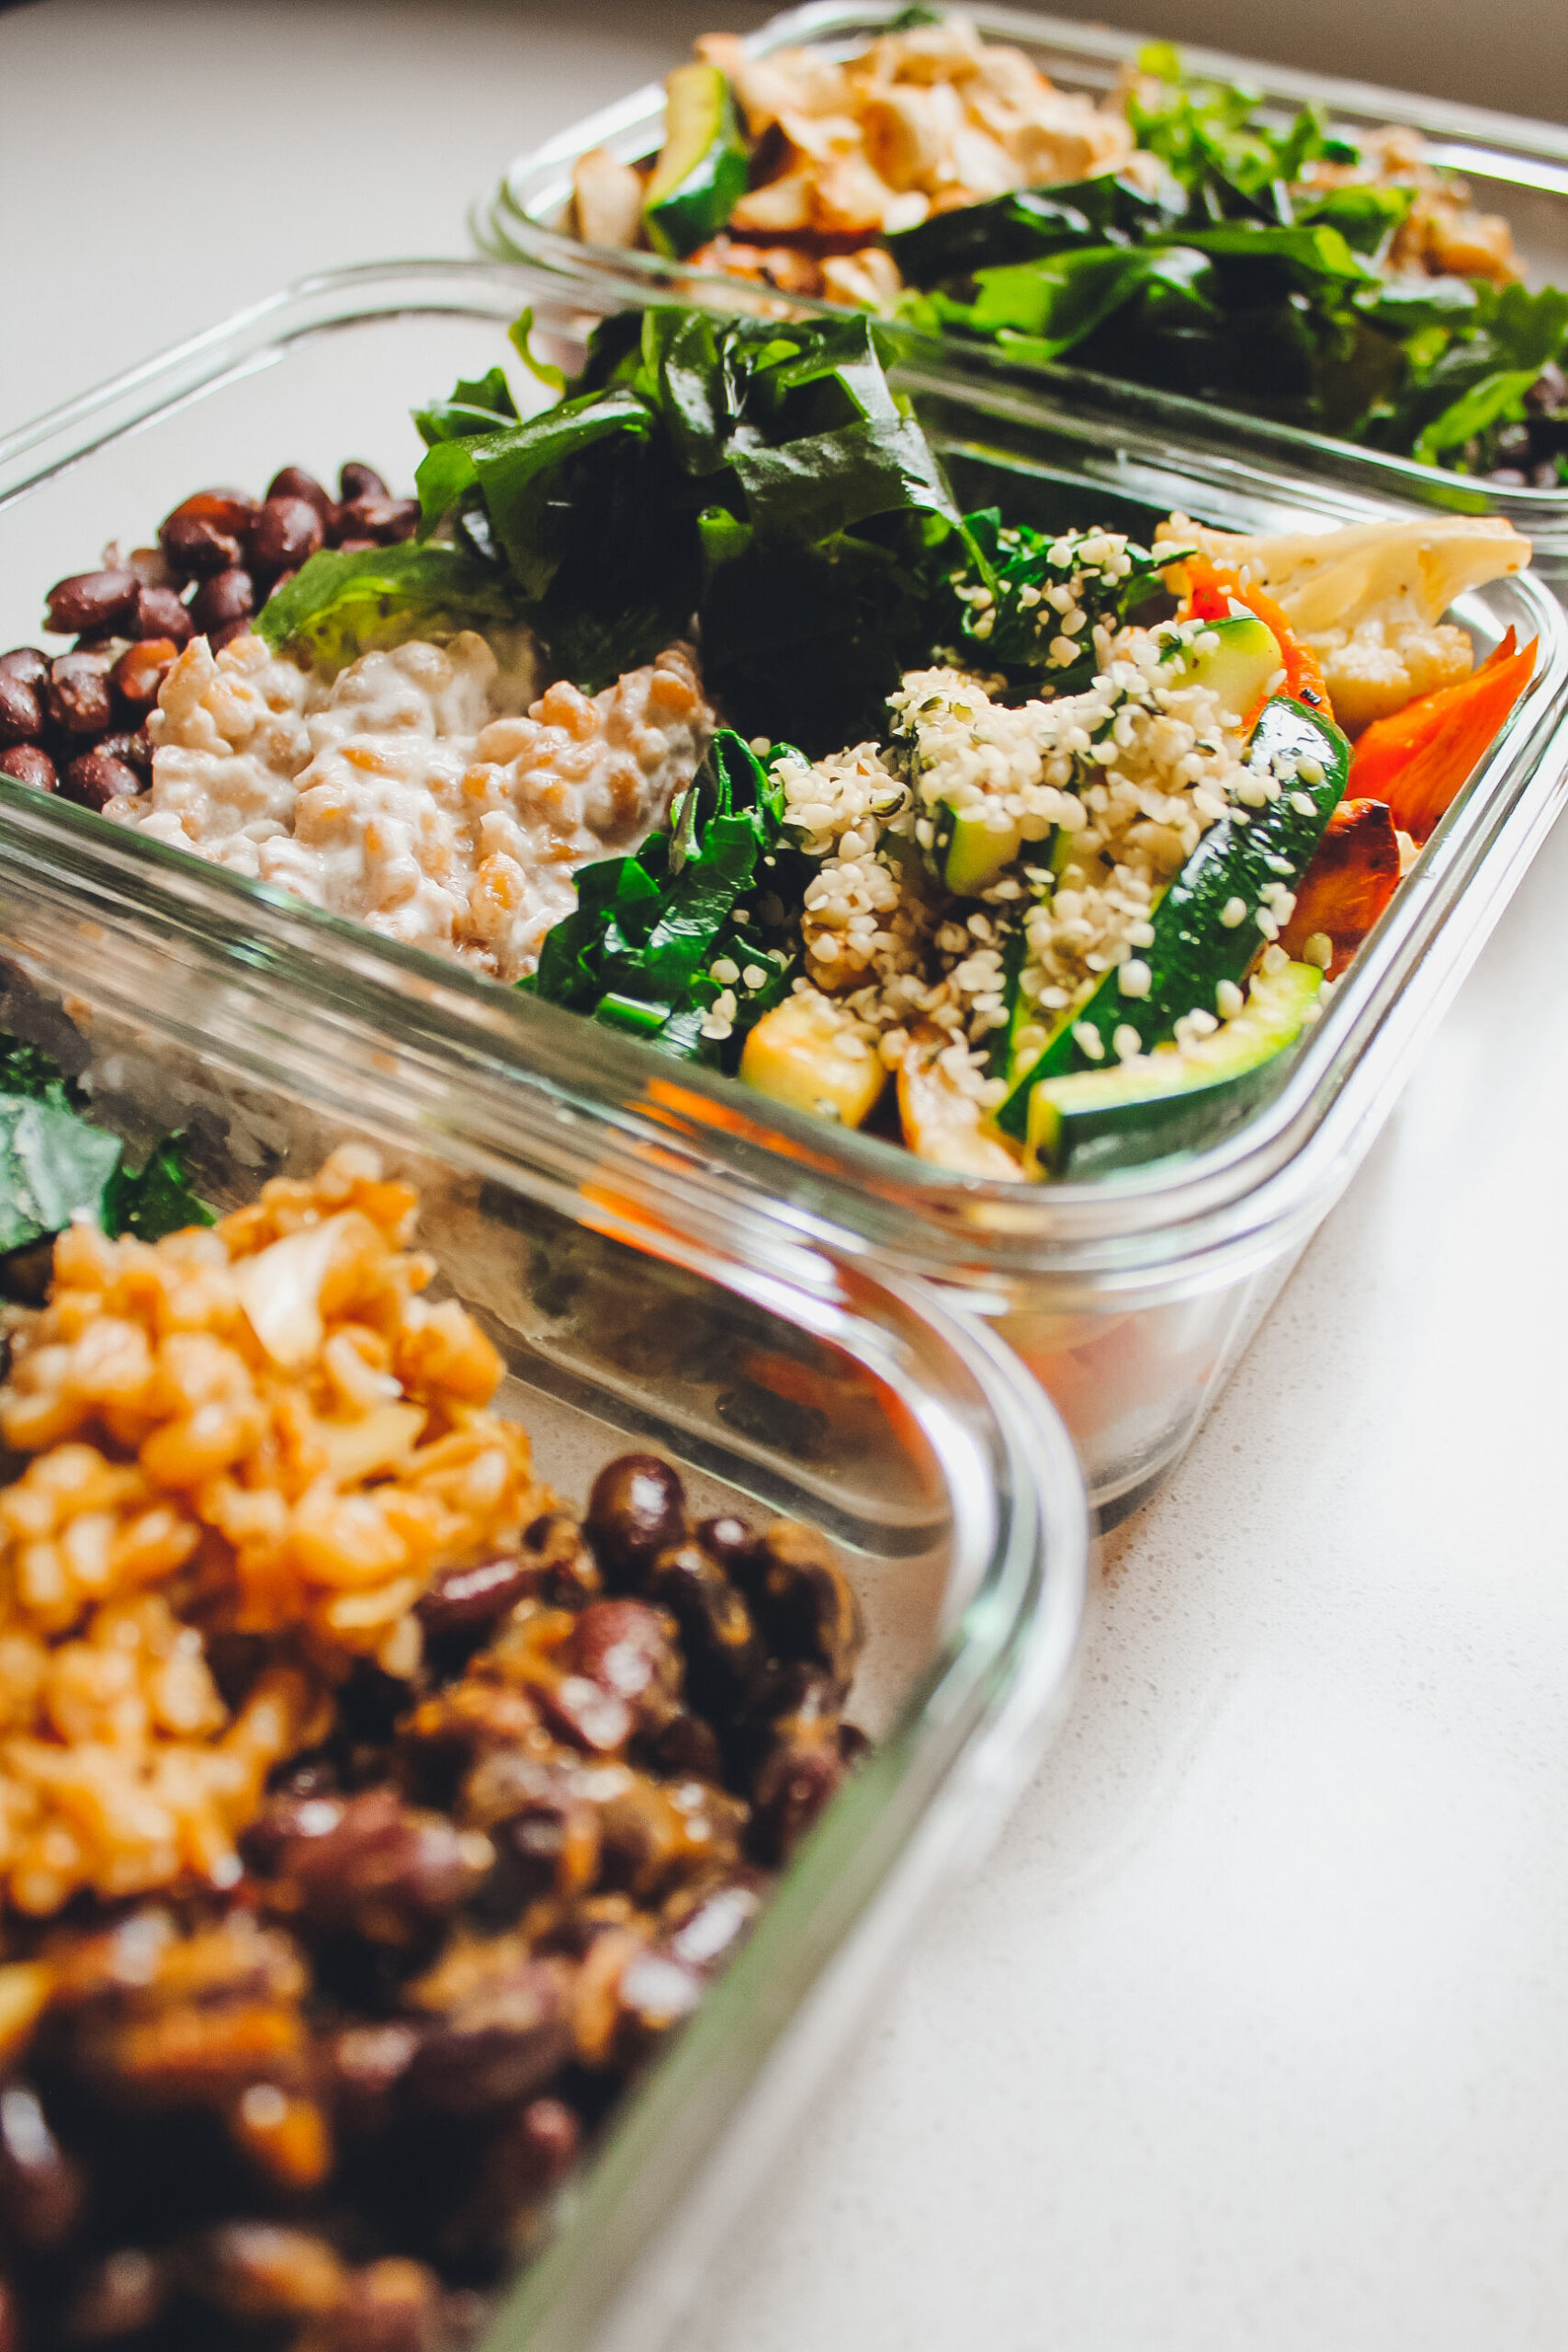
What we made for our meal prepping session (3 meals)
Grain: Farro
Legume: Black beans
Grain seasonings: aioli peperoncino, sunflower cream, Asian scallion dressing
Bean seasonings: fresh herbs, orange vinaigrette, miso mustard sauce
Vegetables: carrots (roasted), cauliflower (roasted), Japanese sweet potato (roasted), zucchini (pan-seared)
Greens: Collard greens (steamed), kale (steamed), Romaine lettuce (not steamed)
Extras: wakame seaweed
Toppings: chopped roasted cashews, buckwheat powder, hemp seeds
For all recipes and shopping lists, download our free PDF guide below:
snap a photo of your meal prep and tag us on Instagram @eatogether.co so that we can see it!
You might also like:
And finally, if you know someone that could really benefit from seeing this, please share it with them! We’re on a mission to help people make more delicious + healthy plant-based food, and we need your help to reach as many people as possible.
Click the links below to share the link to this blog post.
be the first to comment