How To Wash and Store Your Fruit & Veg Properly: A Simple Guide
August 11, 2019


So you get your veggie subscription box, you’re all excited, you open it up and you find that your produce is dirty. That’s alright – that’s how you know it comes directly from the farm, right? But how do you prevent biting into your dinner and feeling that god-awful crunch! that you know means you just chewed on some soil? Don’t worry, we’ve got your back. Here’s how to properly clean and store your veg.
Scrubbing
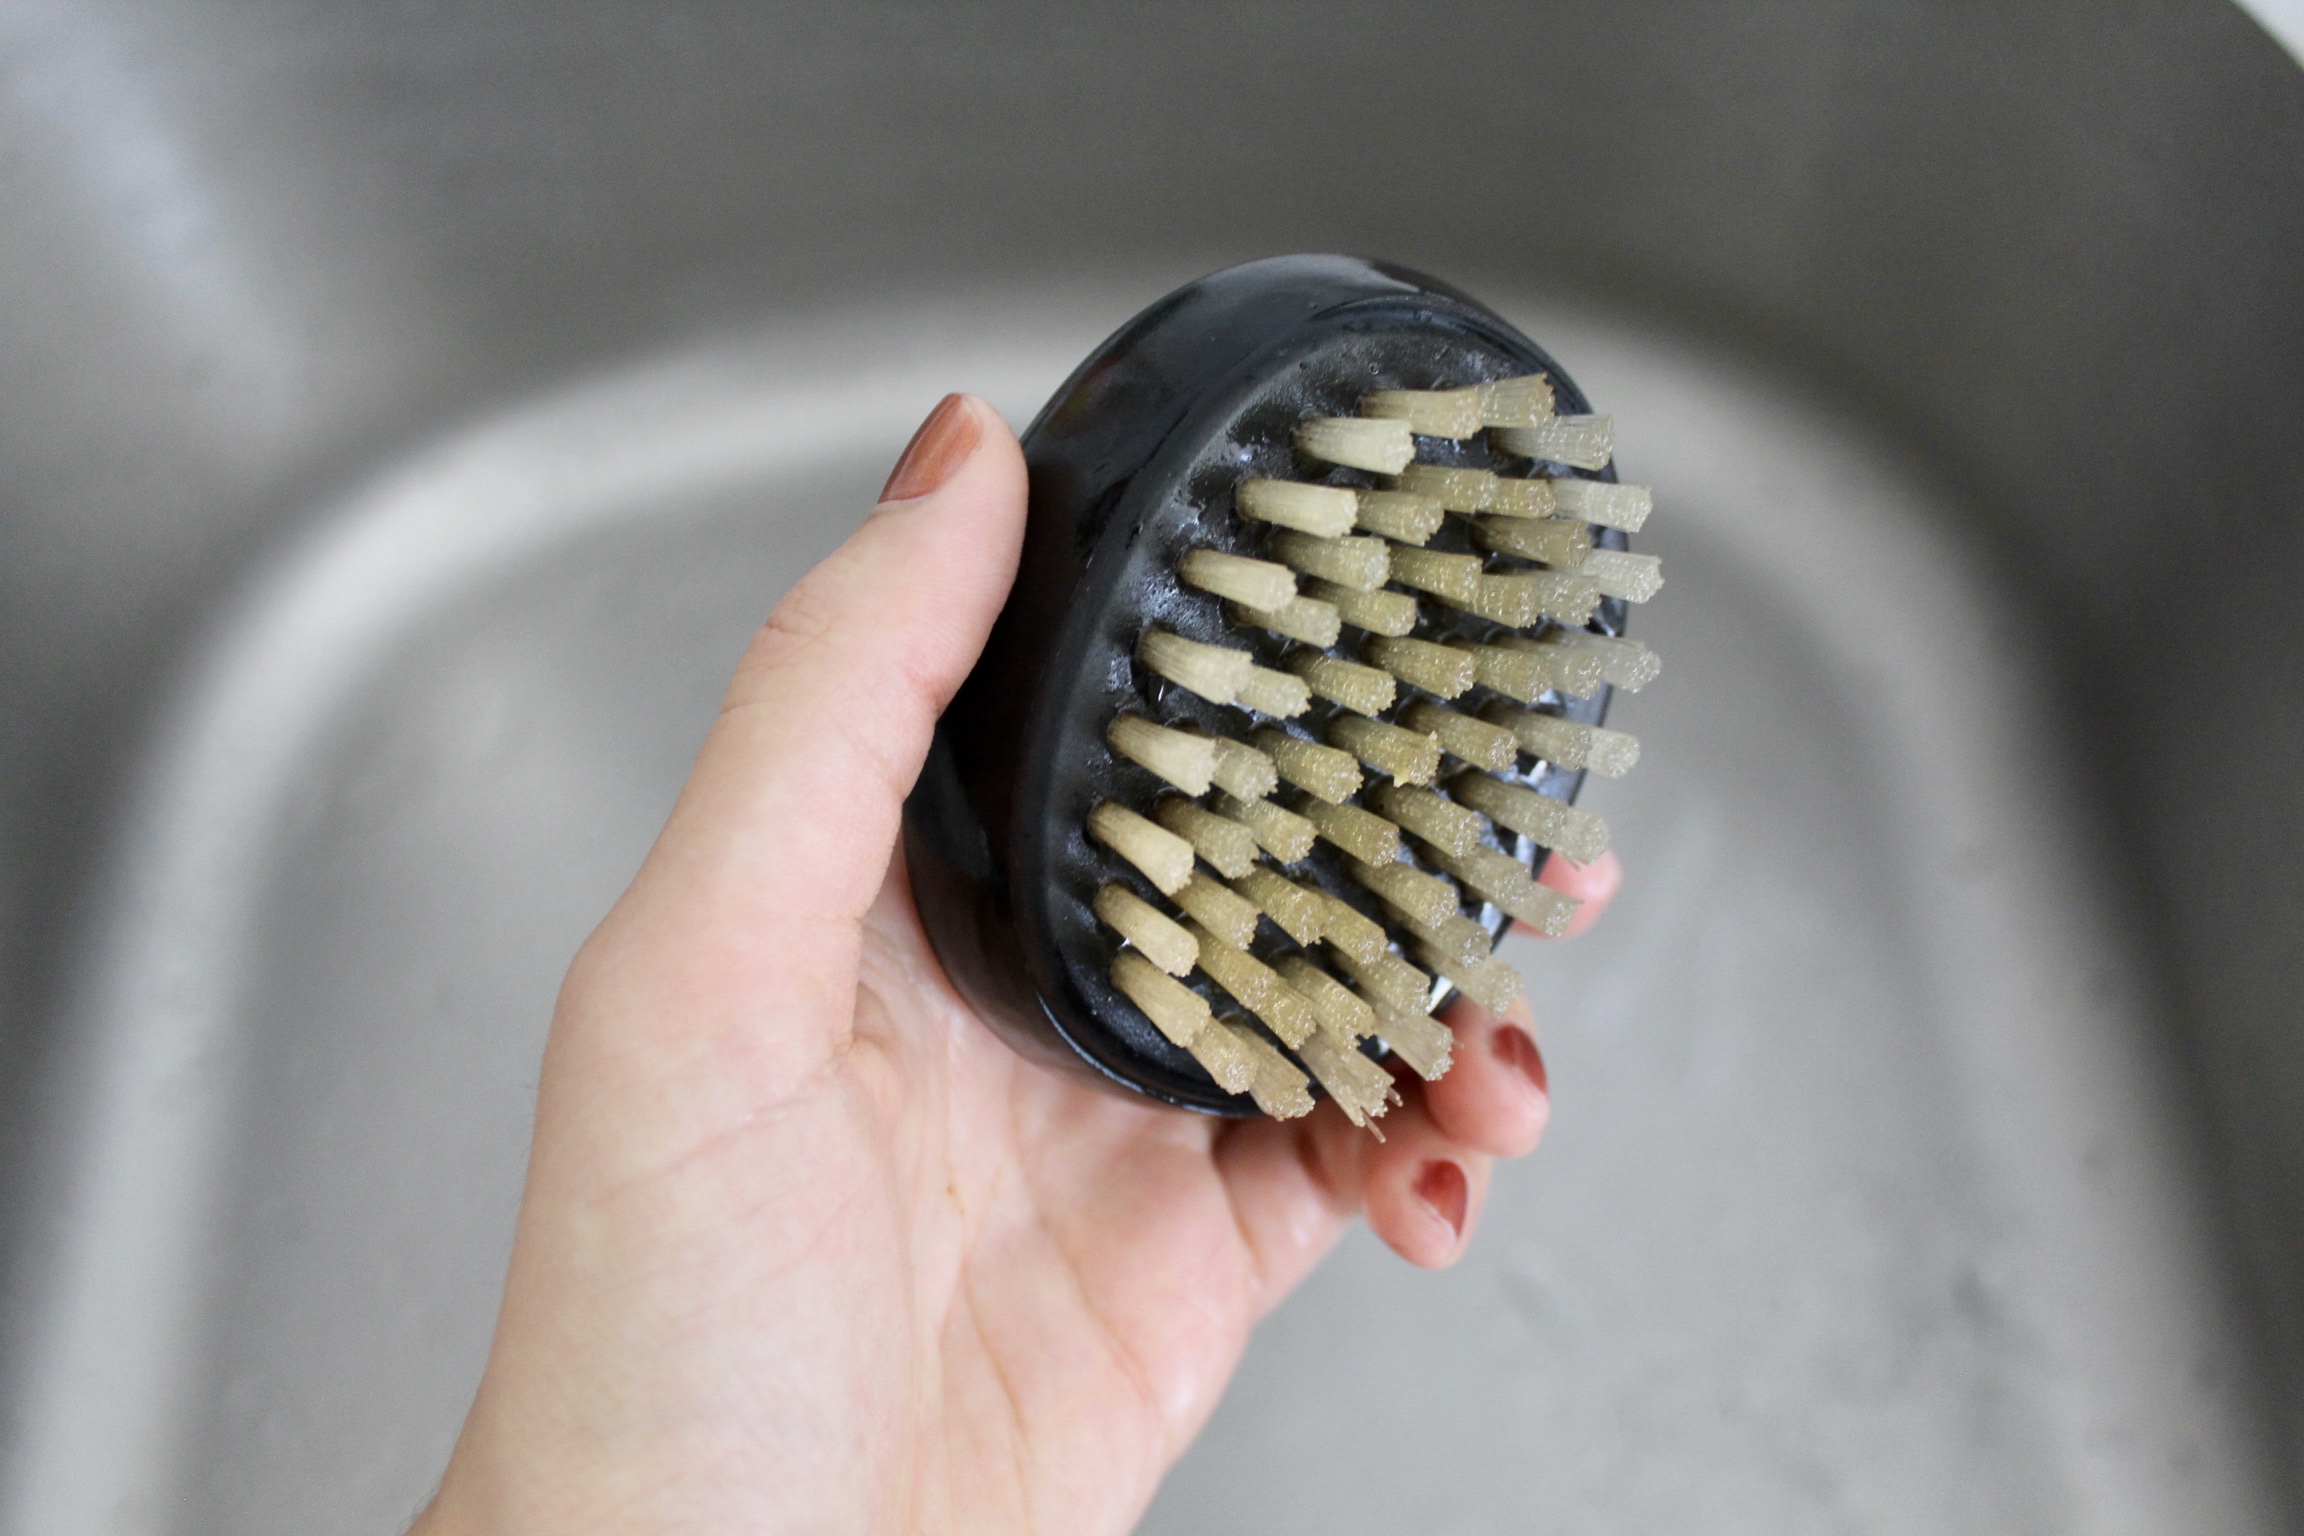
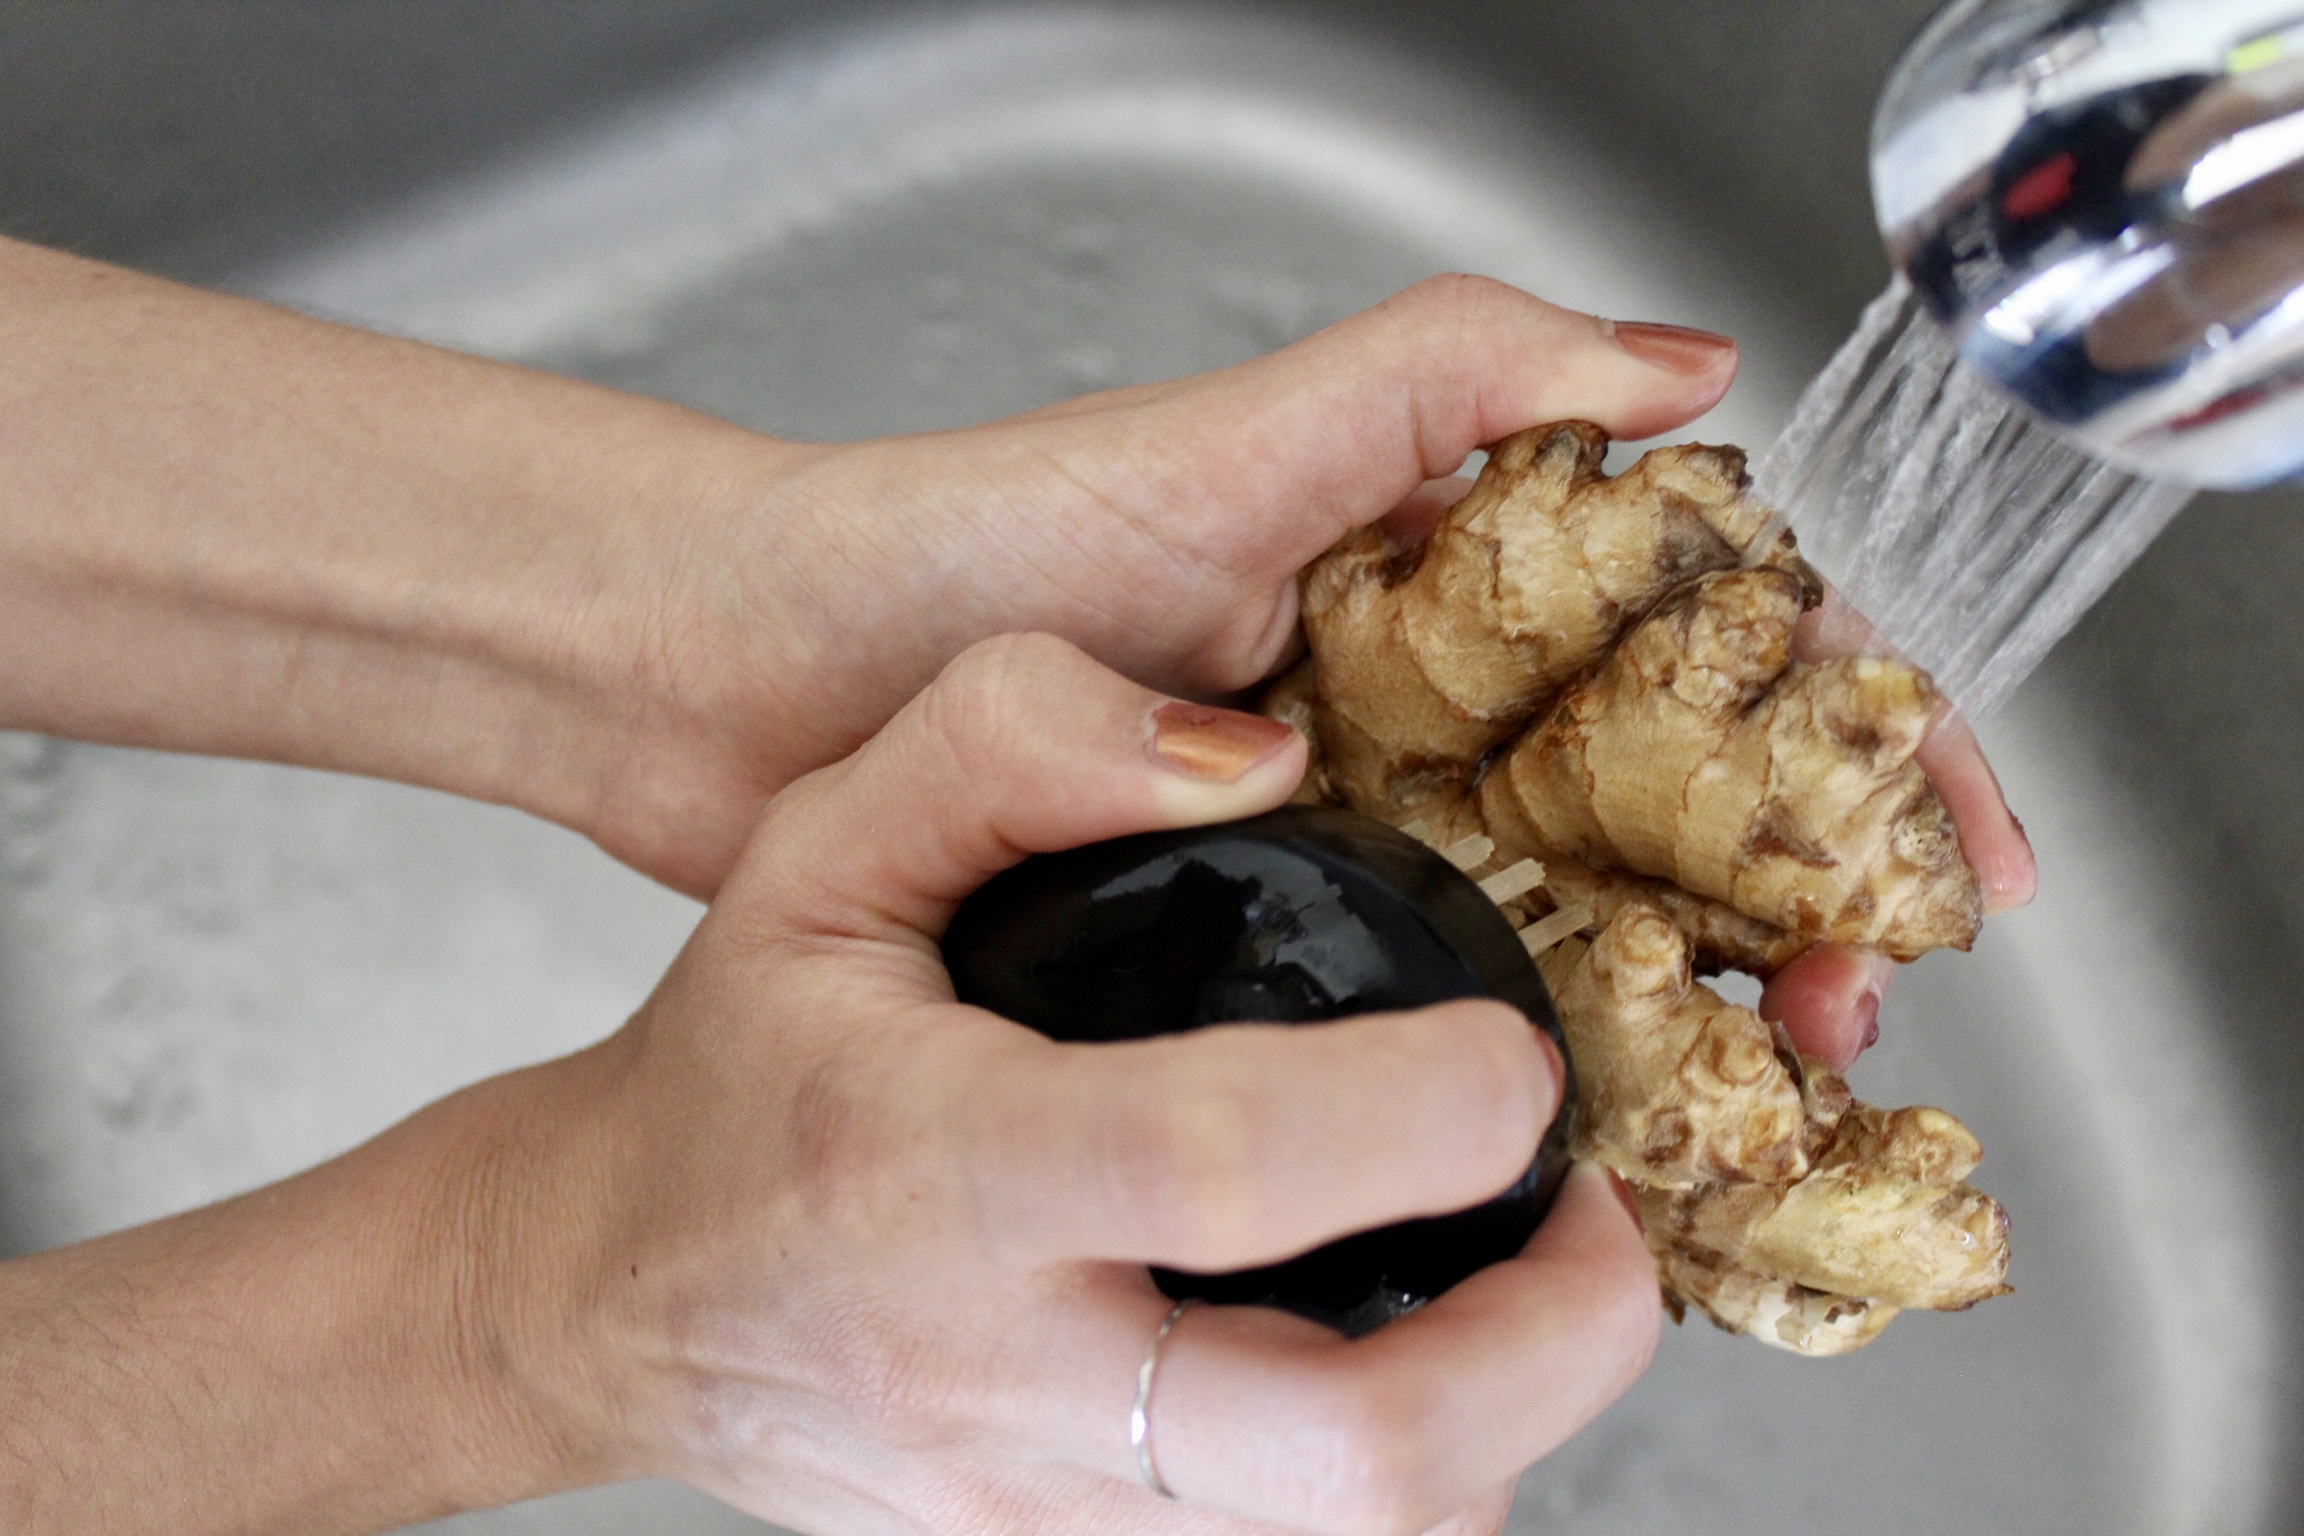
If your diet consists of mostly vegetables and fruit, you’re definitely going to need know how to clean your produce properly. In order to do this, the one small piece of equipment that you need to invest in is a veggie brush – it’s a $15 max investment, and if you take care of it it’ll last you a long time and help keep all your fruits and veg clean! We like this one from OXO.
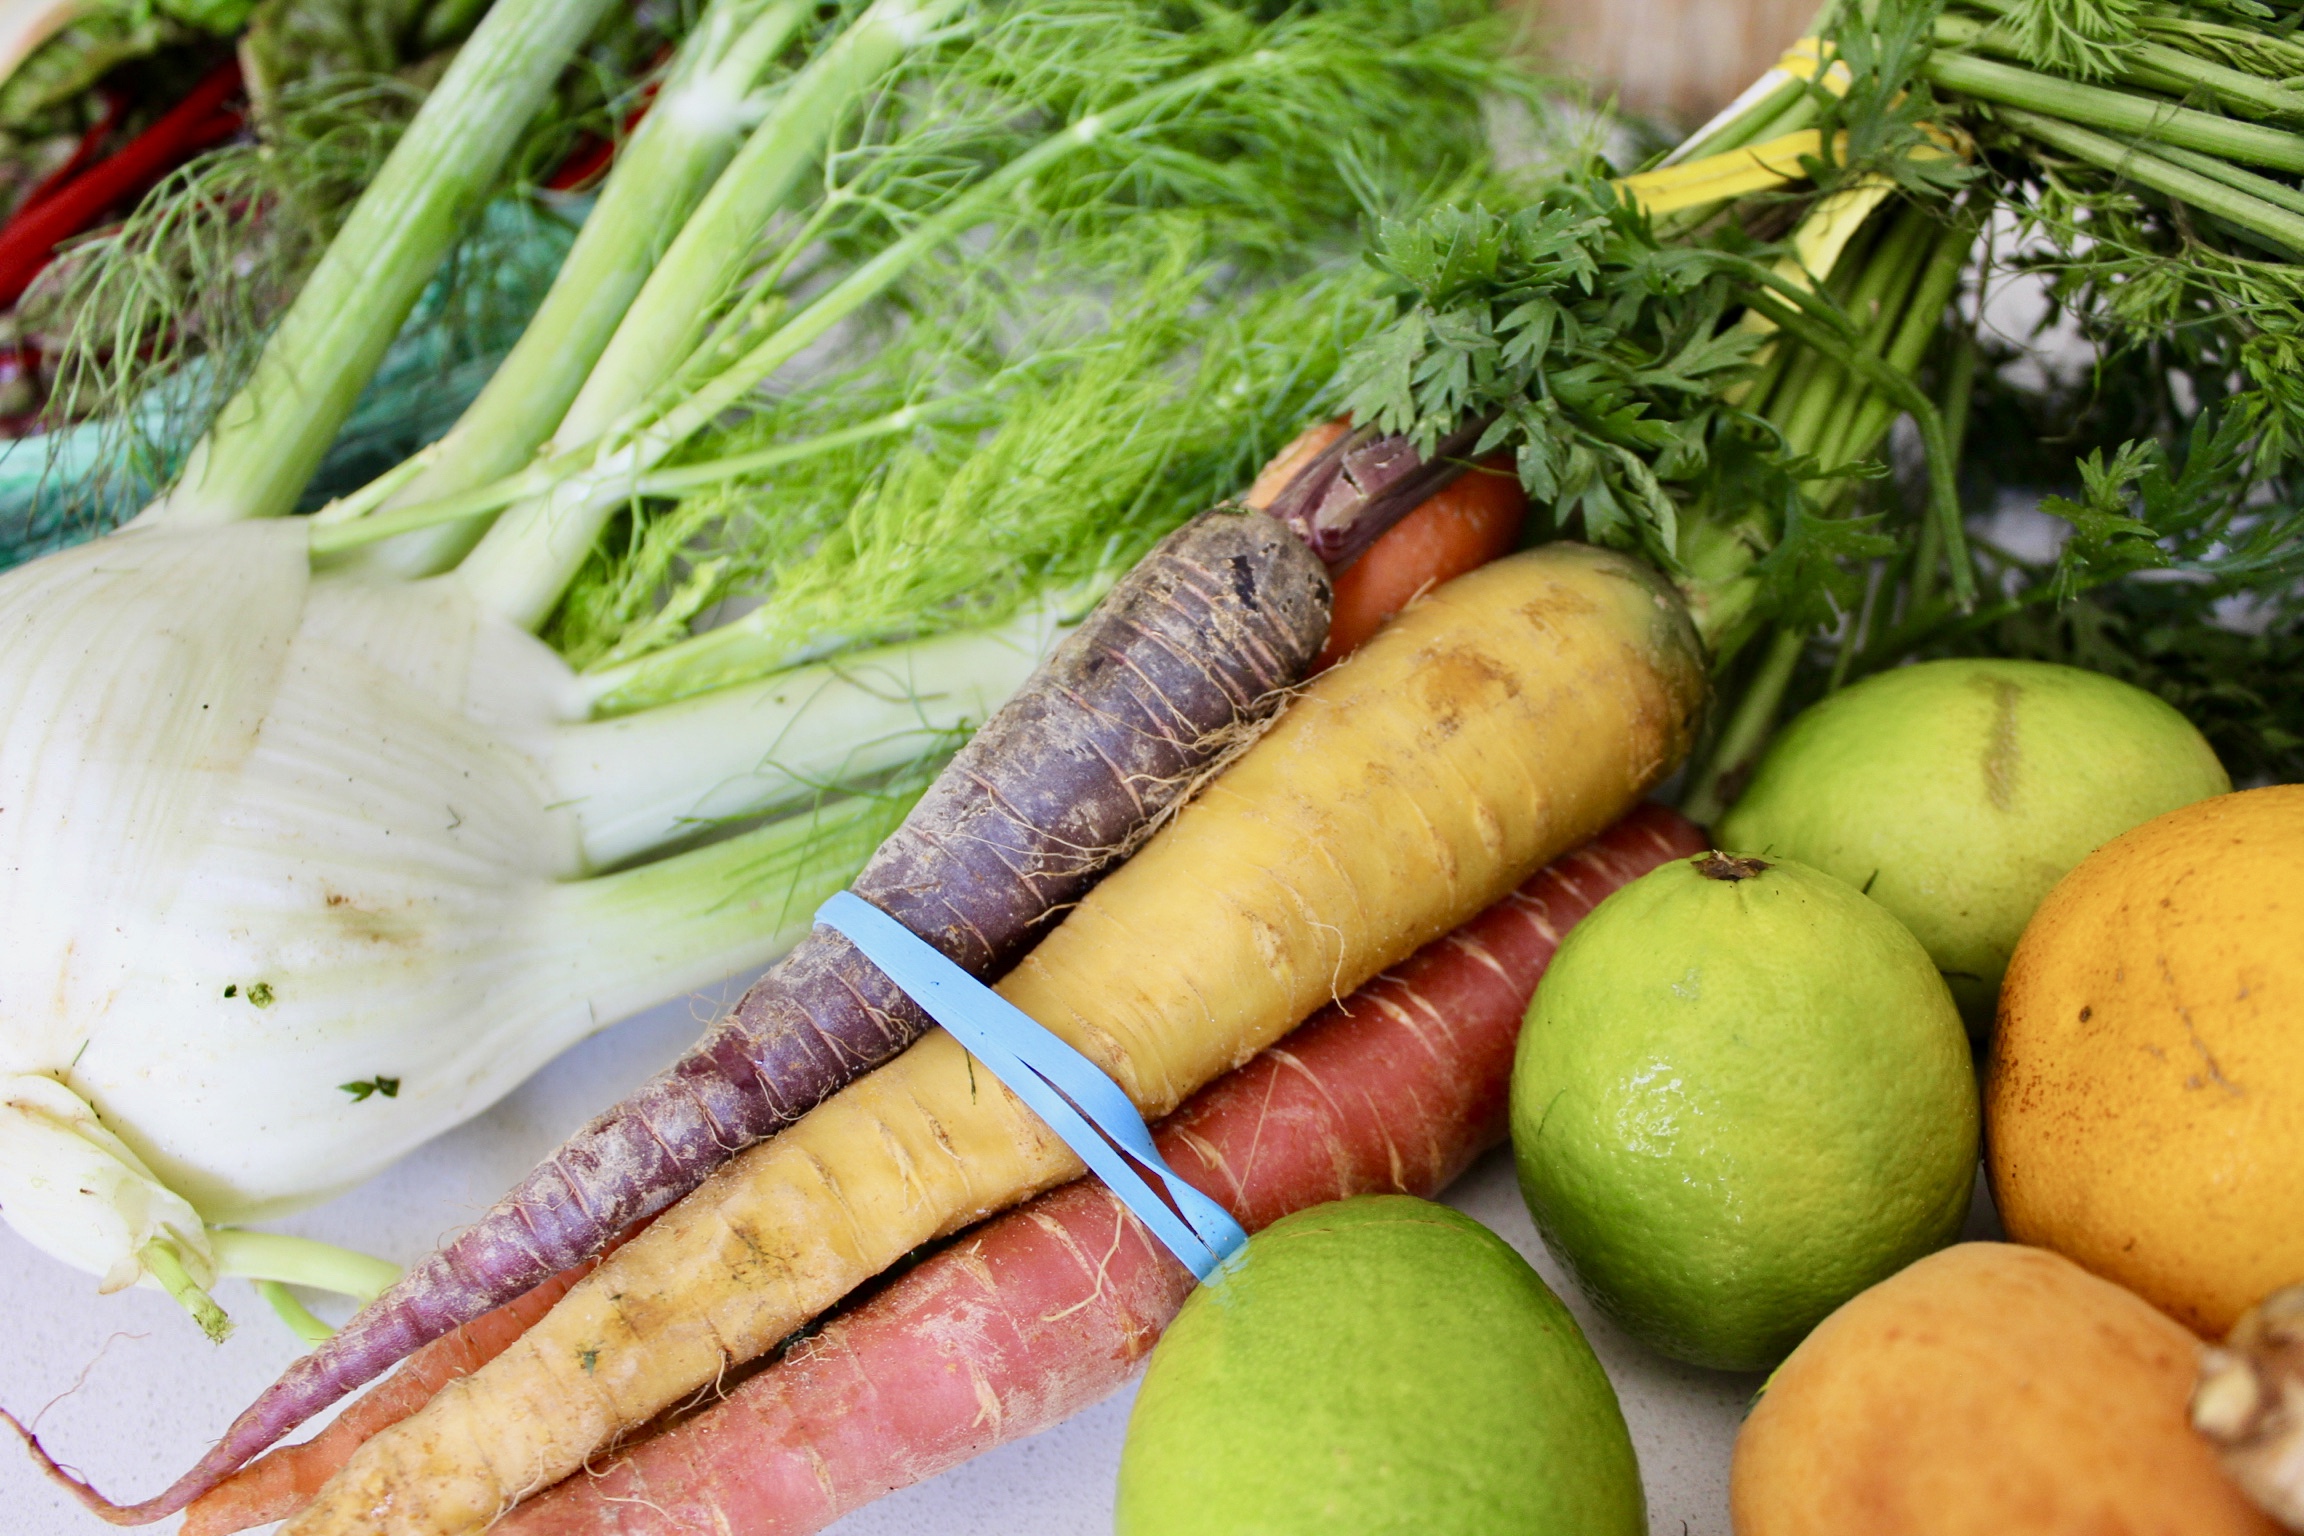
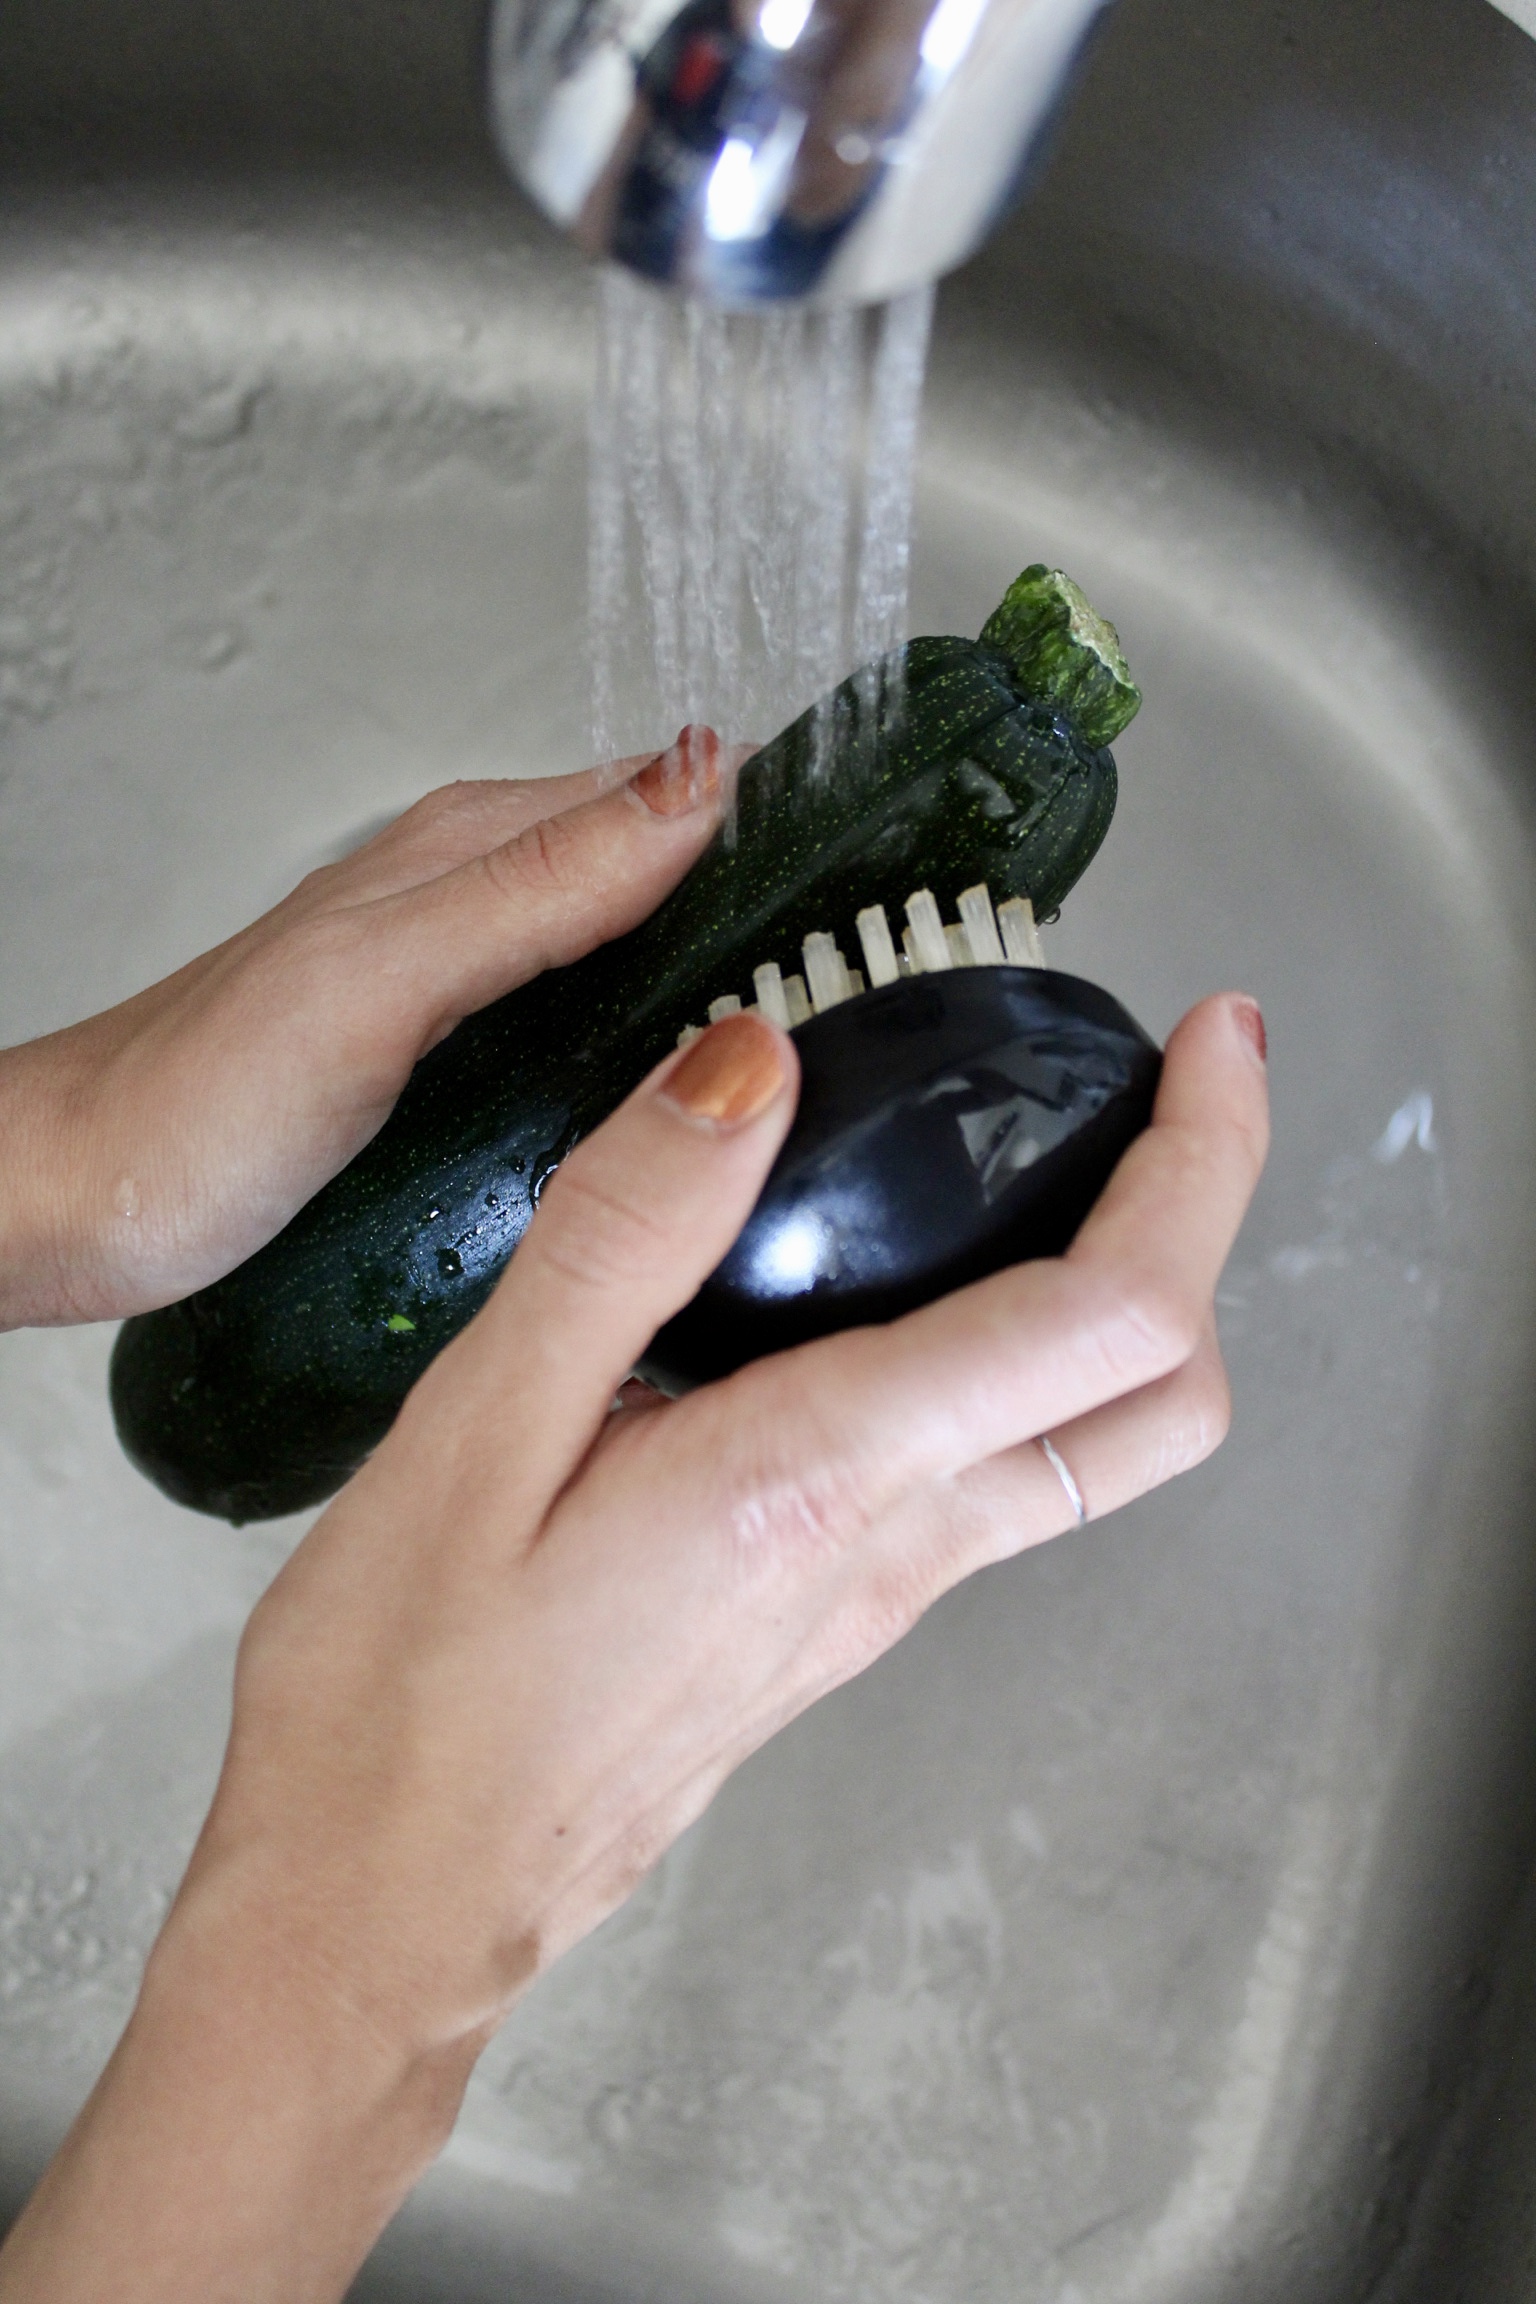
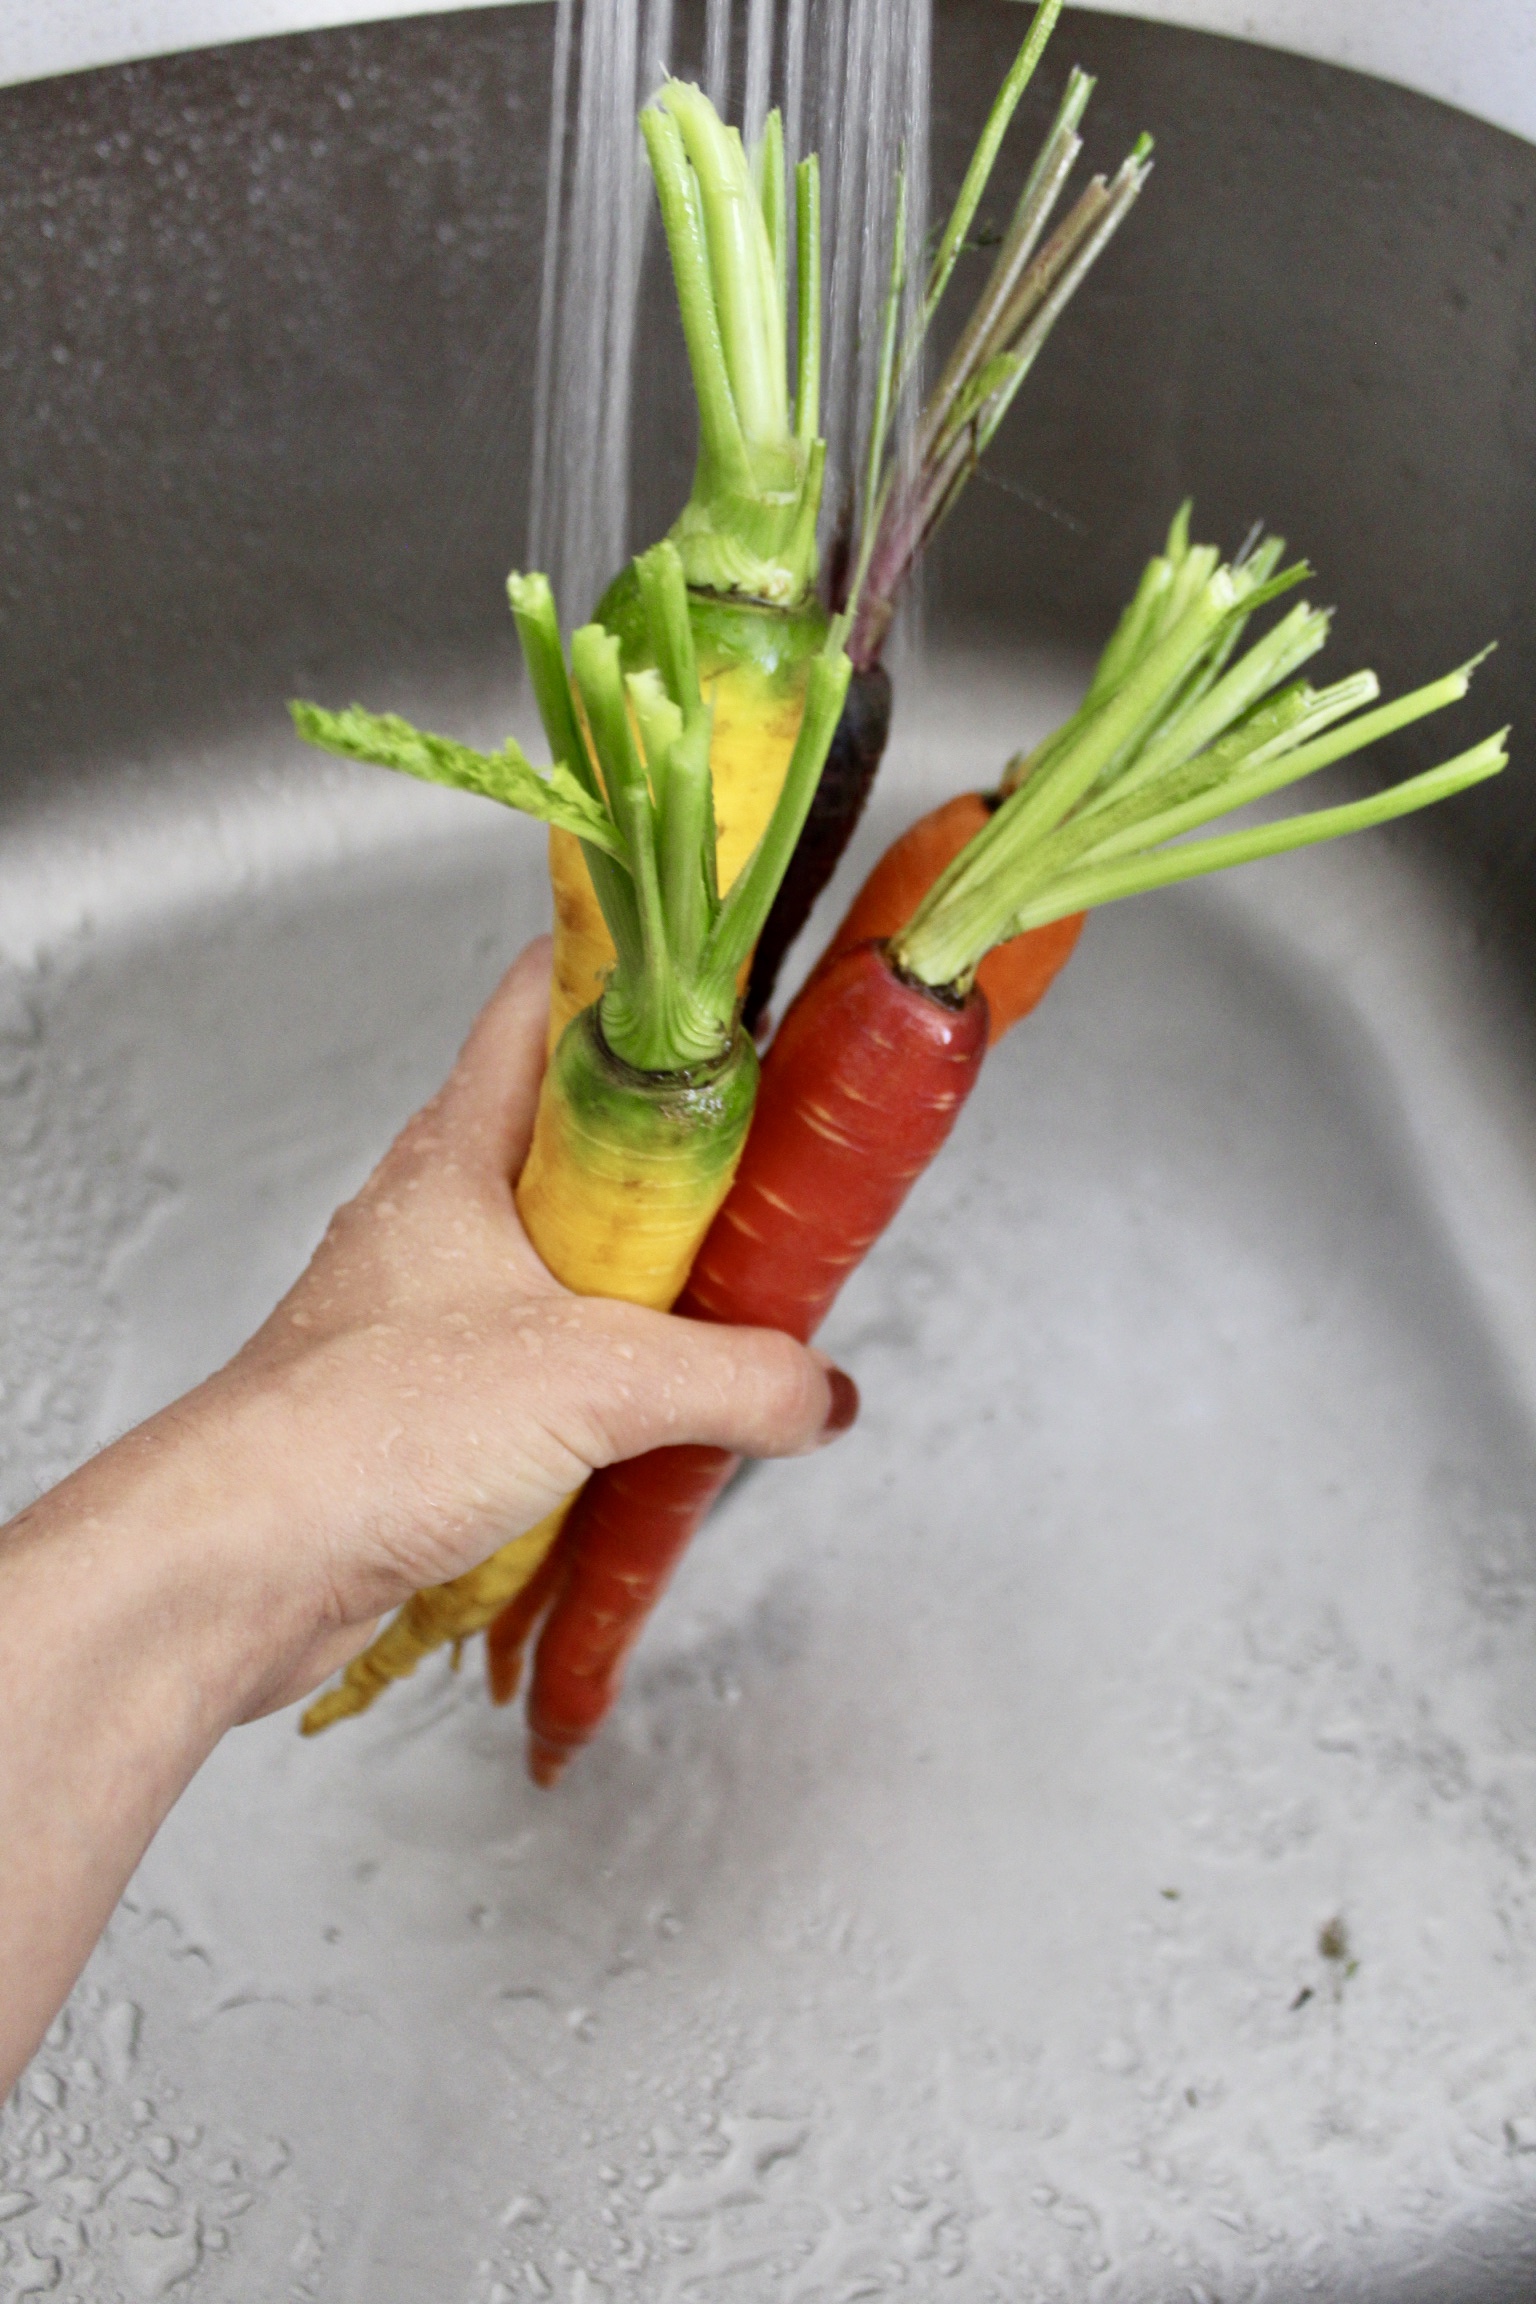
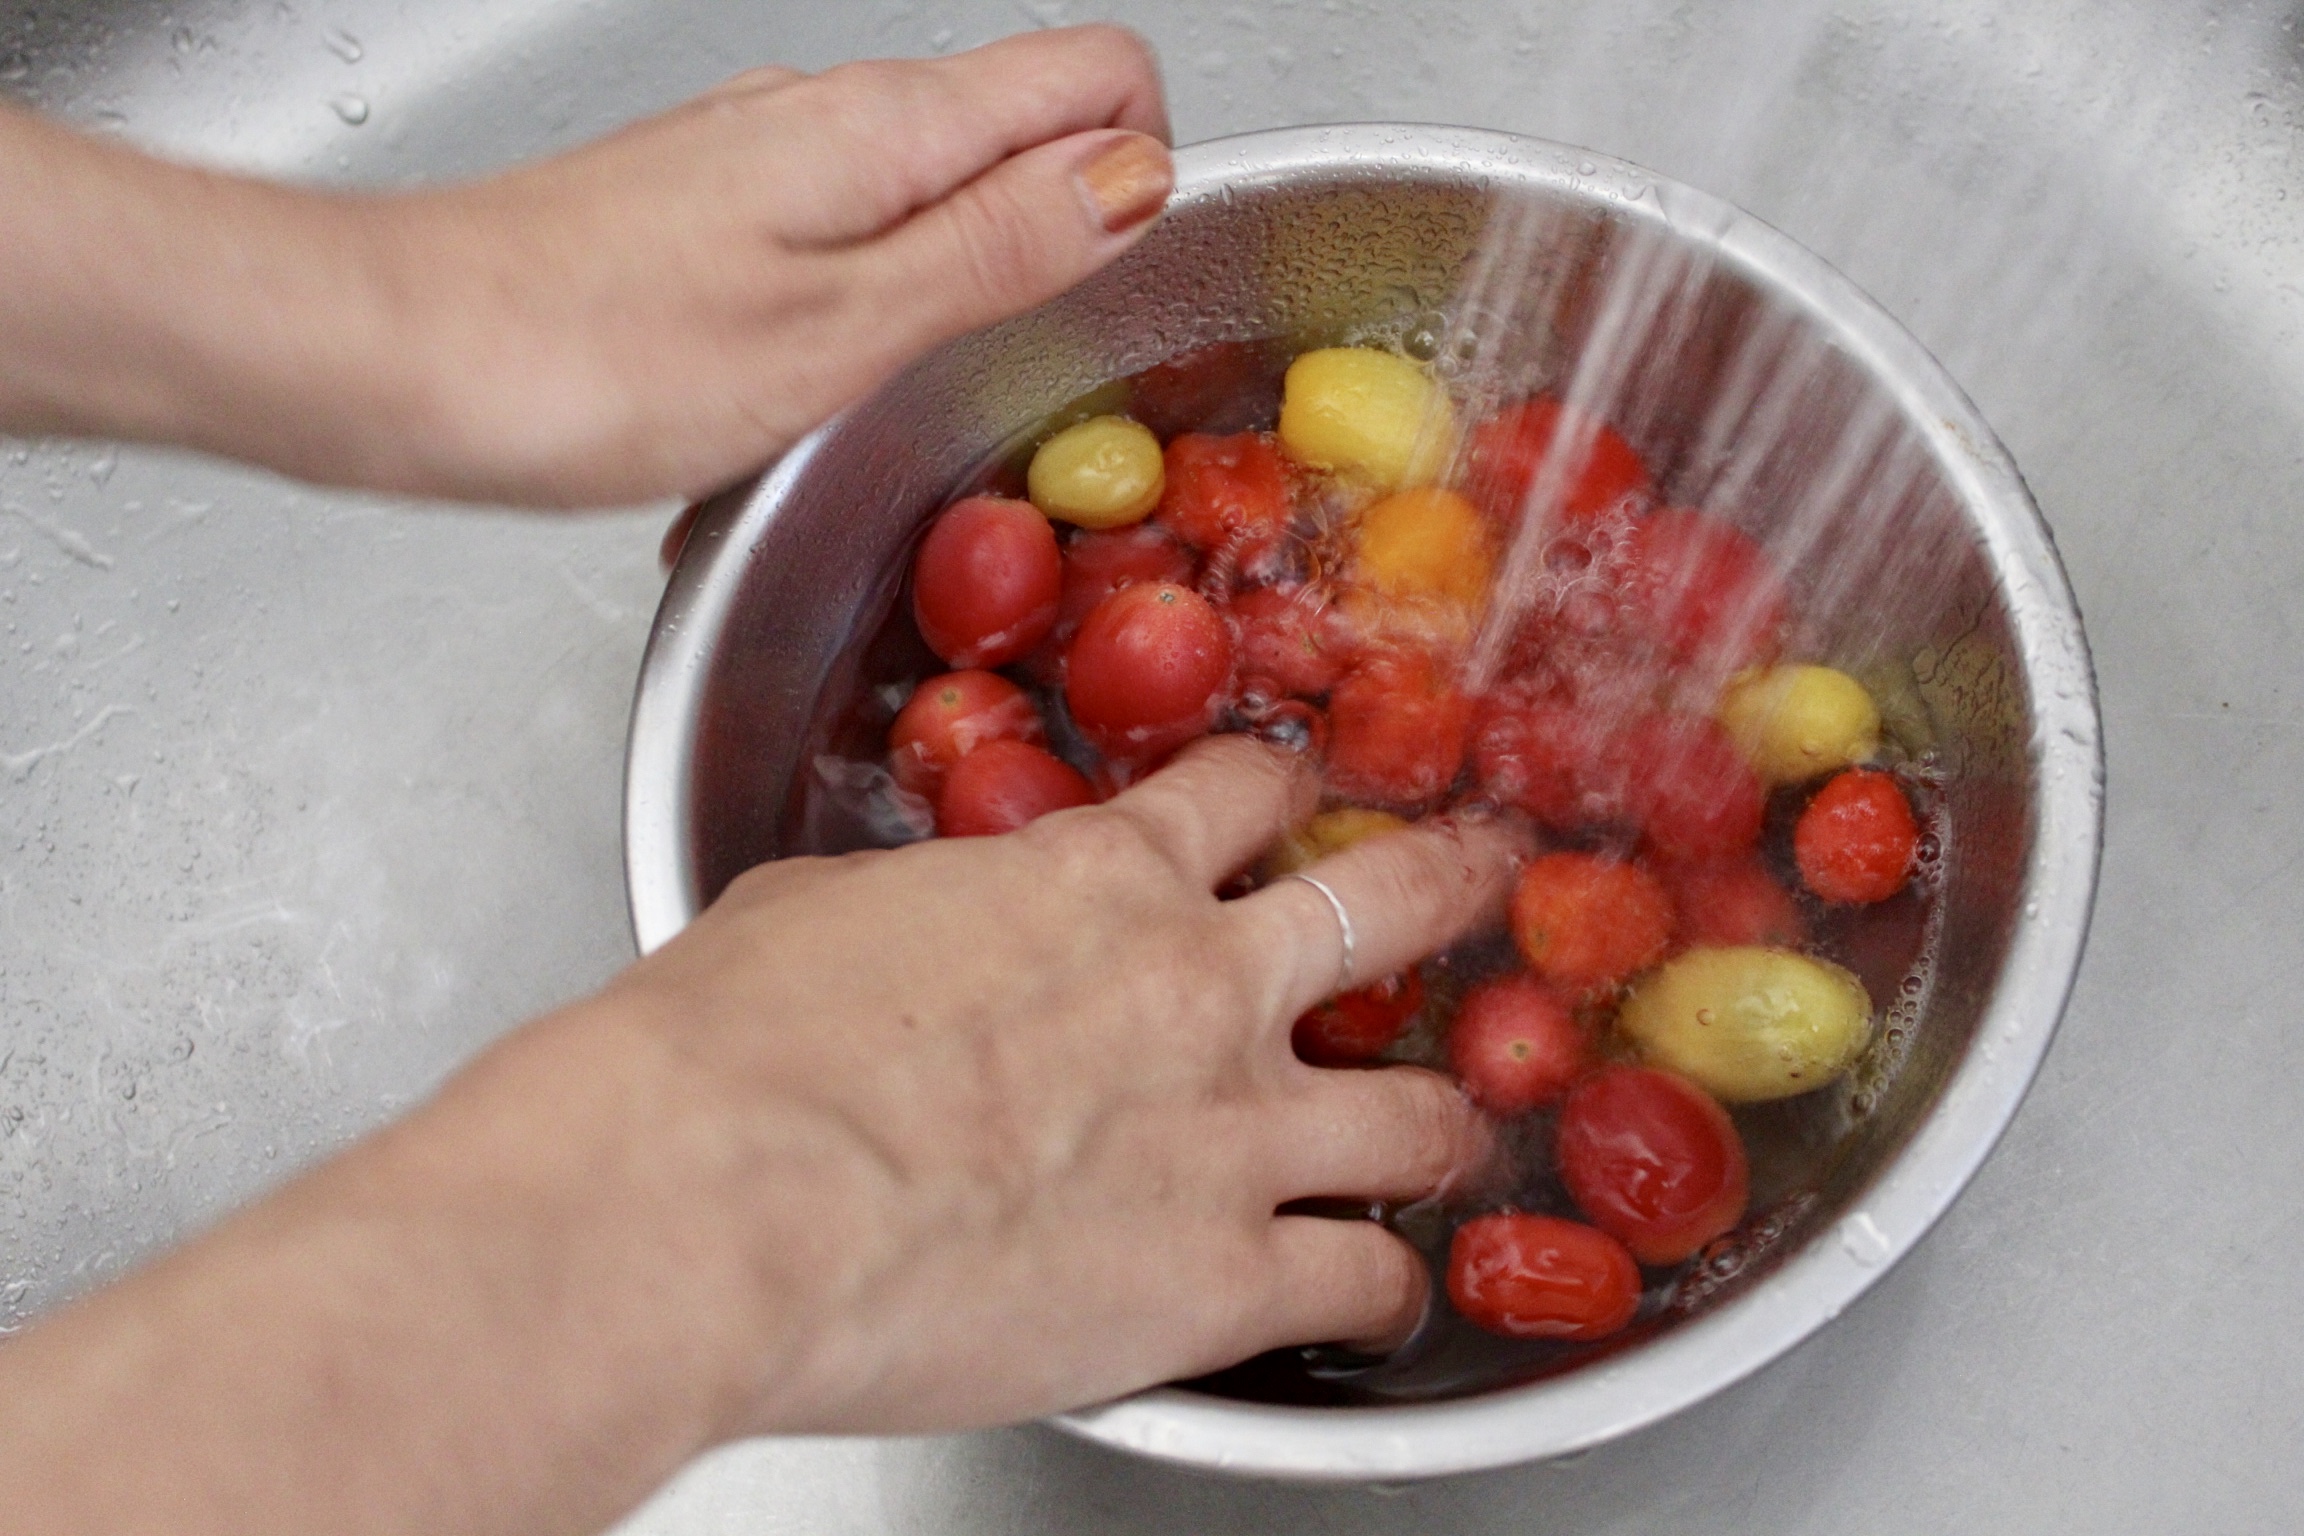
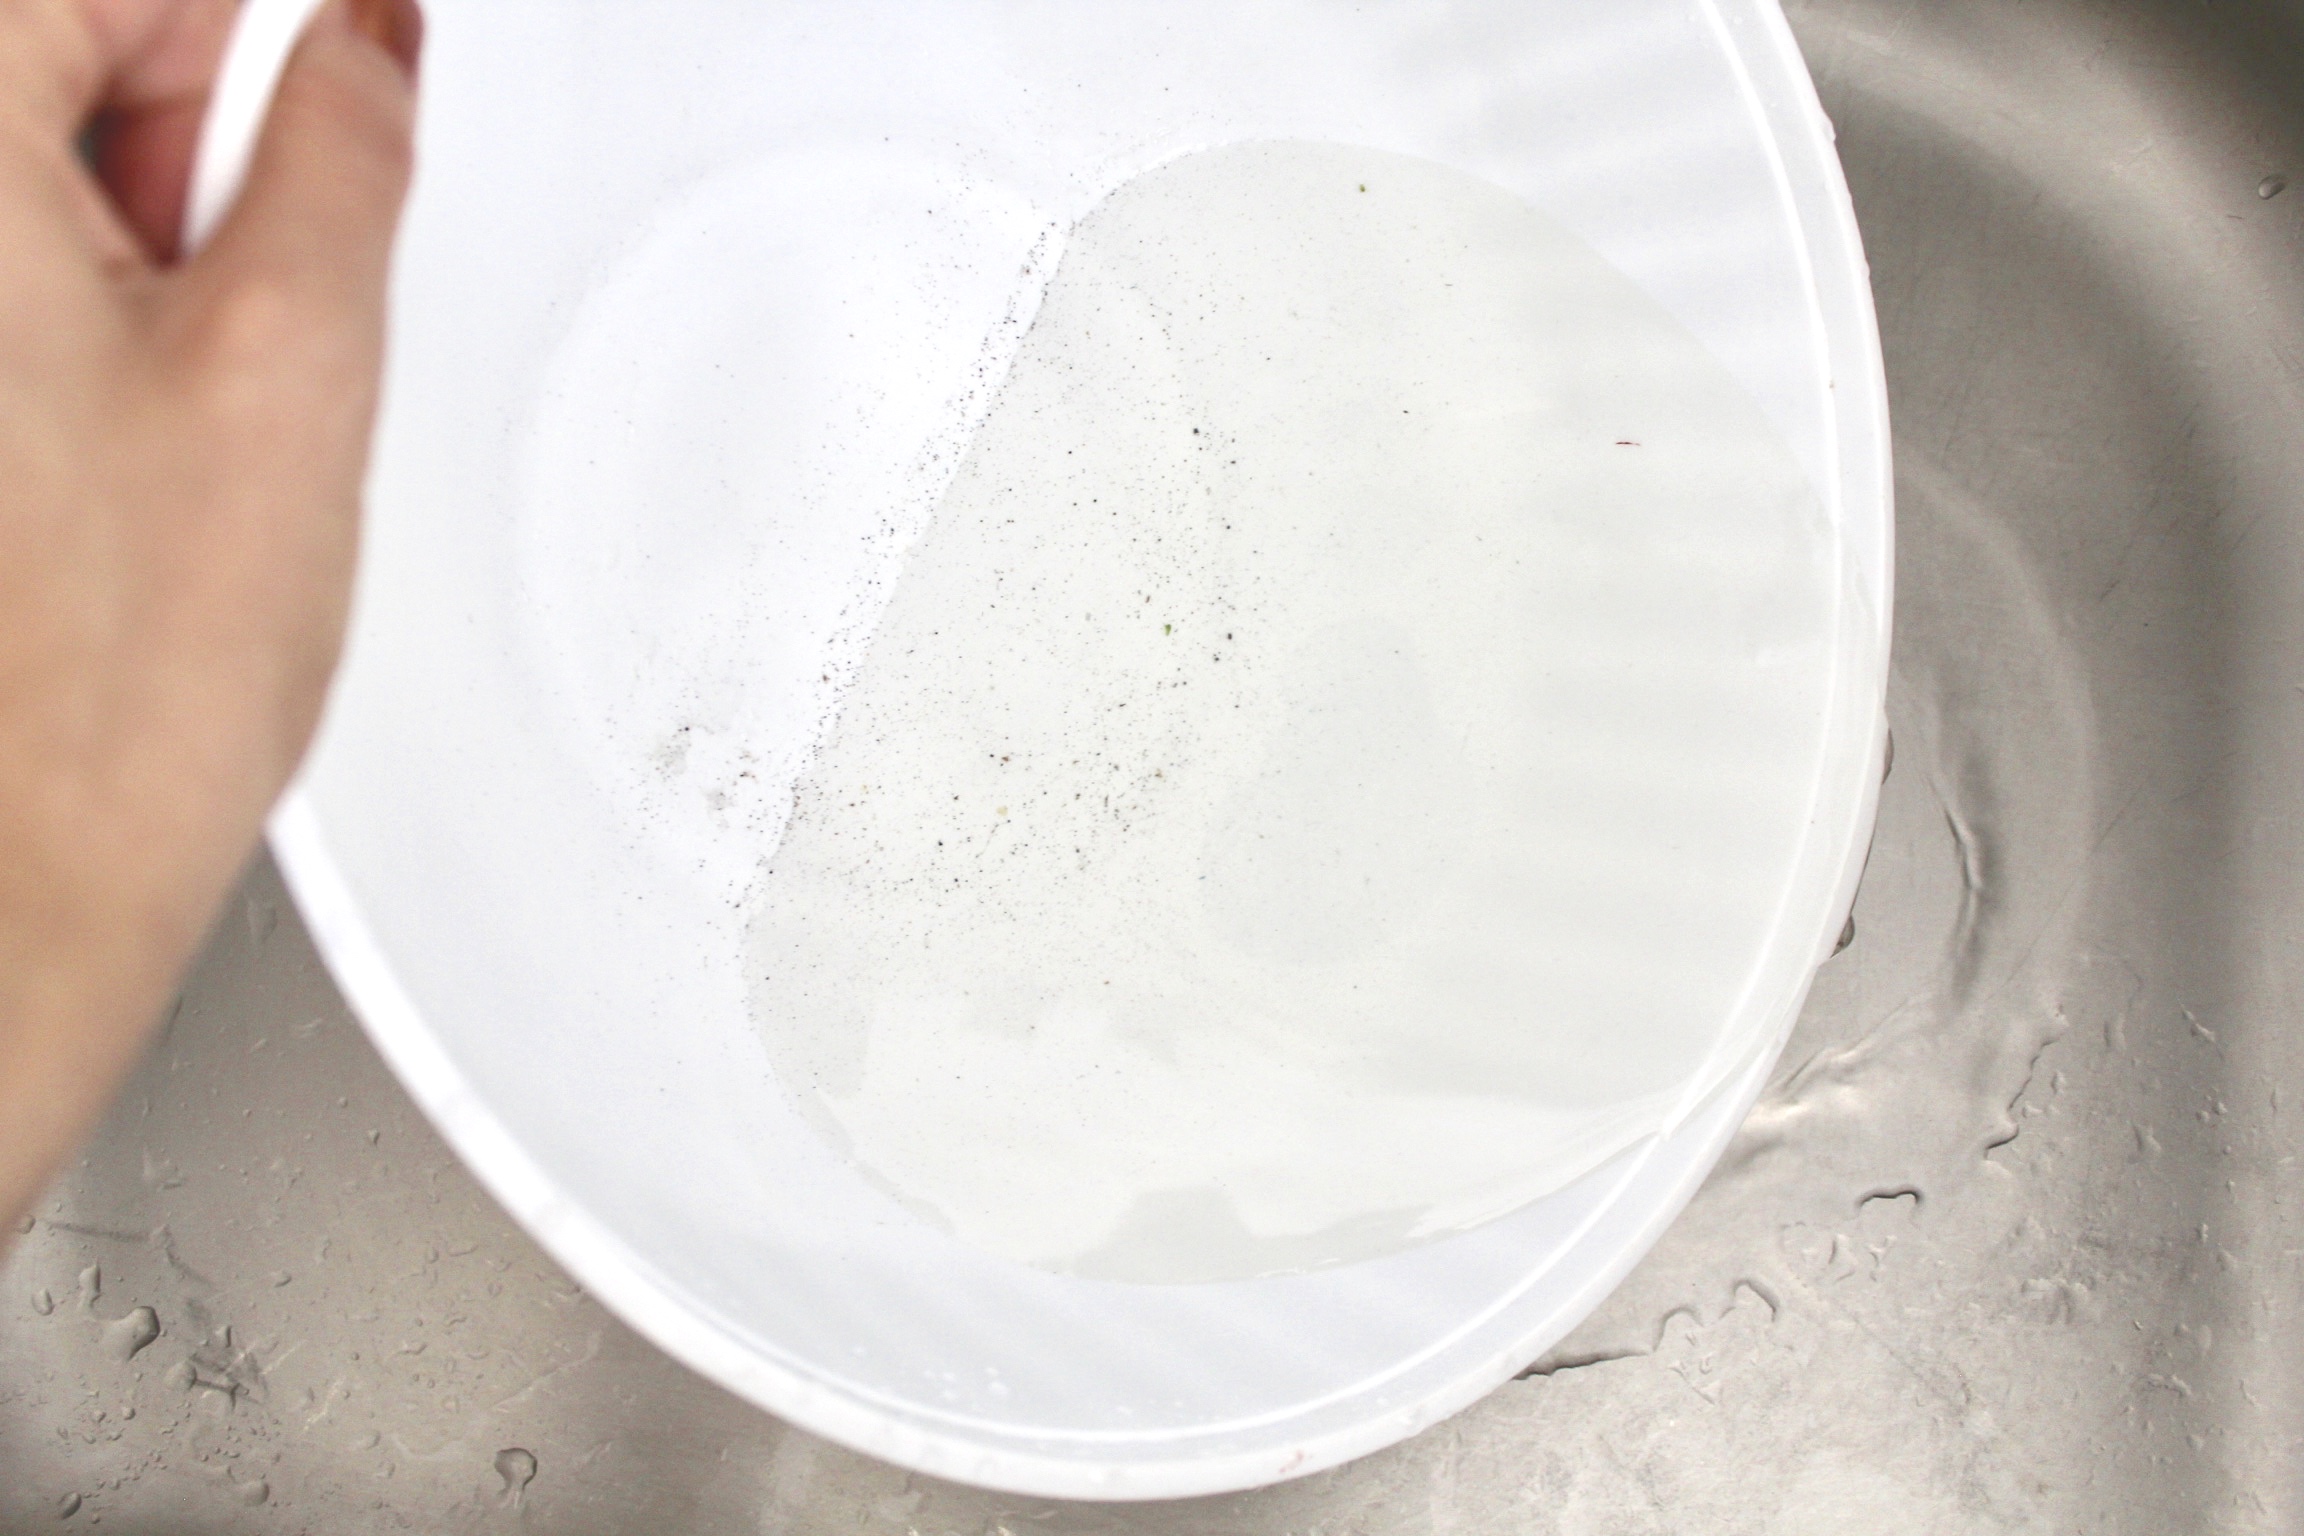
Anything with a skin that you’re going to eat needs to be washed. This includes tomatoes, zucchini, potatoes, carrots, beets berries, plums, apples, pears, etc. For veggies that have thicker skin because they grown underground like carrots and potatoes for example, you’ve got to scrub diligently to make sure there’s no dirt in the wrinkles and bumps of the vegetable (the last thing you want is an unexpected crunch when you thought you’d washed something properly), whereas those with thinner skin such as plums, apples, and tomatoes just need a rinse. You can either do it by running them under the tap or if there are a lot of them, filling a bowl with cold water and swishing them around in the bowl.
Even fruits and veggies with skin that you’re not going to eat should be rinsed because honestly, you don’t know where they’ve been (they could have been dropped on the floor of the supermarket, for example) and you want to rinse them before they touch your workspace and cutting board. Lemons, onions, and avocados should get a quick rinse as a minimum.
For storing, simply dry out your fruit and veg by laying them out on a tea towel or draining them in a strainer set on top of a bowl. Once dry, store in the fridge.
Leafy greens & herbs:
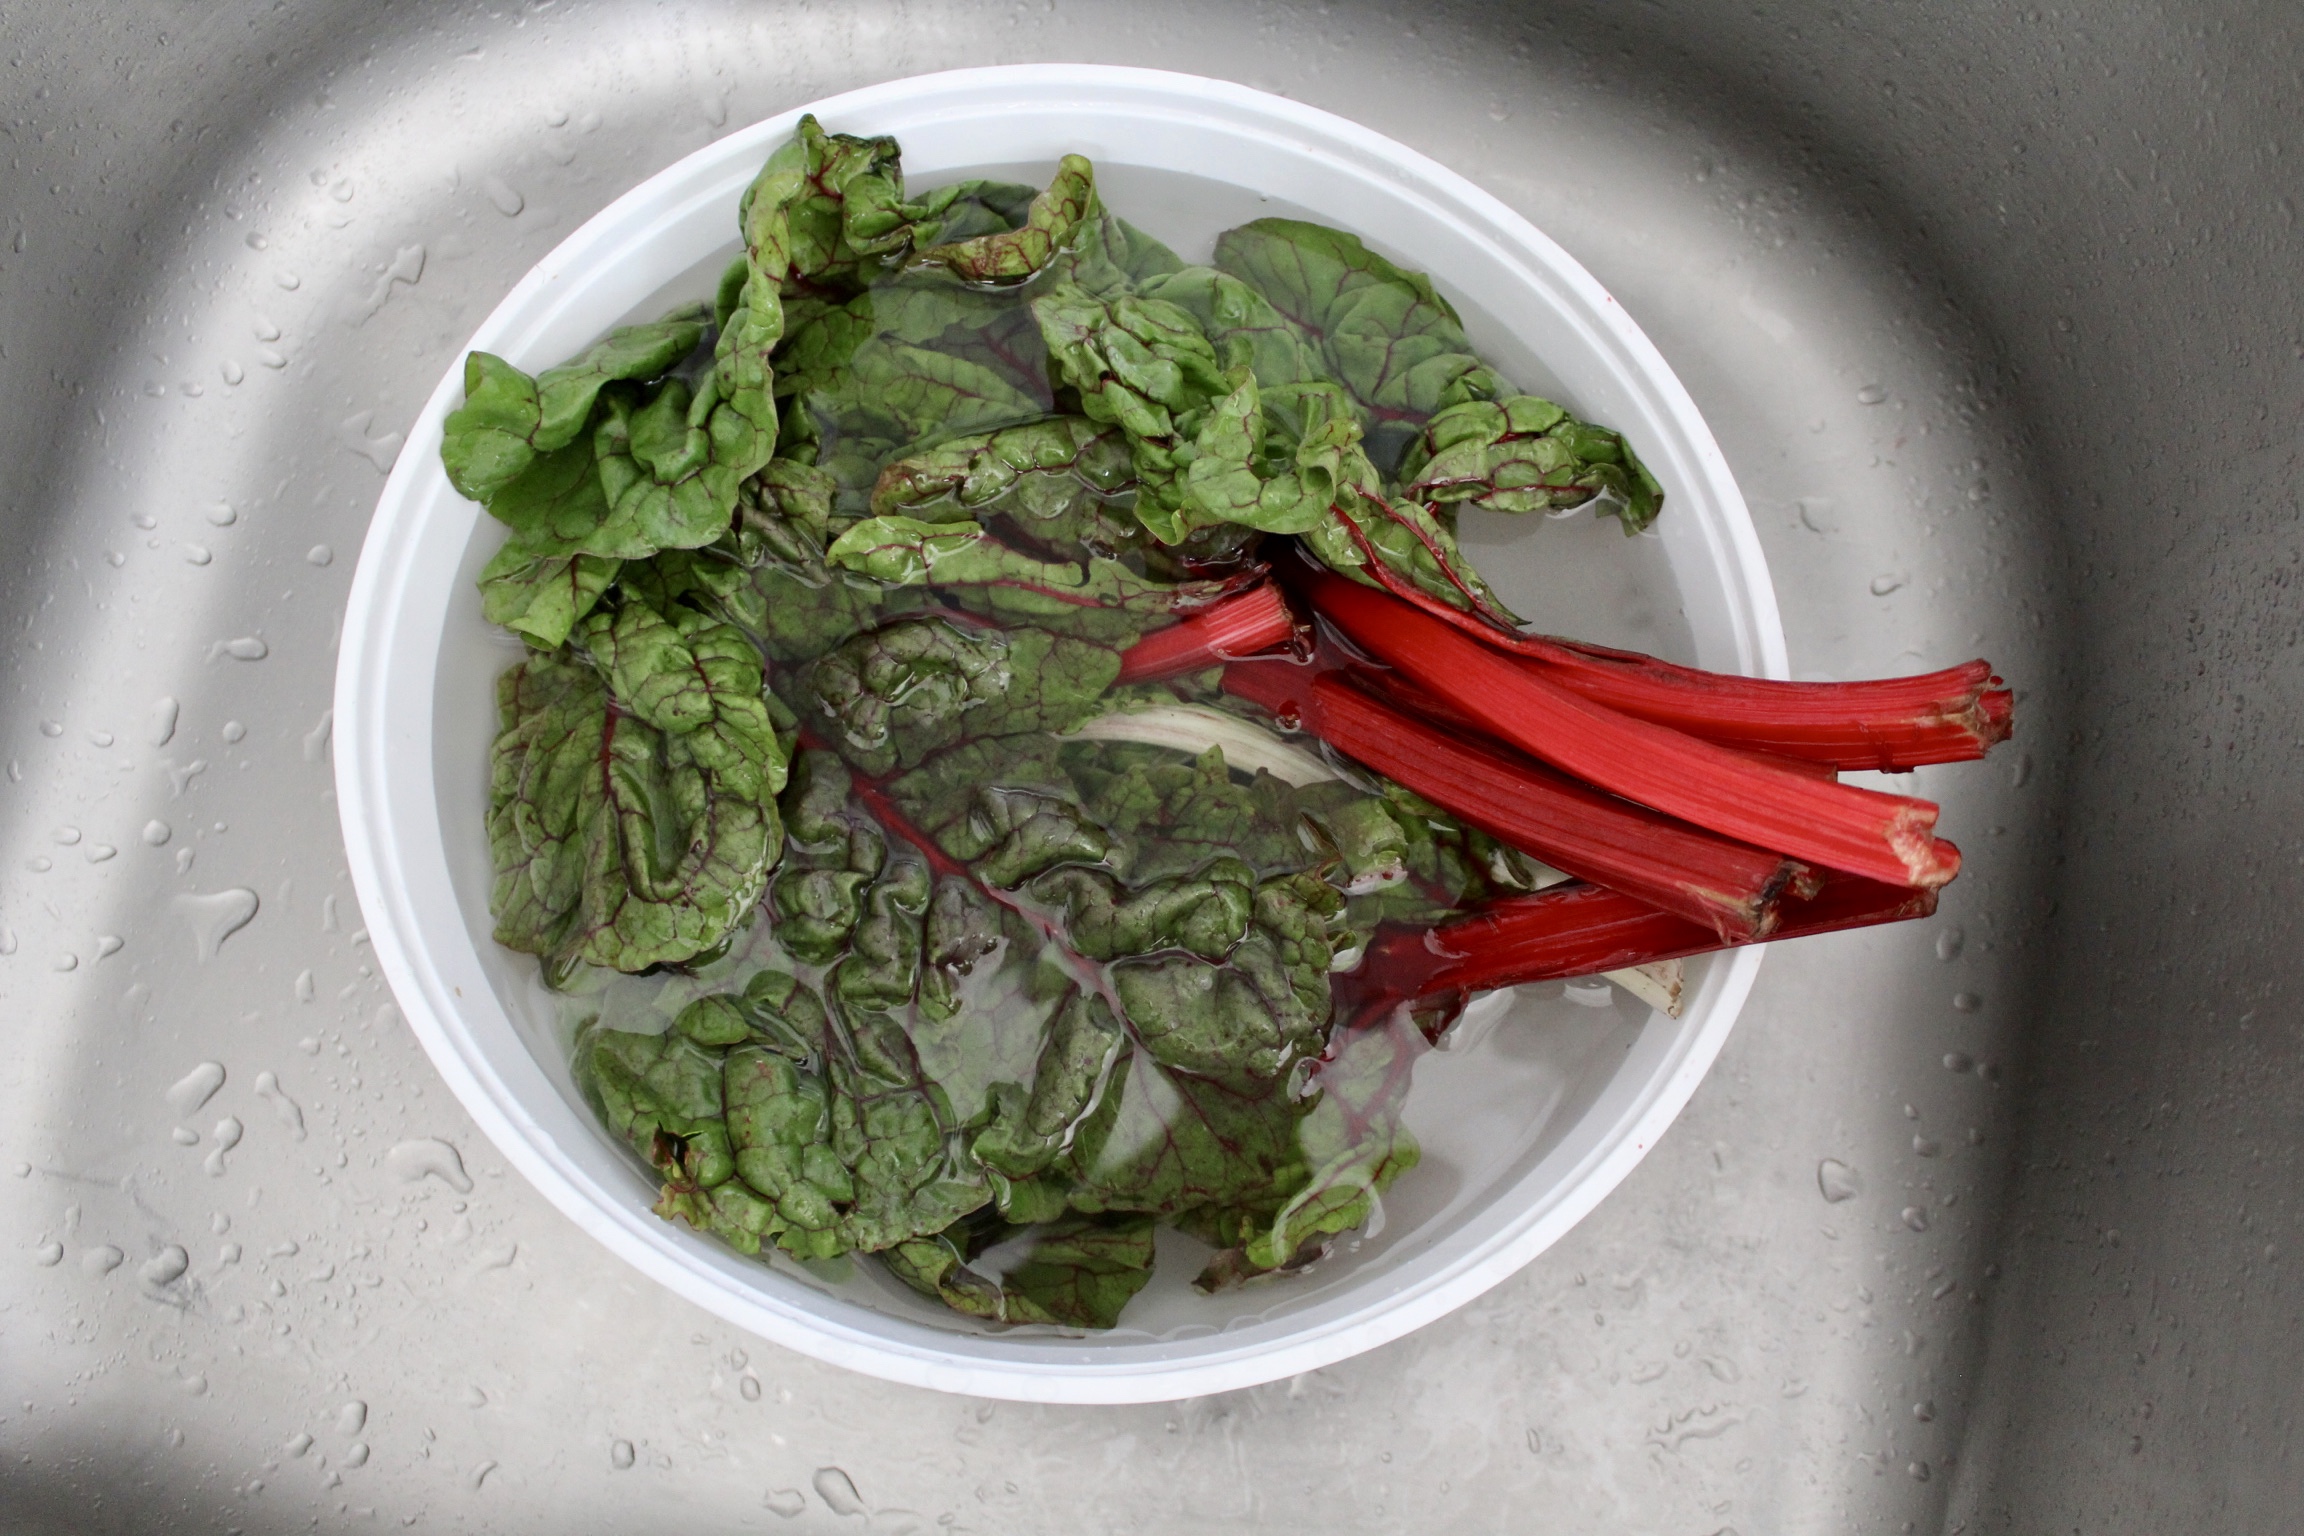
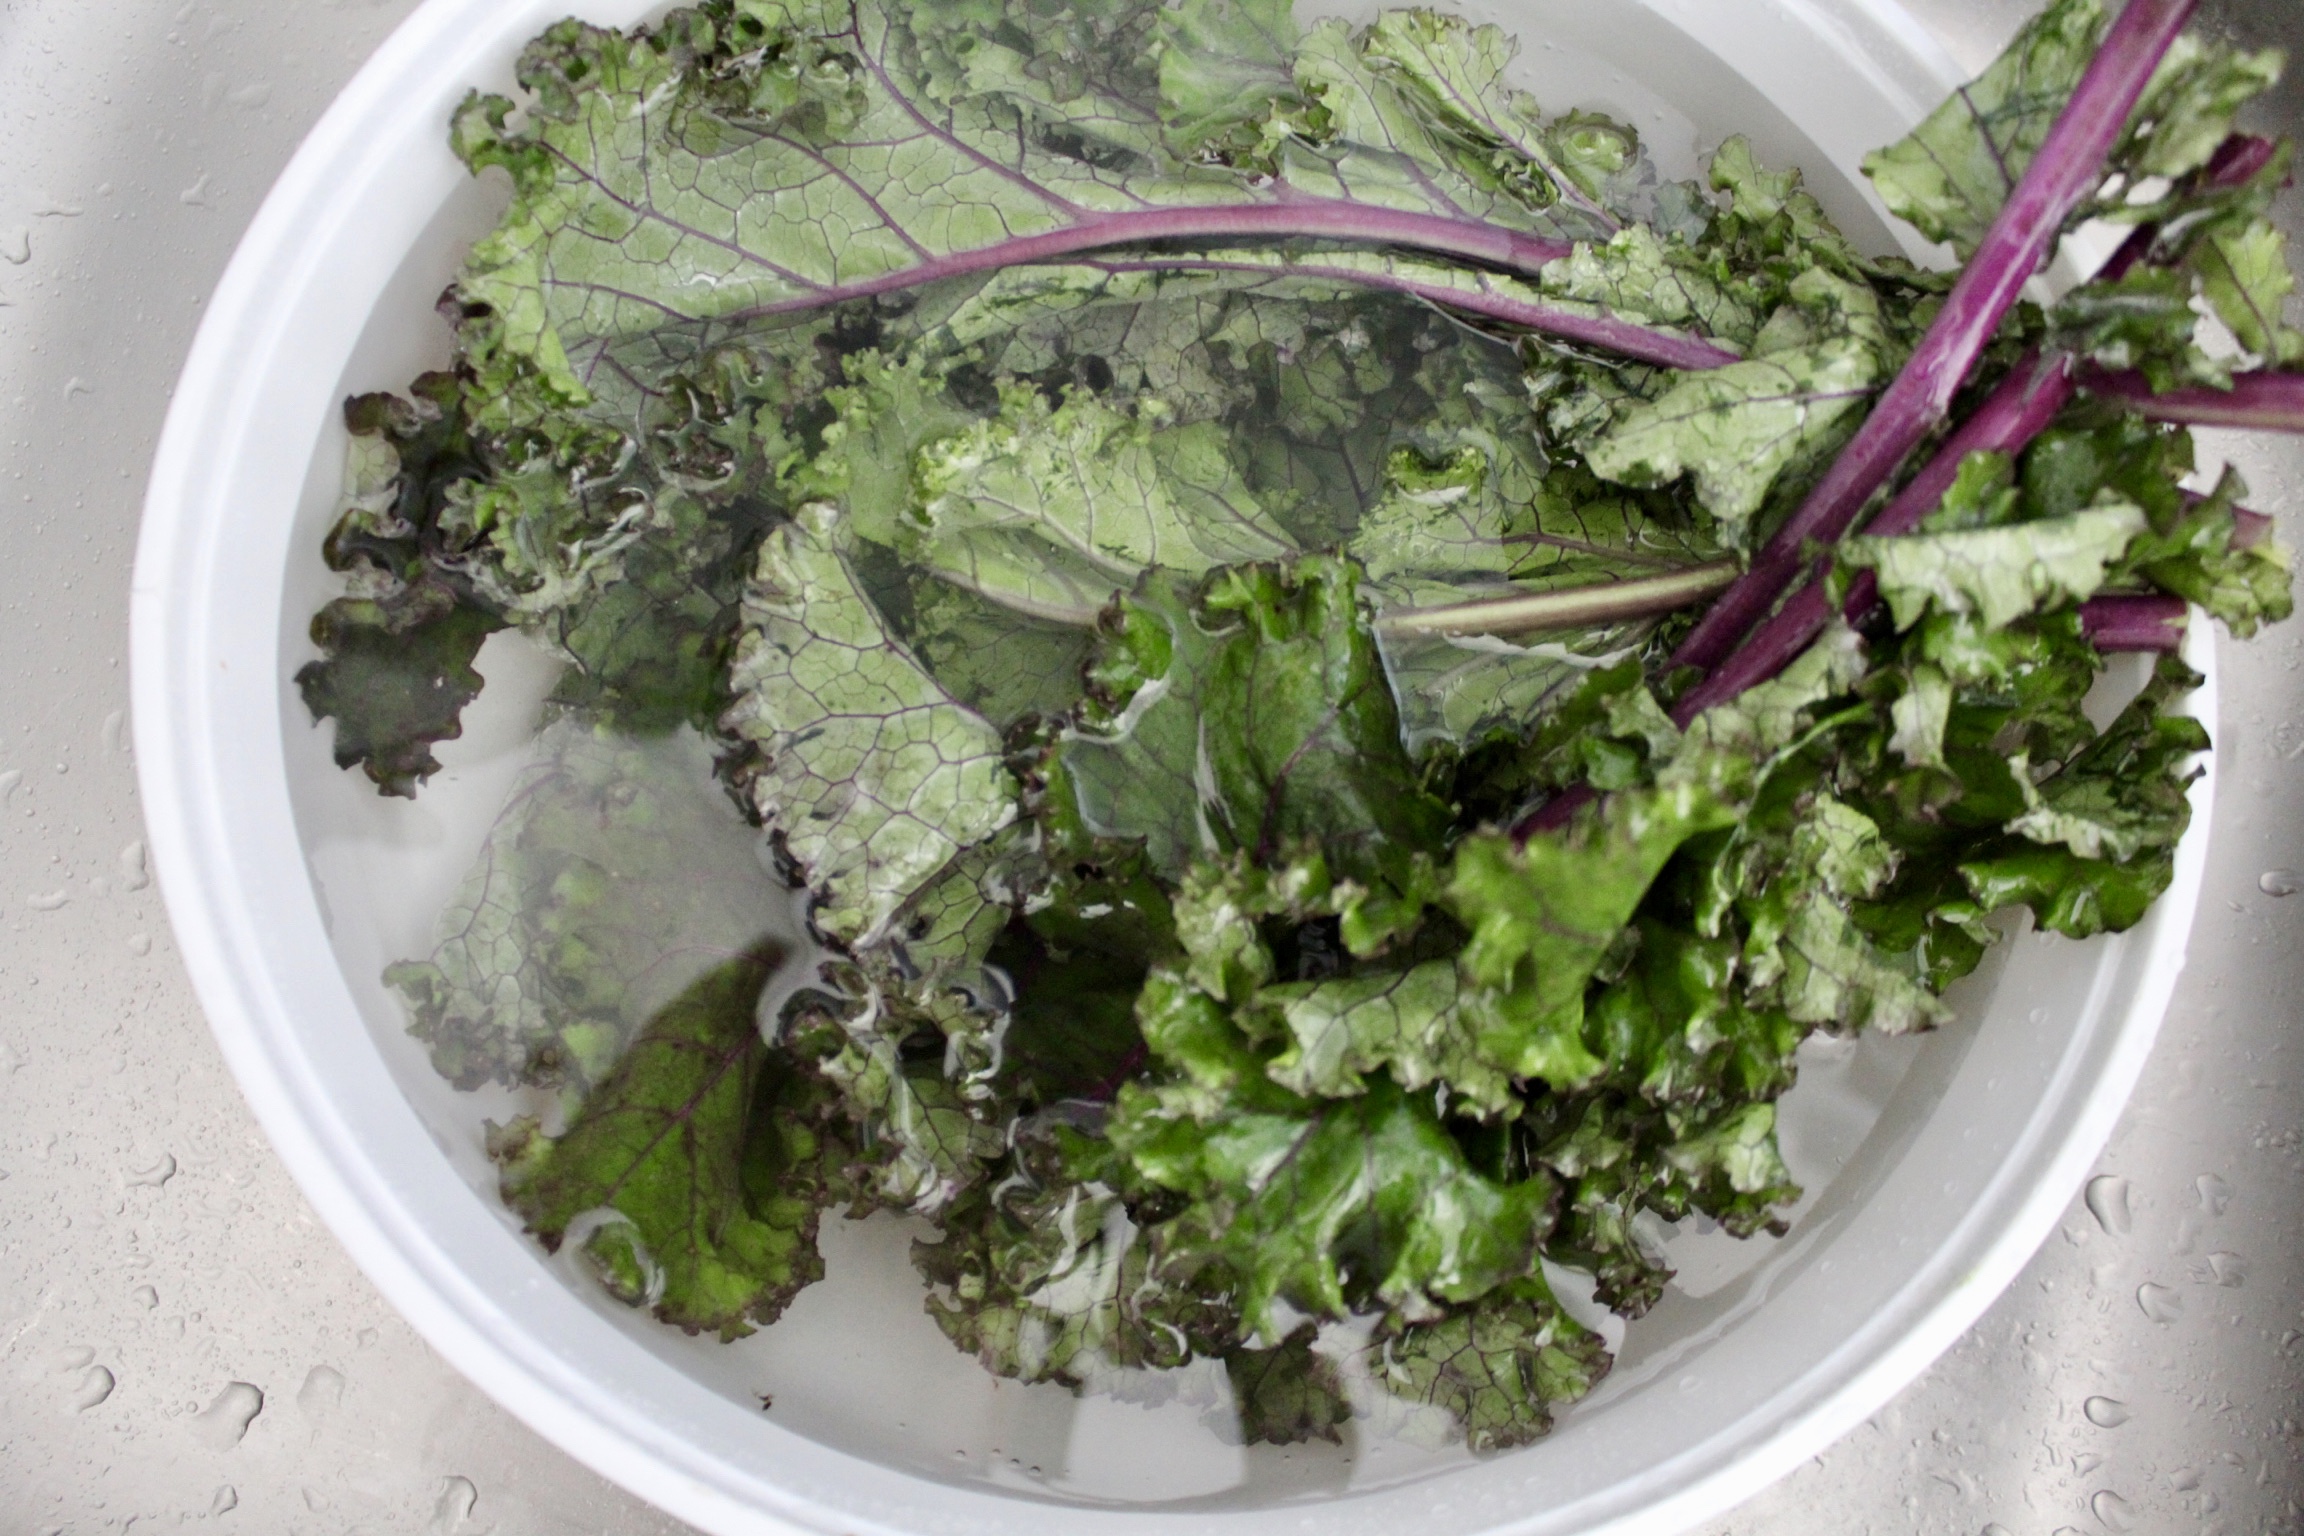
Any leaves and herbs need to be soaked in water so that the dirt that’s hidden in all the nooks and crannies of the leaves can be released. The way to do this is to get a bowl that’s big enough to comfortably fit the bunch of whatever kind of leaves you’re washing and fill it with cold water (we don’t want hot water here because leaves are so sensitive to heat that hot water will start to cook them!). Once full, swish the leaves around in the water with your hands so that all the leaves get moved, and then leave them be and don’t touch them for a few minutes while the dirt releases and settles to the bottom of the water. Once about 5 minutes have passed, gently lift the leaves from the water (without disturbing the dirt at the bottom because then it’ll come back to the top) and place the leaves in a separate container while you drain the water from the bowl. When draining the water, check how much dirt collected at the bottom. If it was hardly any, your greens are good to go. If there was quite a bit, you need to repeat this process until there’s hardly any dirt left. Remember to rinse out the bowl before refilling it with water!
If you’re about to cook them right afterwards, you can simply shake the greens dry and you’re good to go. Otherwise, you can take leaves off the stems and dry them out in a salad spinner (if you’re washing herbs, there’s no need to pick them, you can spin them with the stem). Wrap them up in a damp tea towel or paper towel and store them in the fridge. This will save you time when you go to cook them, since they’re already washed and ready to go!
Grains and beans
It’s also important to know how to properly store your dry goods. For dry grains and beans, you don’t want to wash them until you actually use them because you want to keep them as dry as possible so that they store well and you can keep them for a longer amount of time.
Grains
When you want to use your grains, it’s best to soak the grains completely in water first for about 12 hours in the pot you intend to cook them in (this is actually a great habit to make sure you’re getting the most nutrients out of the grains in the first place) and then when ready to cook, drain the water and rinse the grains well before putting them back in the pot to cook them. If it’s not very hot in your kitchen, you can leave them to soak outside on the counter or stovetop, but if it is pretty warm it’s best to soak your grains in the fridge.
Keep in mind that because the grains have been soaking up water, they will need less water to cook than they regularly would. For example, to cook 1 cup short grain brown rice from dry, you would need 1.5 cups water. When soaked, however, you only need 1 cup water.
Beans
Beans work the same way, although you’re probably much more use to soaking dry beans than grains! You want to make sure you soak your beans anywhere between 12-24 hours, since the longer they soak, the easier and faster it will be to cook them thoroughly. Make sure you cover them with at least 3 inches of water. Once soaked, drain, then rinse thoroughly and put them back in the pot you soaked them in to cook.


be the first to comment