How to Make Your Own Nut or Seed Milk
September 1, 2019


Making nut milk is much easier than you think.
It literally has no more than 3 ingredients, and all you need is a high-speed blender. Now you might think – does it taste the same as store-bought milk? The answer is no, it tastes so much BETTER.
You can make plant-based milk out of any nut, seed, or grain. Grain-based milk can vary a little more in the method of making them, but the following steps can be used with any nut or seed. Here we show you how to make almond milk, but feel free to experiment with whatever nuts or seeds you like. Our favorites are pumpkin seed milk, pecan milk, and pistachio milk. You can leave them as is or you can add sweeteners such as dates or maple syrup if the taste is too bitter. You can even add spices such as cinnamon, cardamom, turmeric, or ginger. Be as creative as you want!
The Magic of Soaking
The key to making creamy milk is to soak the nuts or seeds you want to use in water. This is primarily to make them softer and easier to blend, but it also has the added benefit of unlocking the nutrients that are contained within the nuts and seeds that enable them to grow into whole plants (this is the power to create new LIFE we’re talking about!). So not only are you making your own milk without any thickening gums or preservatives, but it’s also super nutritious!
Follow the simple steps below to learn how you can have the power to make your own milk from the comfort of your own kitchen. And it’ll taste so good, you’ll never want to drink store-bought plant milk again!
-
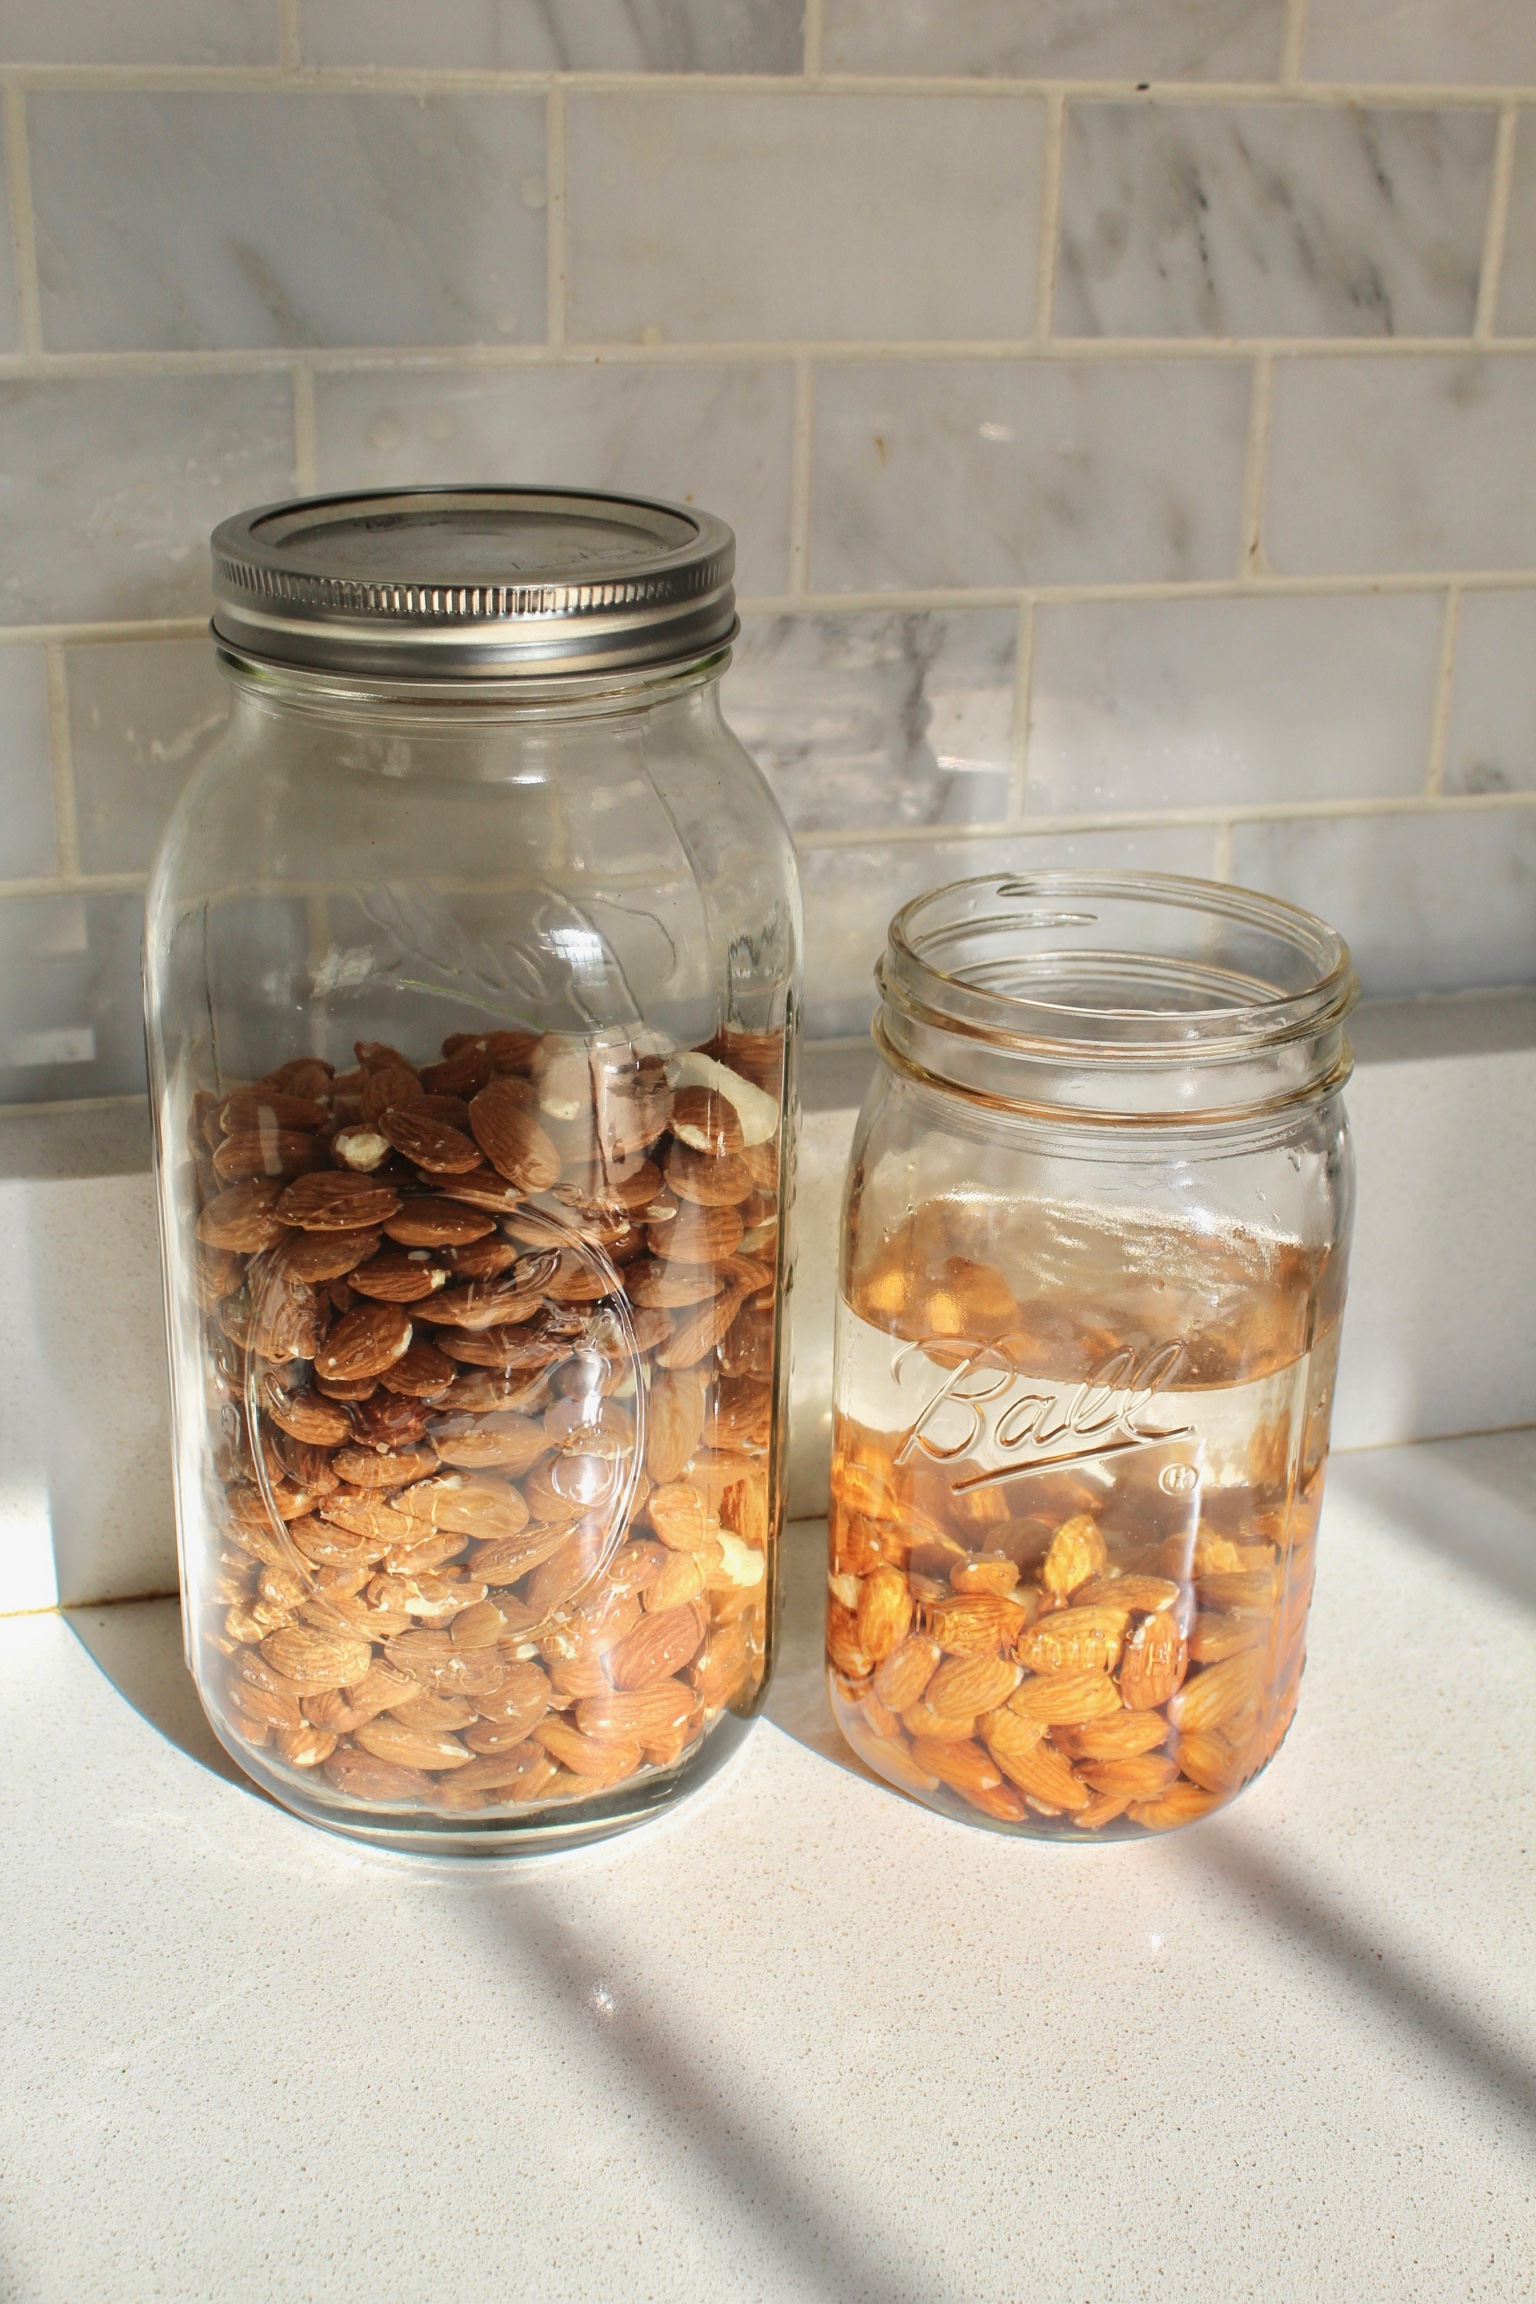
Soak your nuts/seeds in filtered water for at least 6 hours (overnight if possible).
-
Drain soaked nuts/seeds and rinse thoroughly.
-
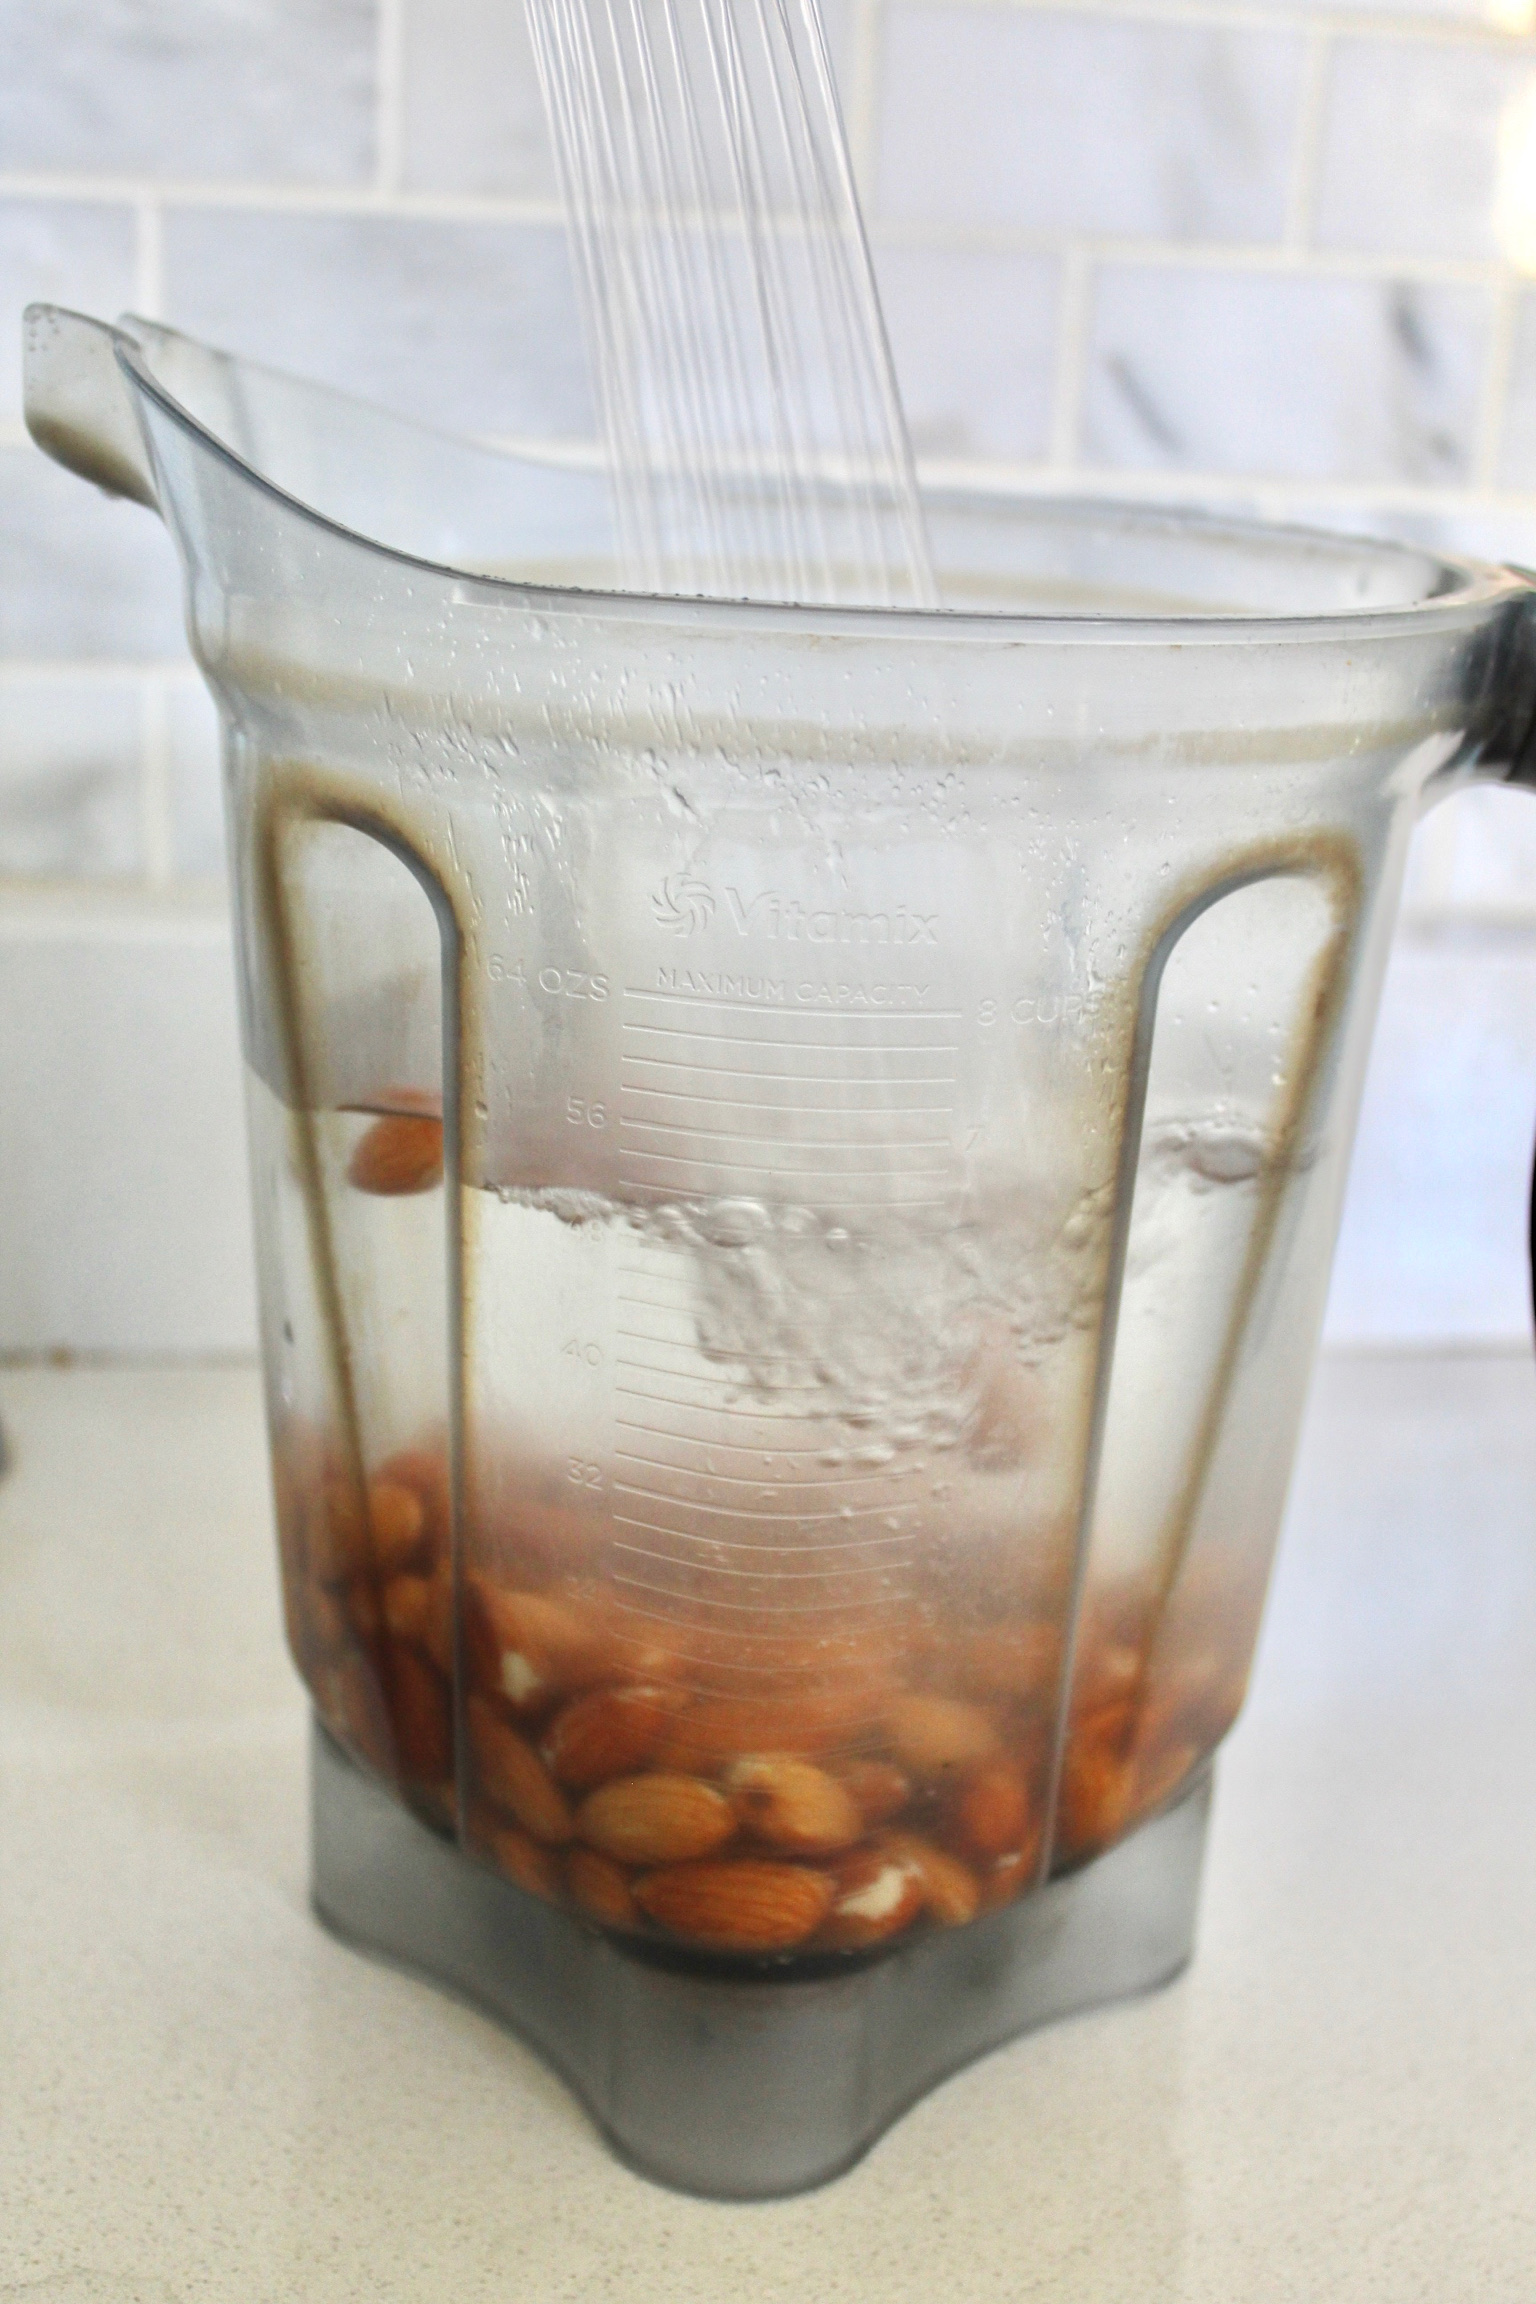
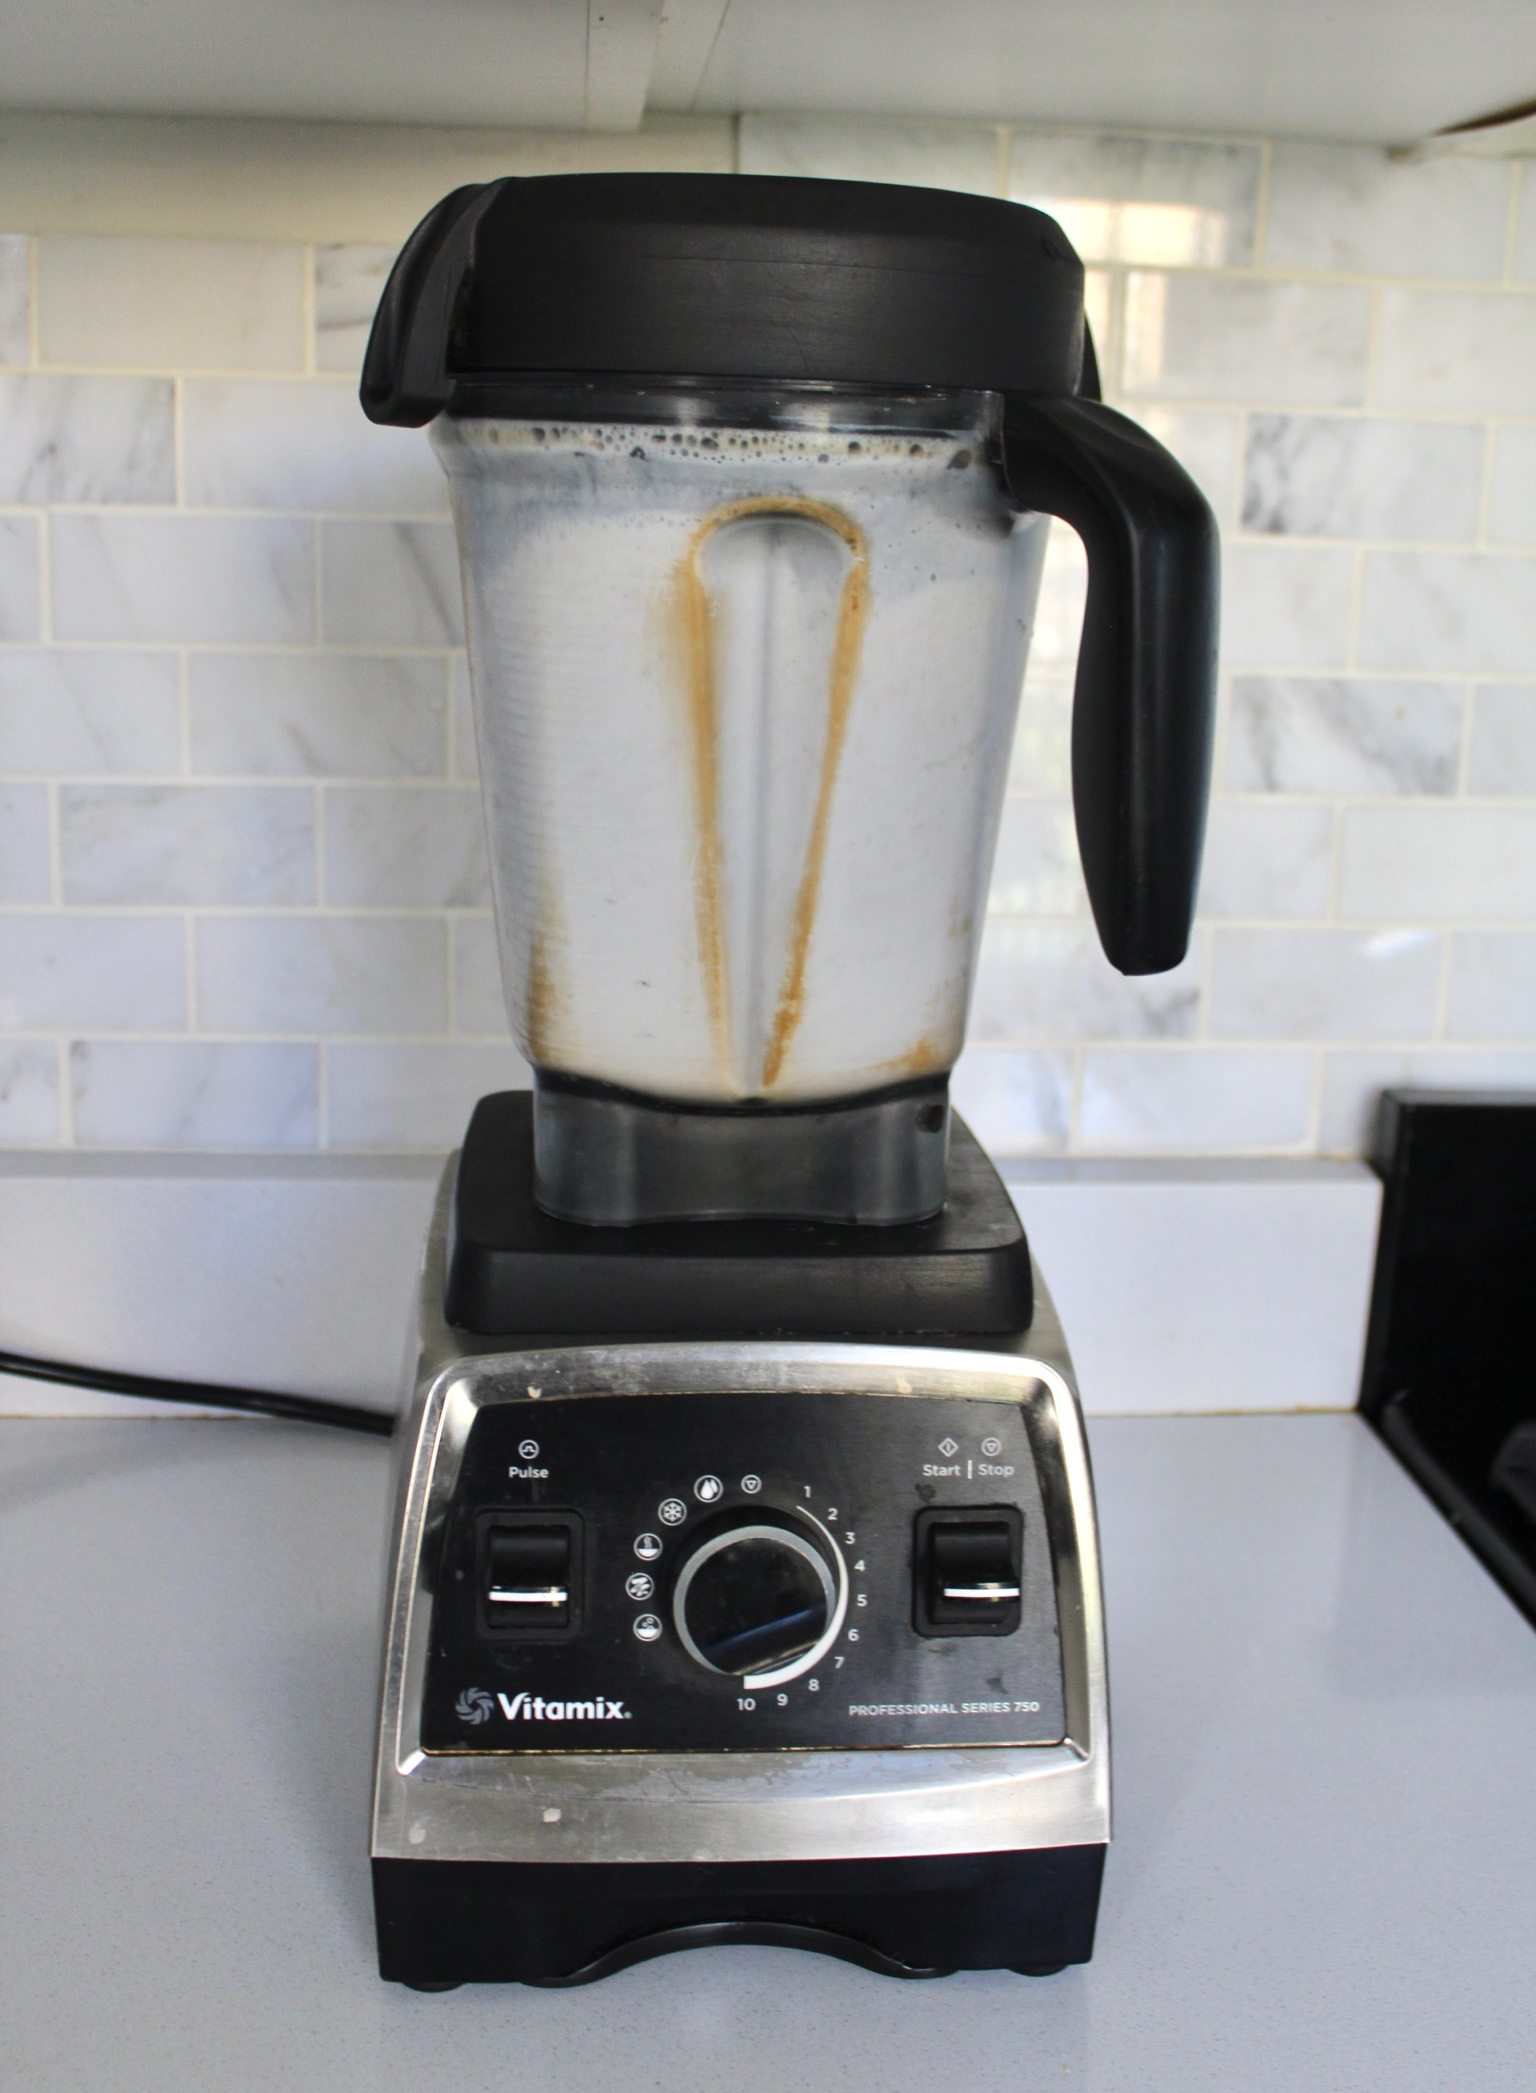
Place rinsed nuts/seeds in a high-speed blender with corresponding amount of water. Ratio is 1:4. So for every 1 cup of dried nuts/seeds that you soaked, you would use 4 cups filtered water.
-
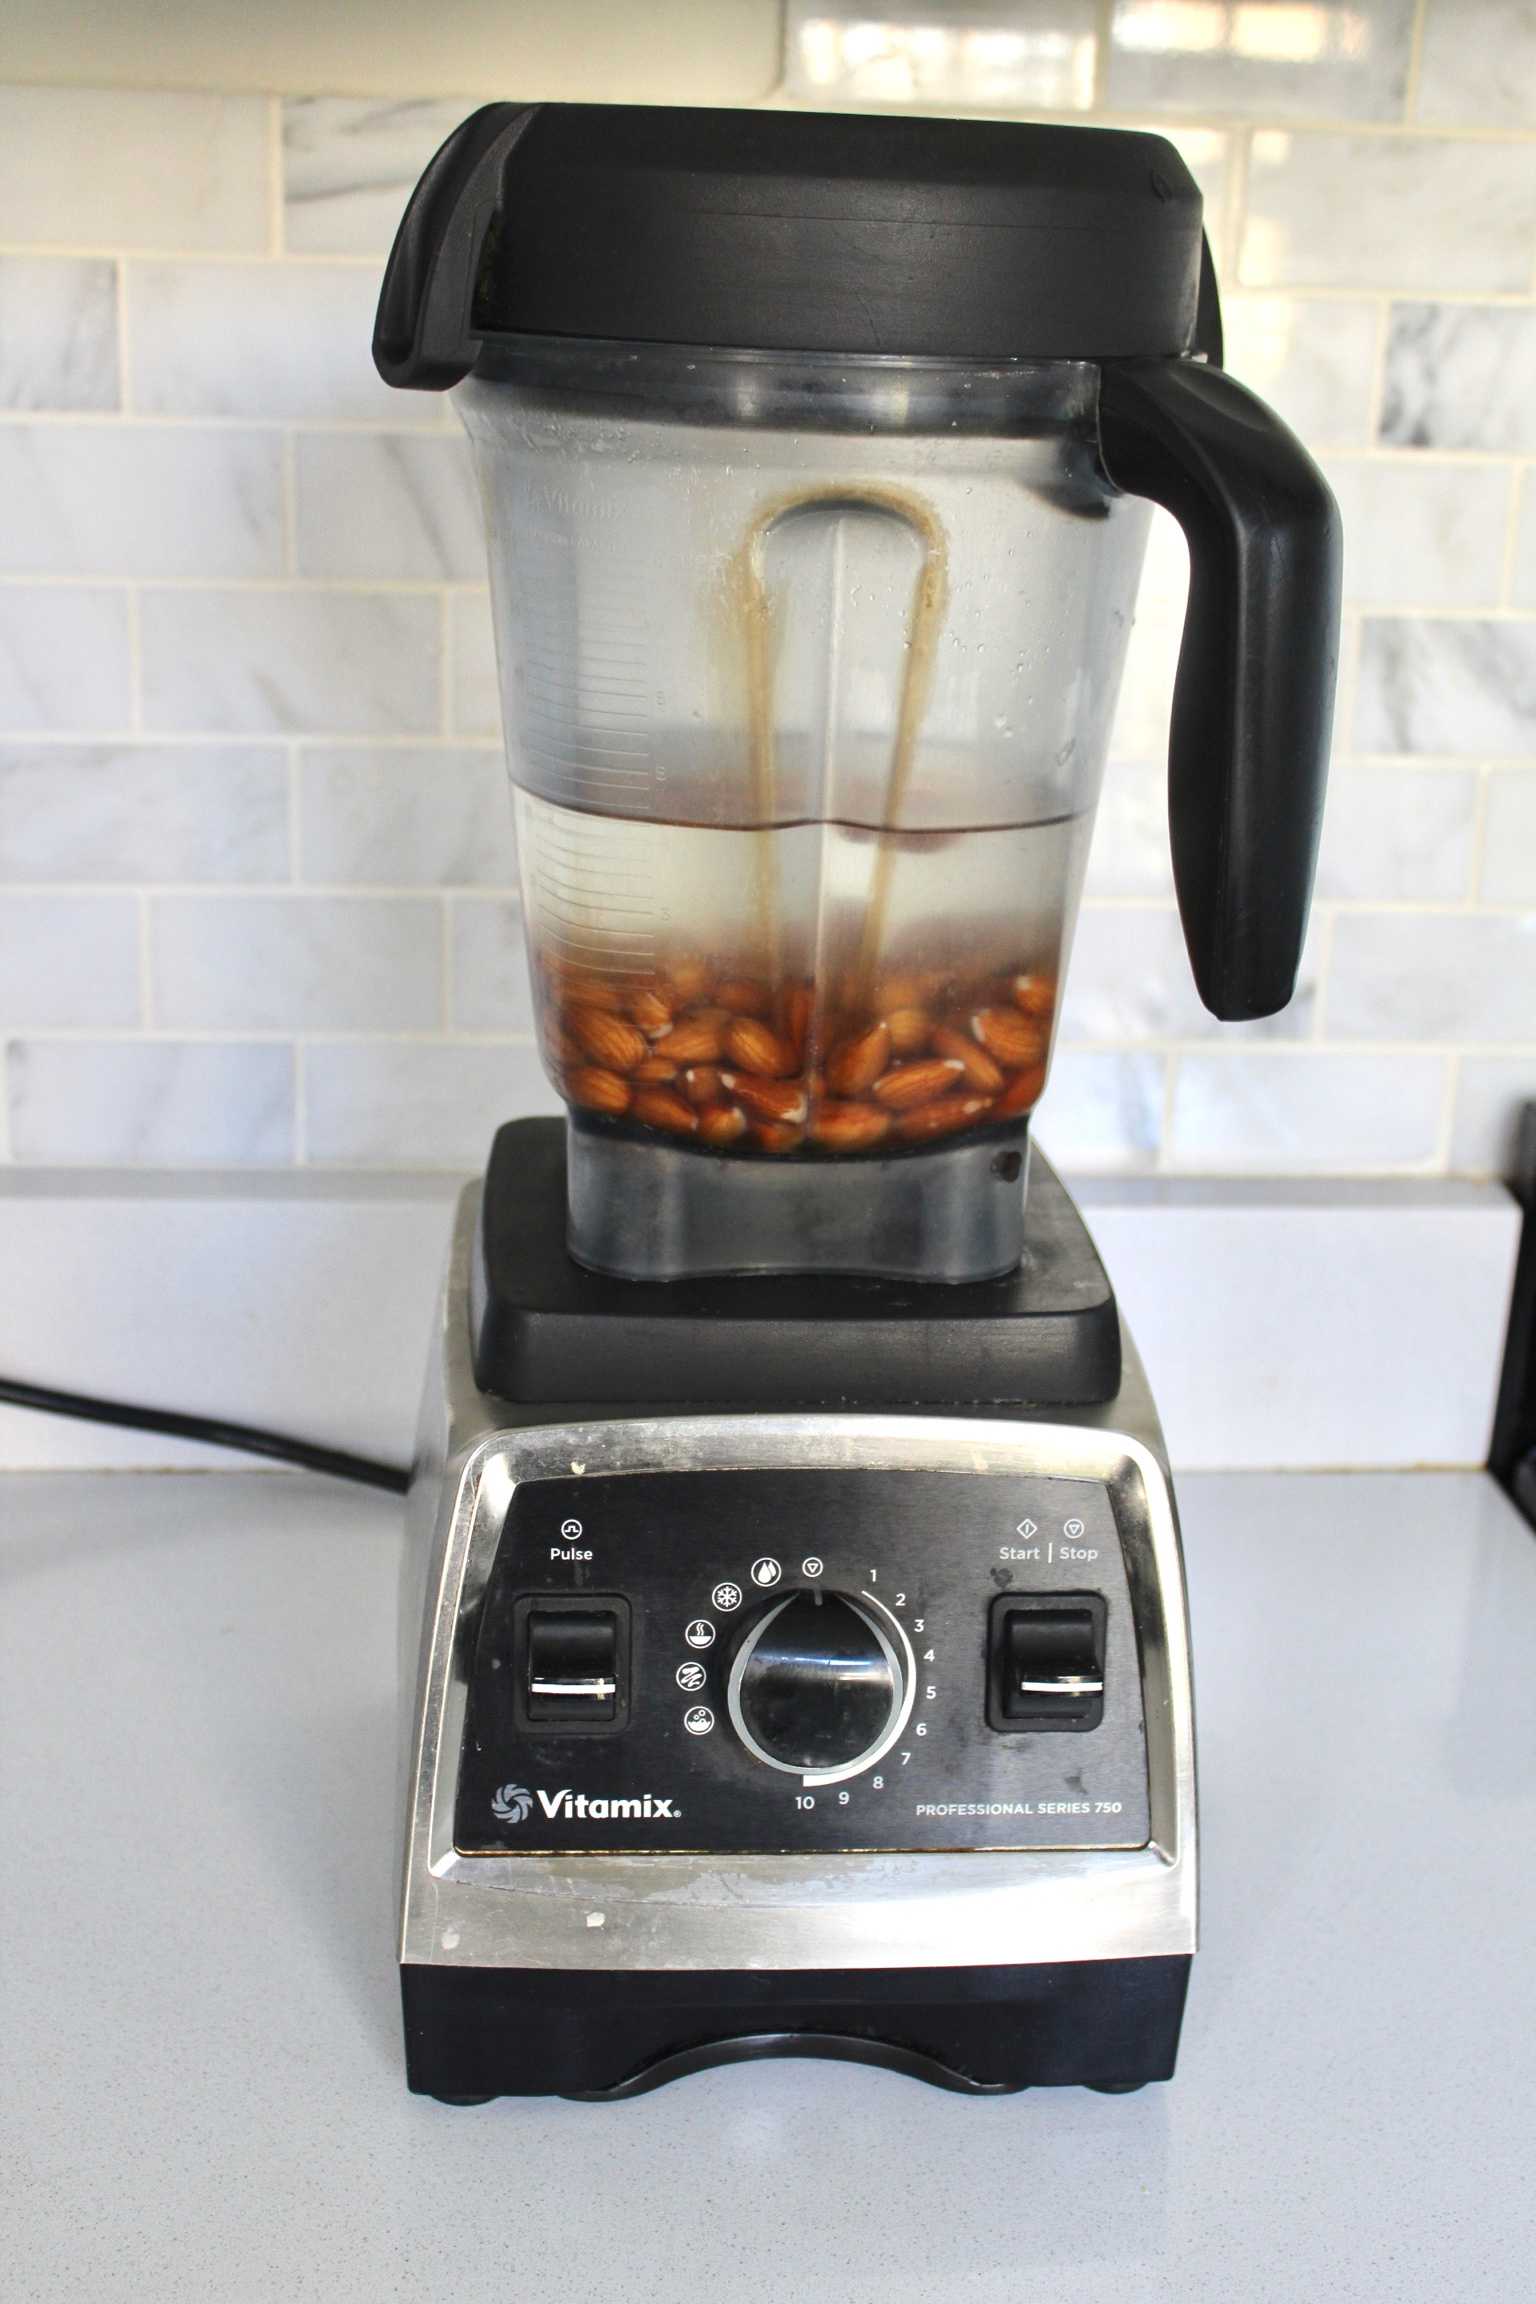
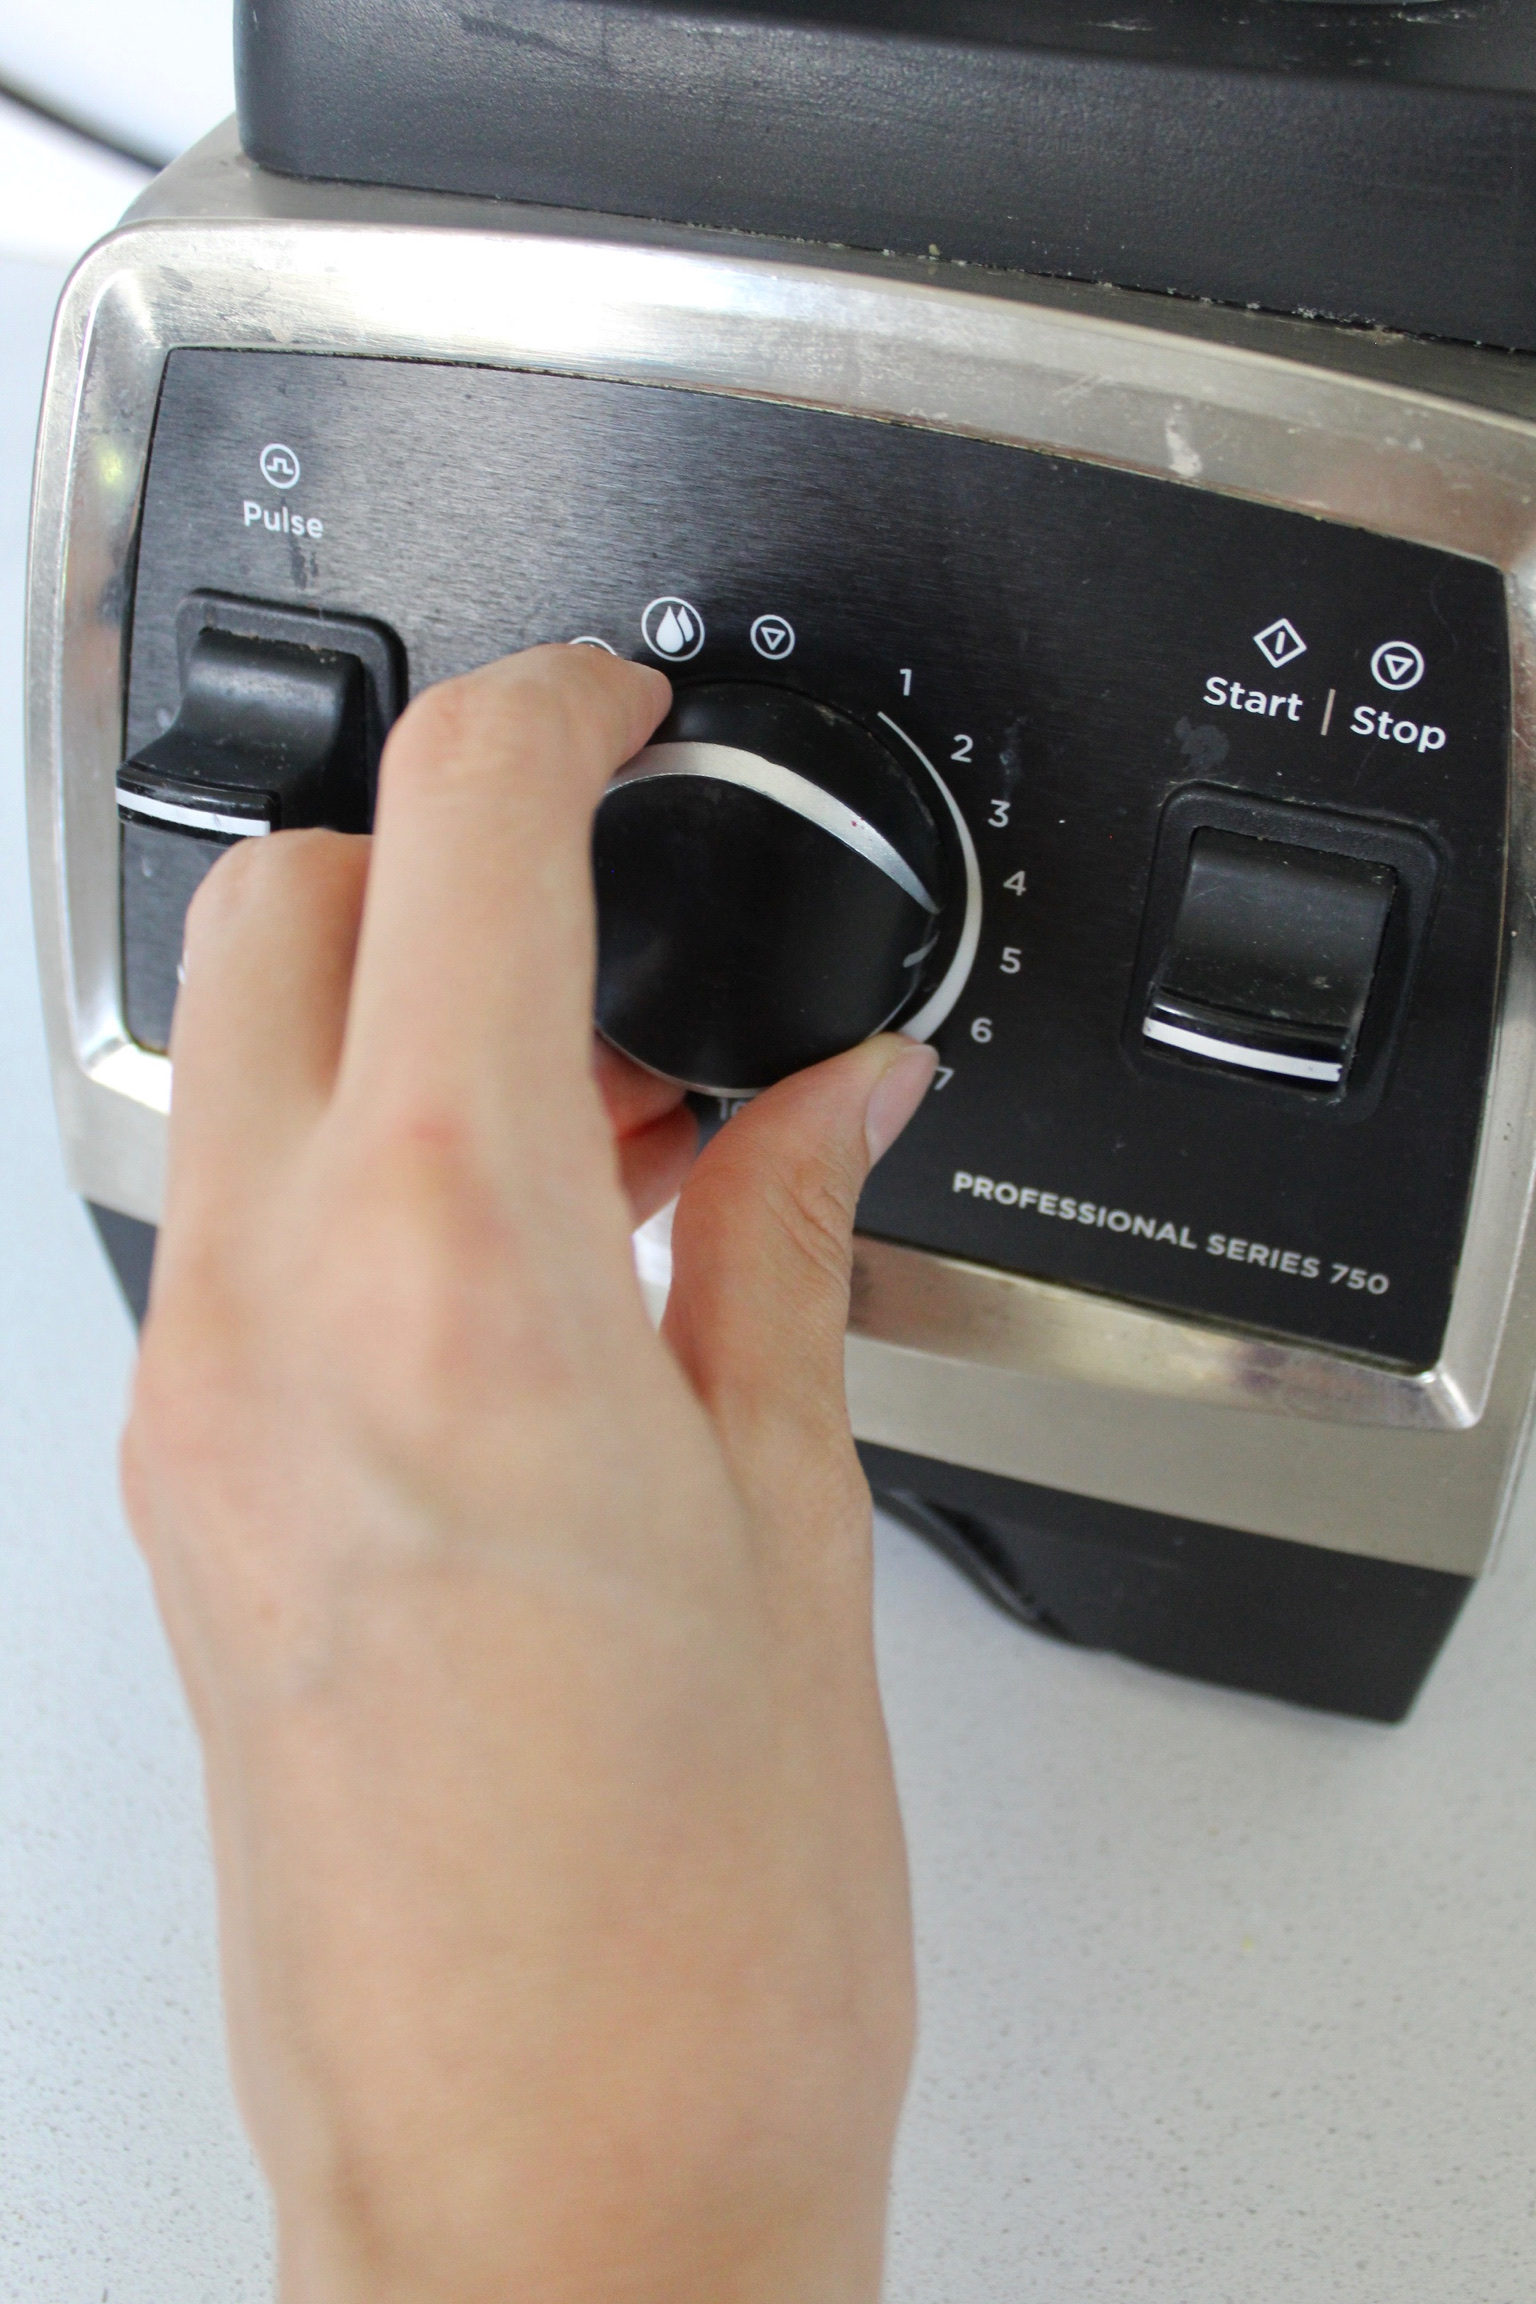
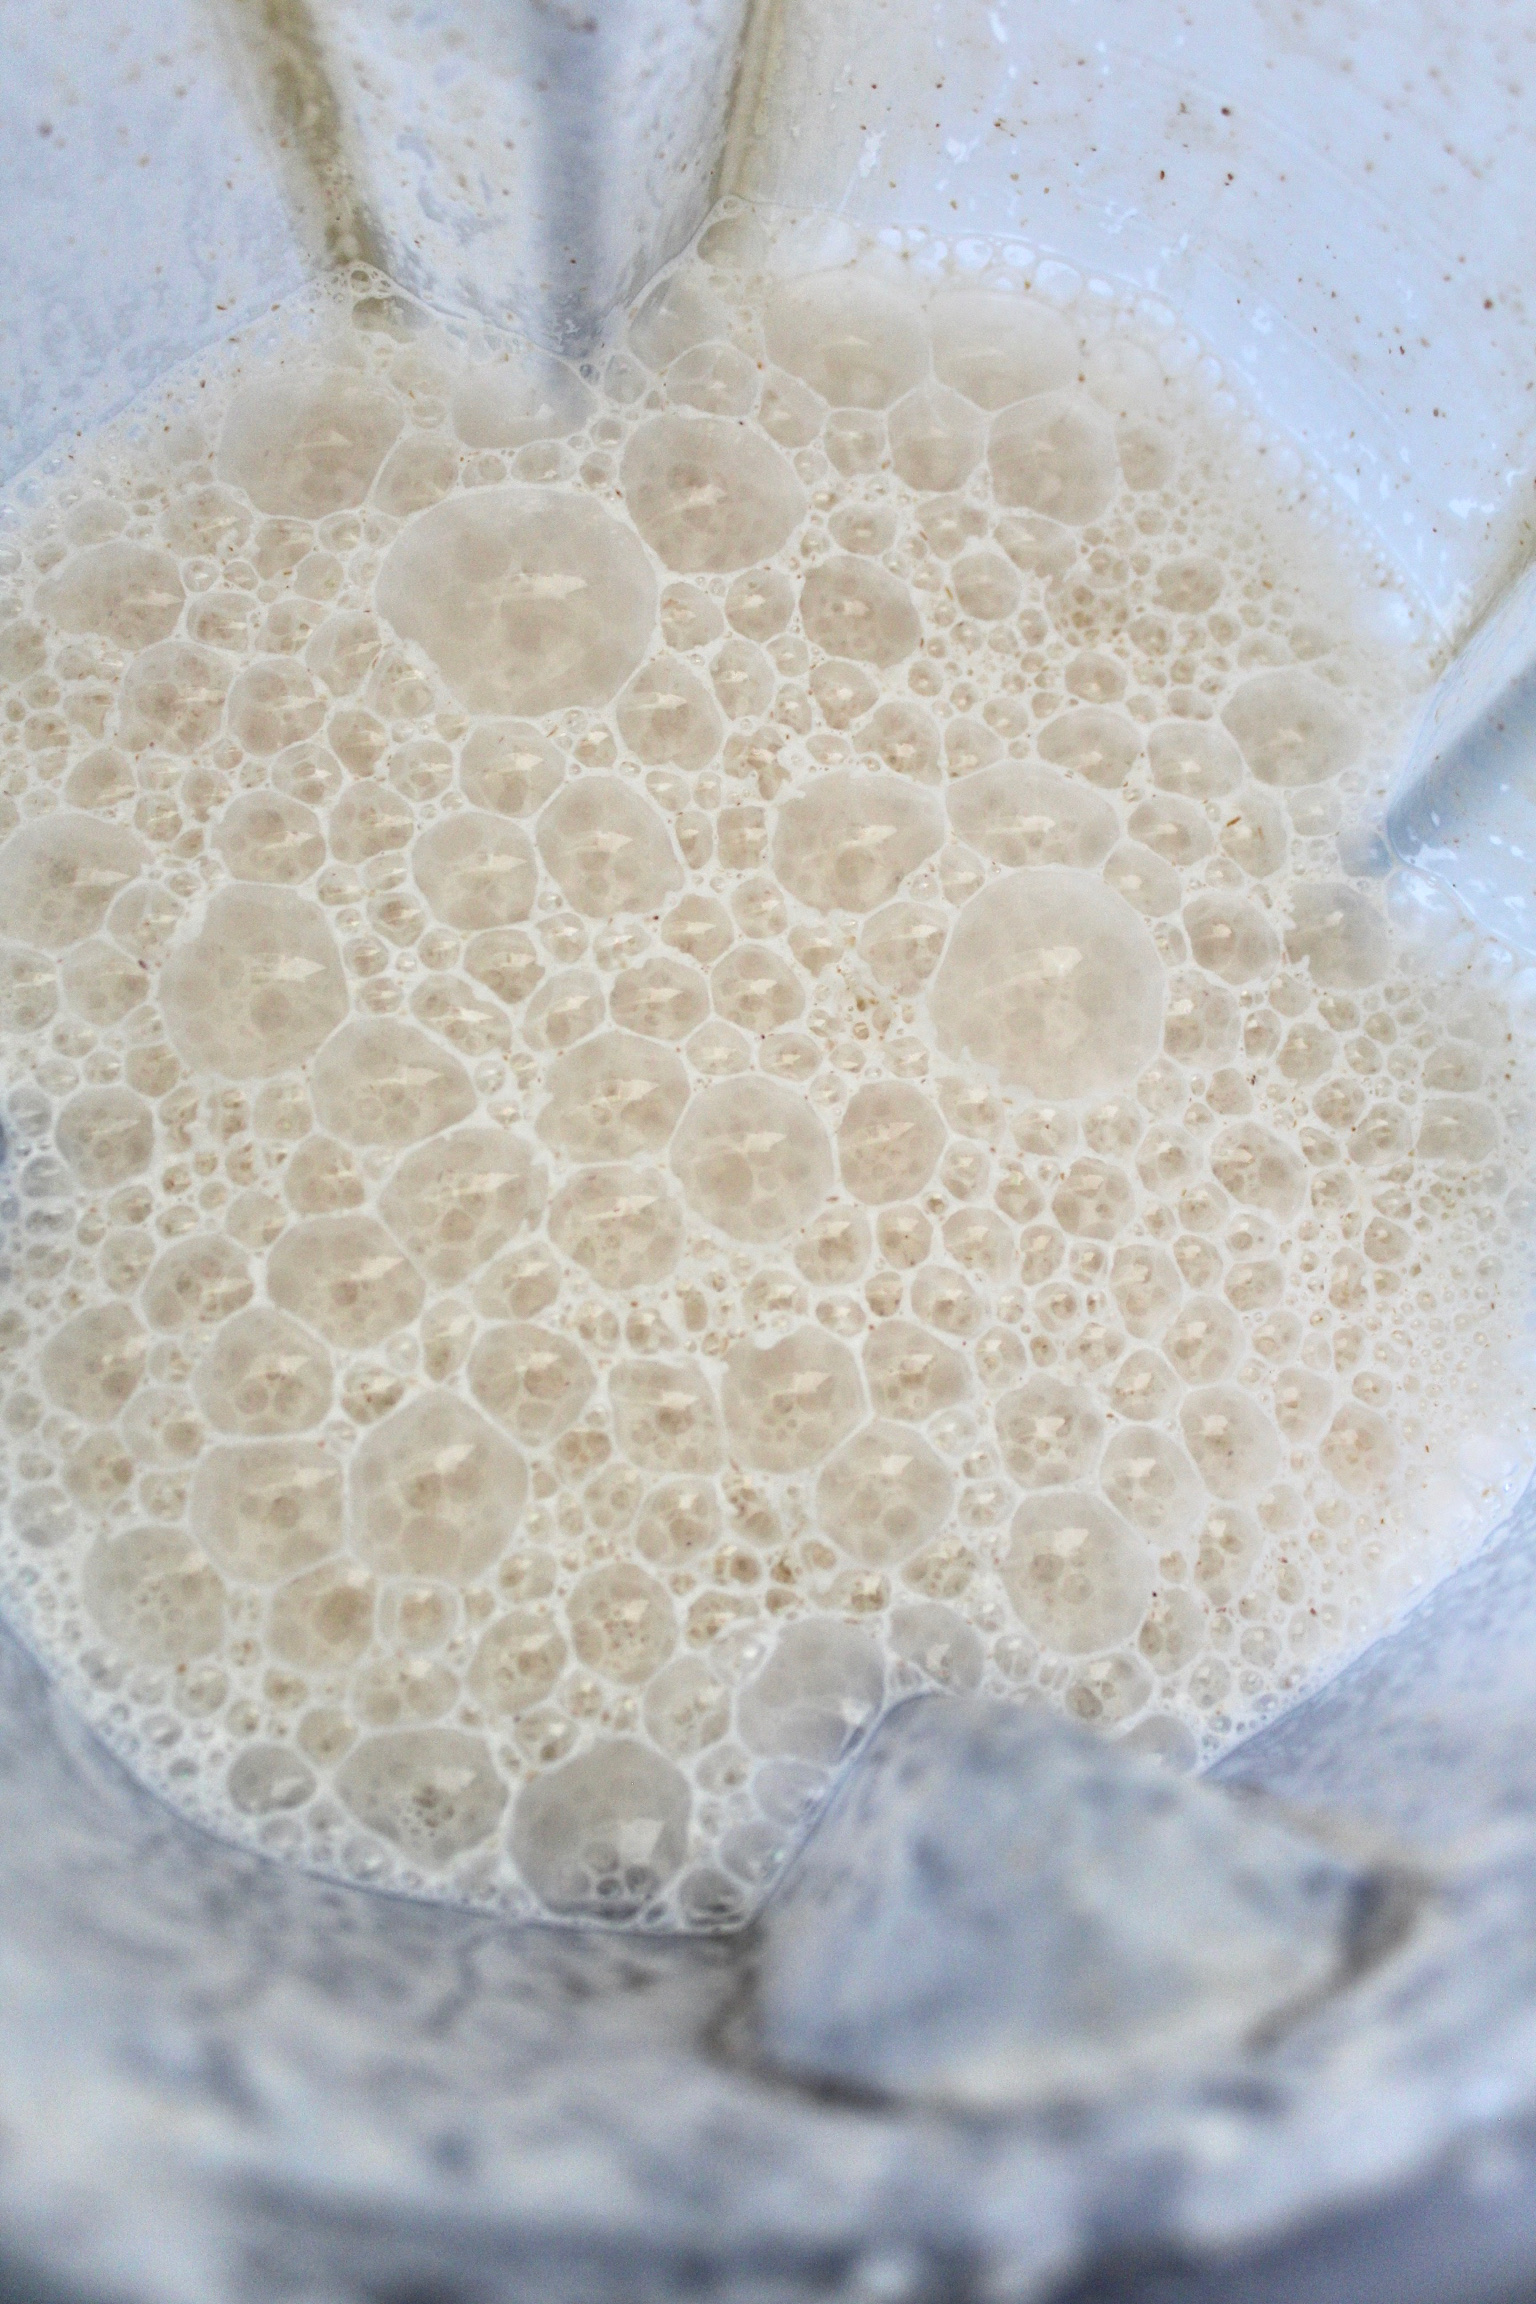
Add a pinch of salt and blend for 1 minute, or until completely smooth.
-
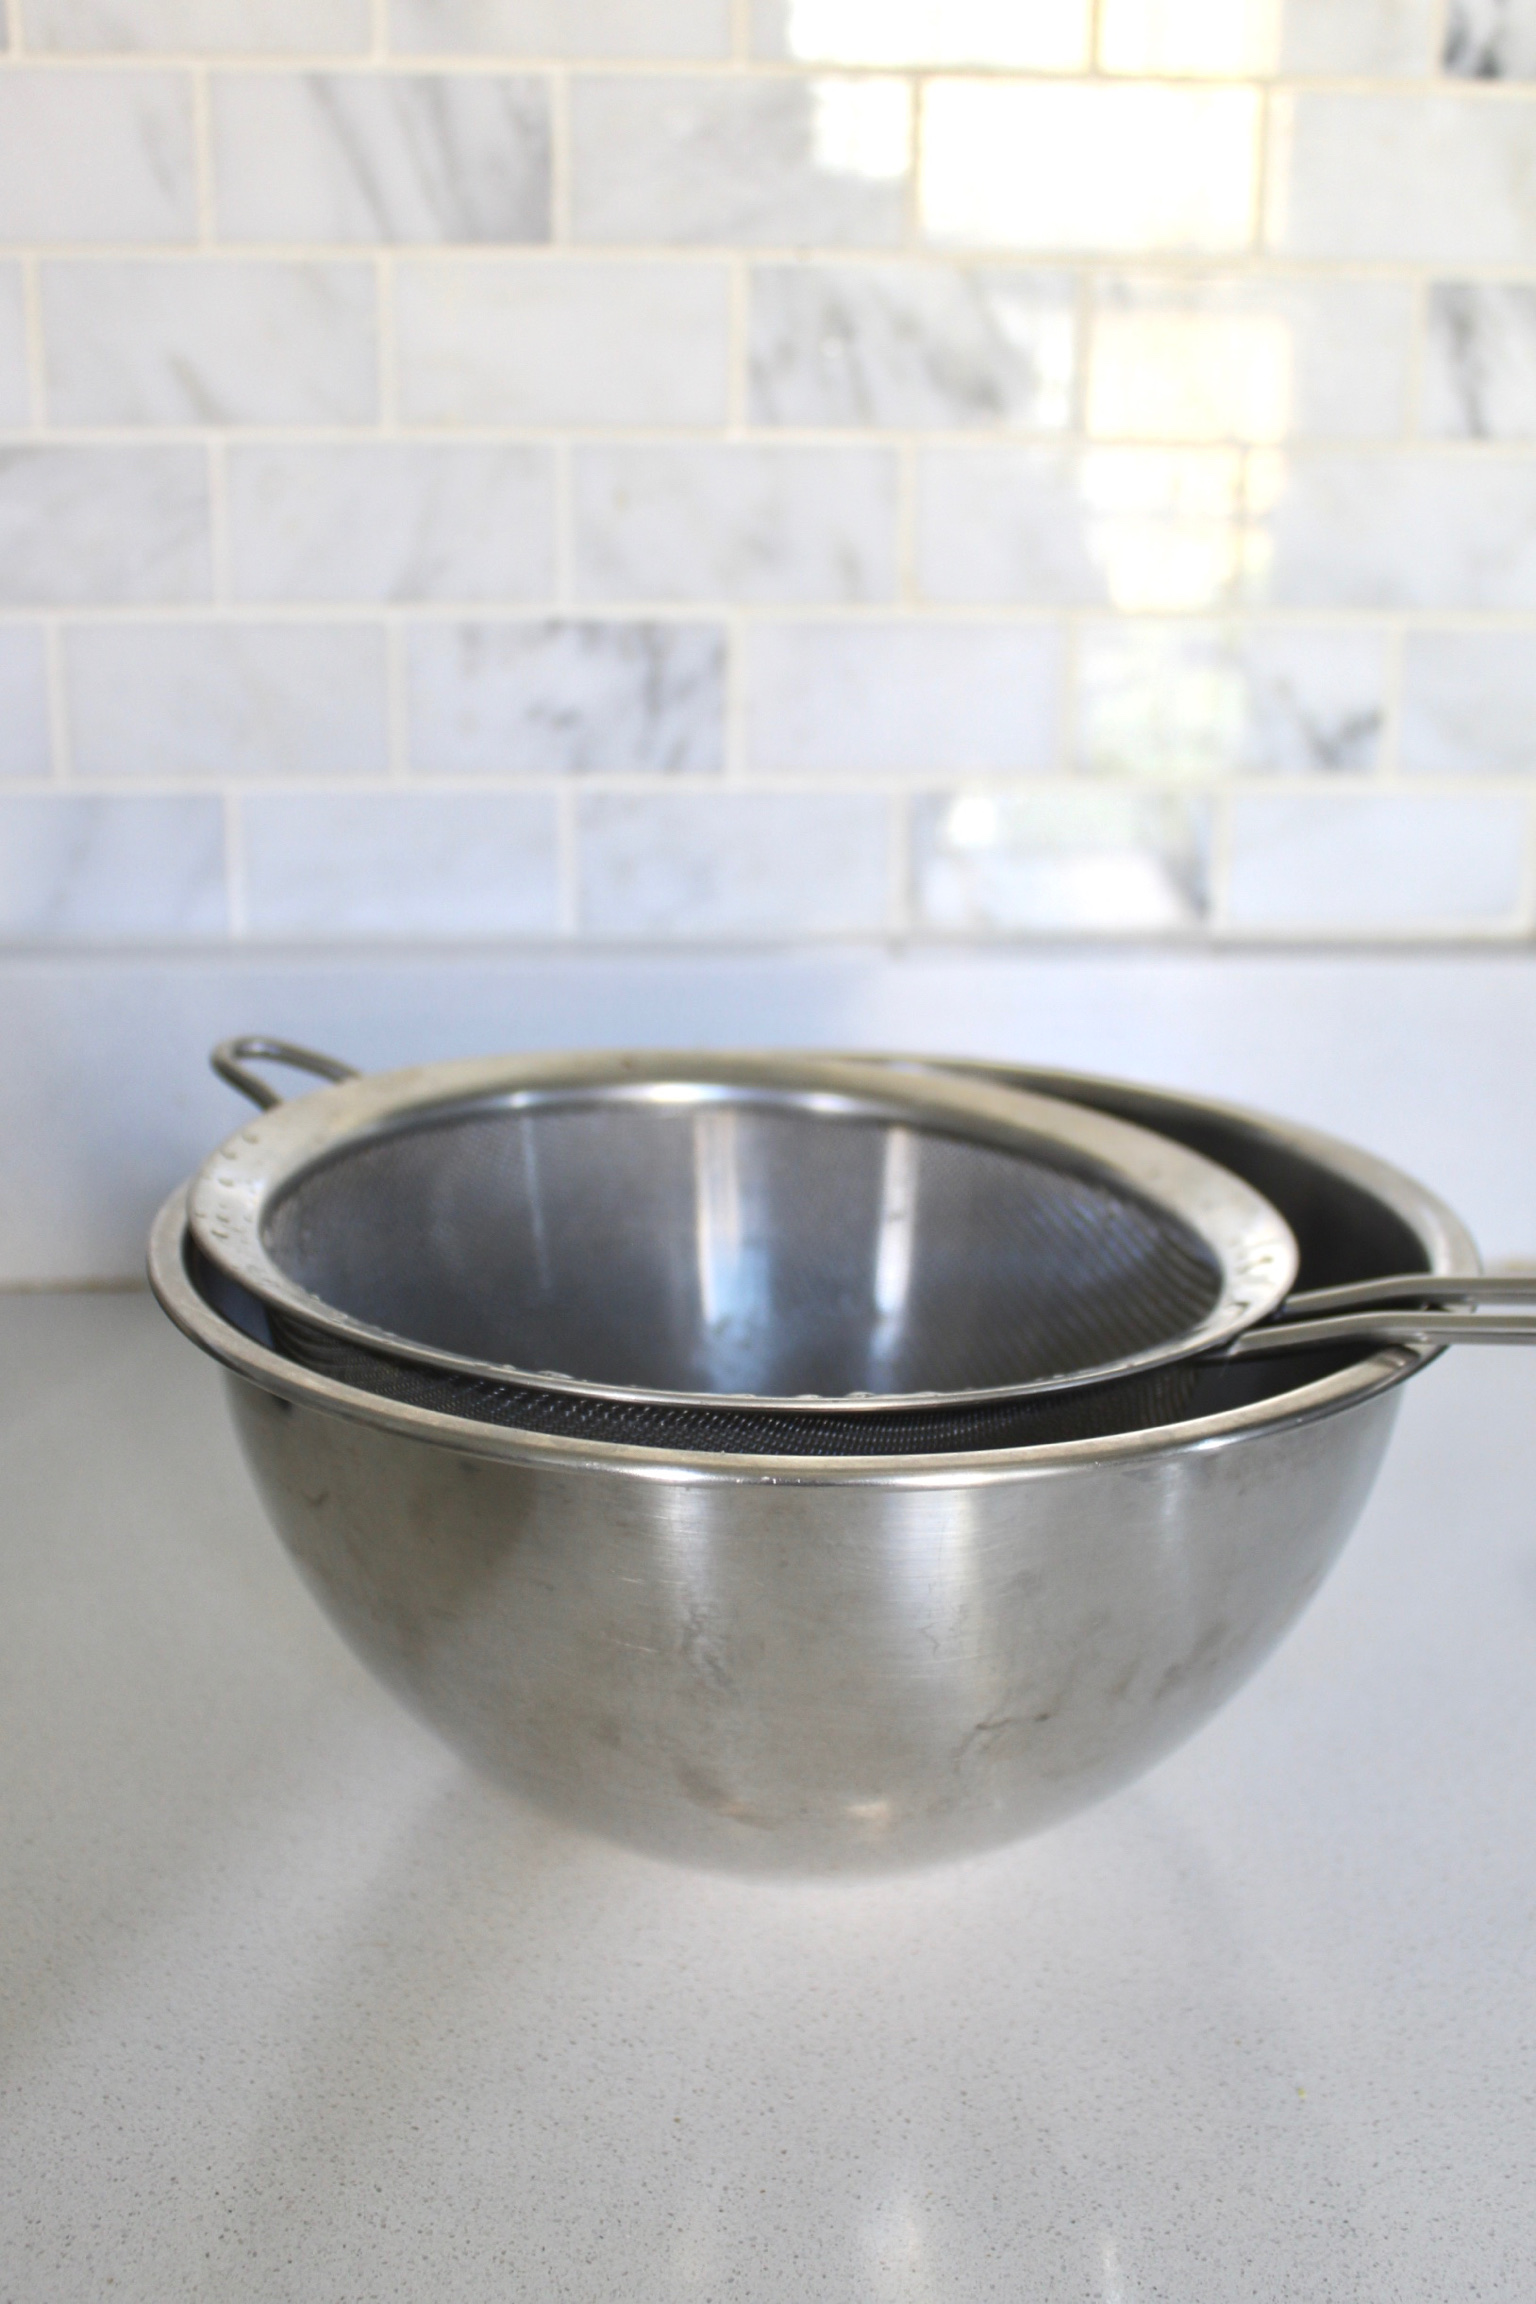
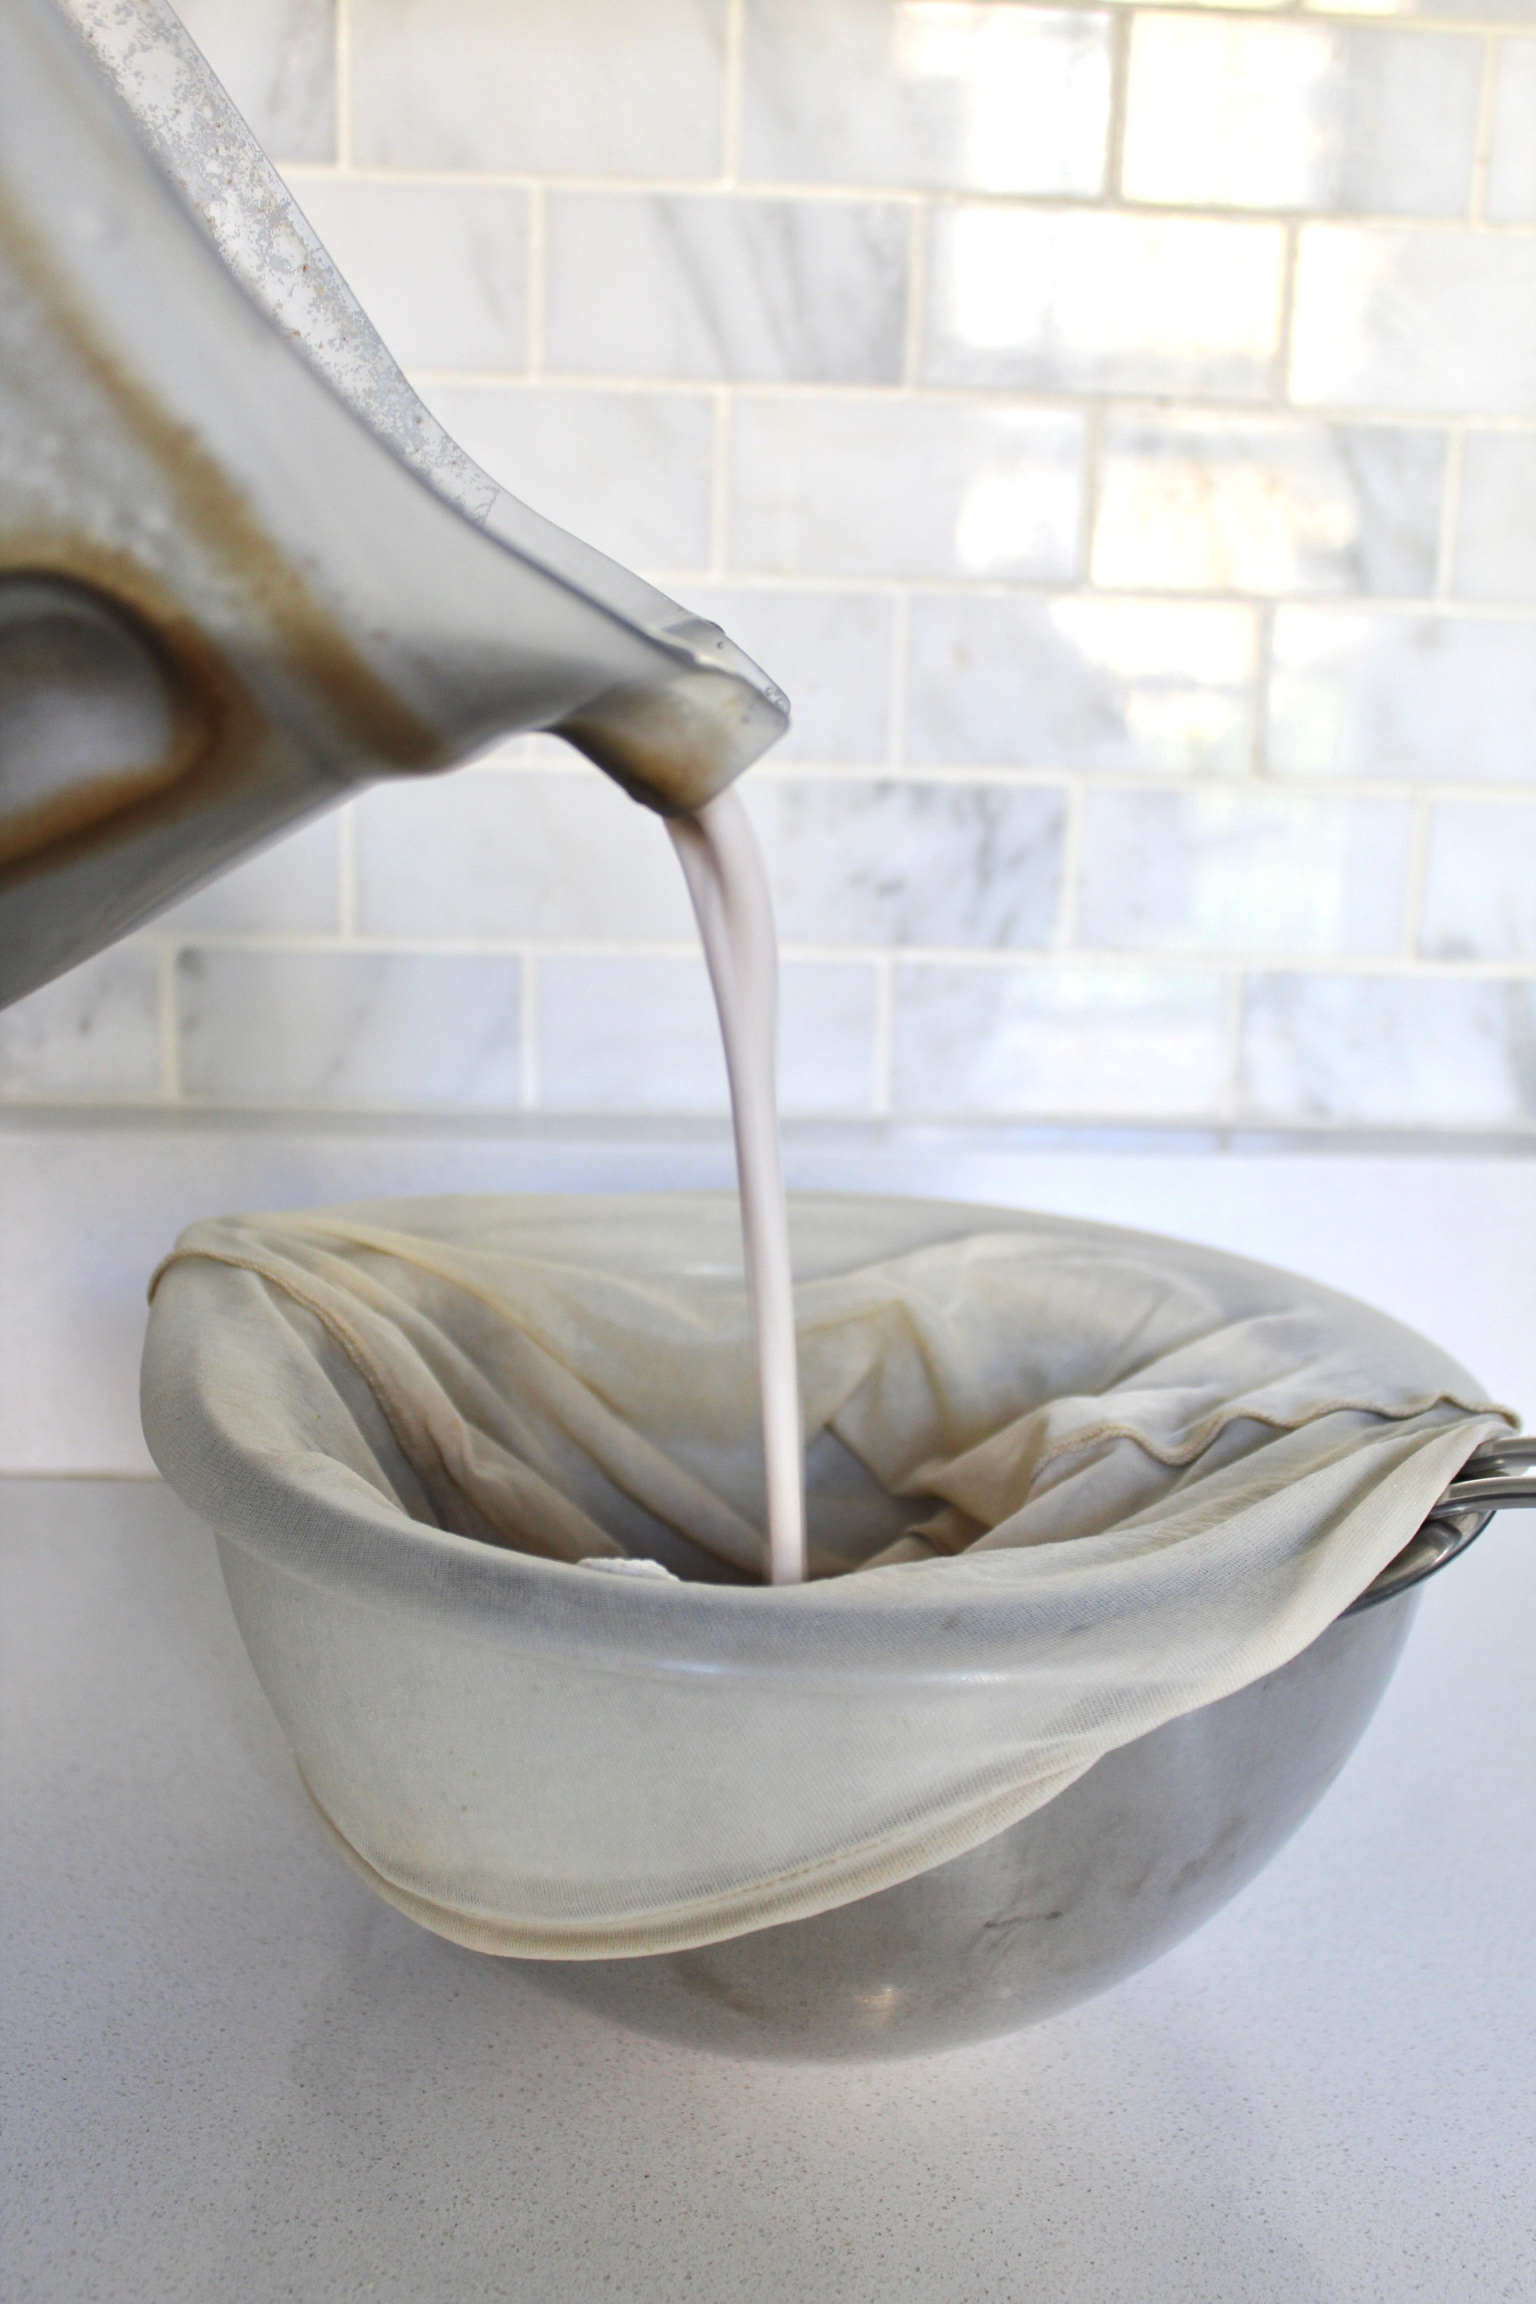
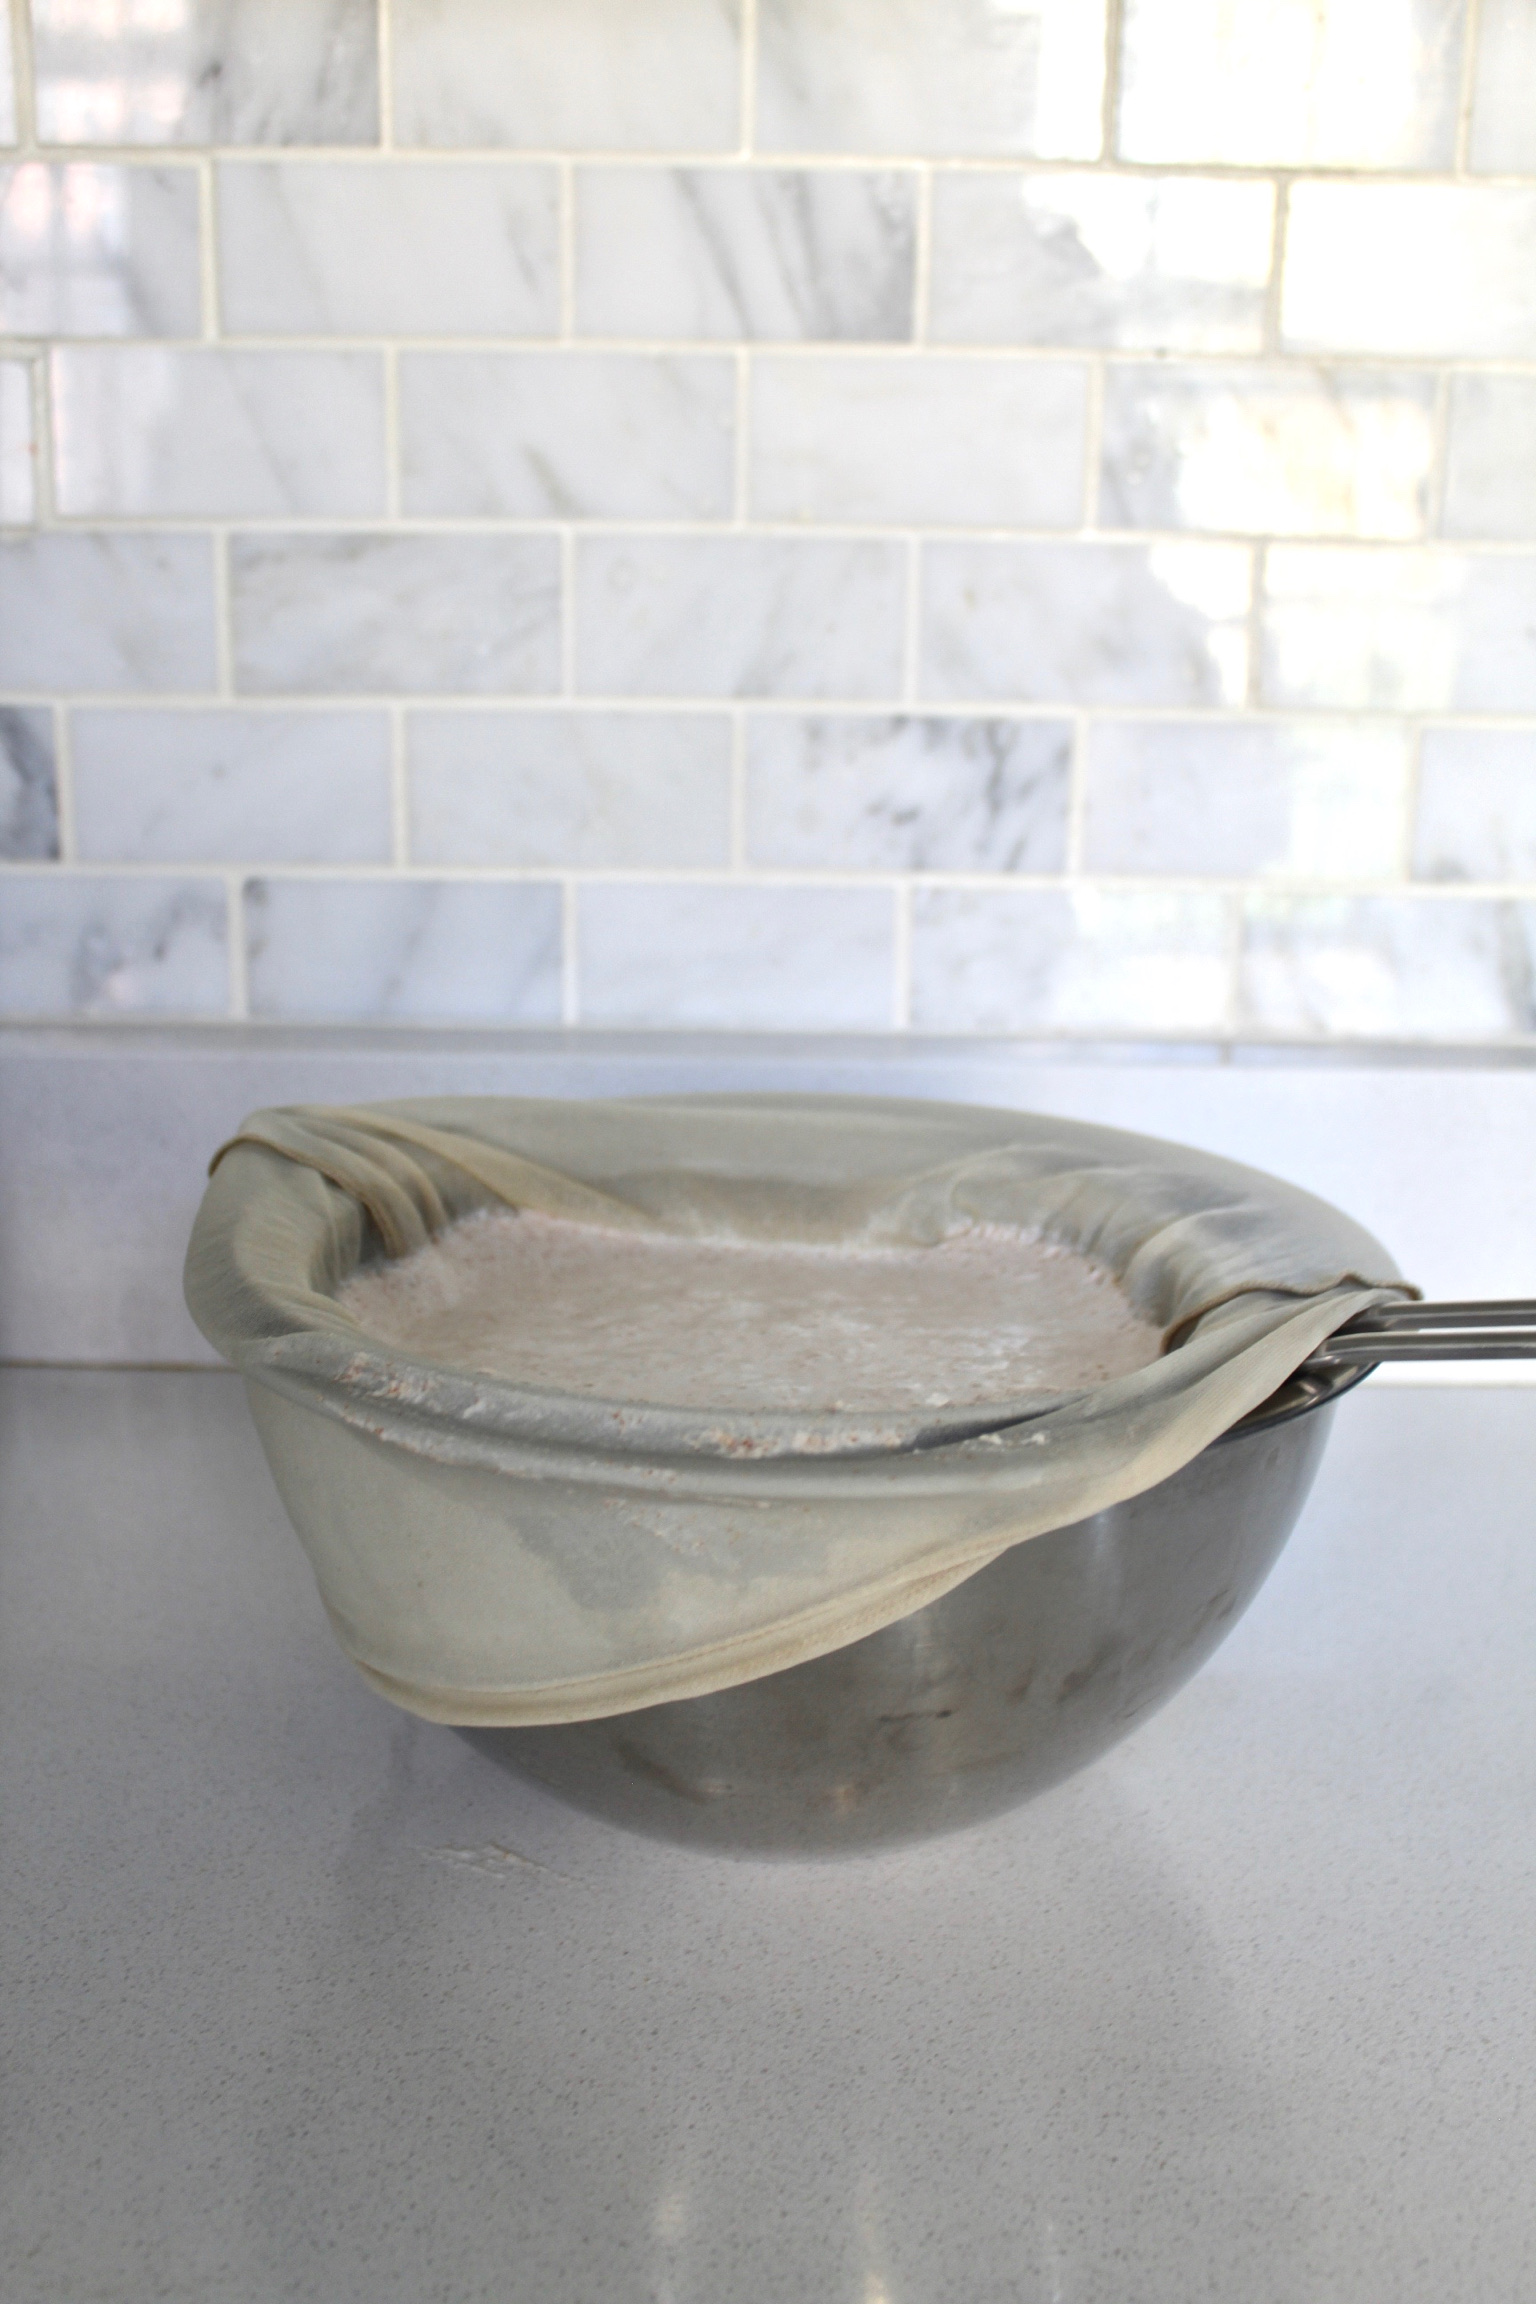
Place hand-held strainer on top of a large bowl and open up your nut milk bag or cheesecloth over it. Pour half of your blended milk into the nut milk bag or cheesecloth.
-
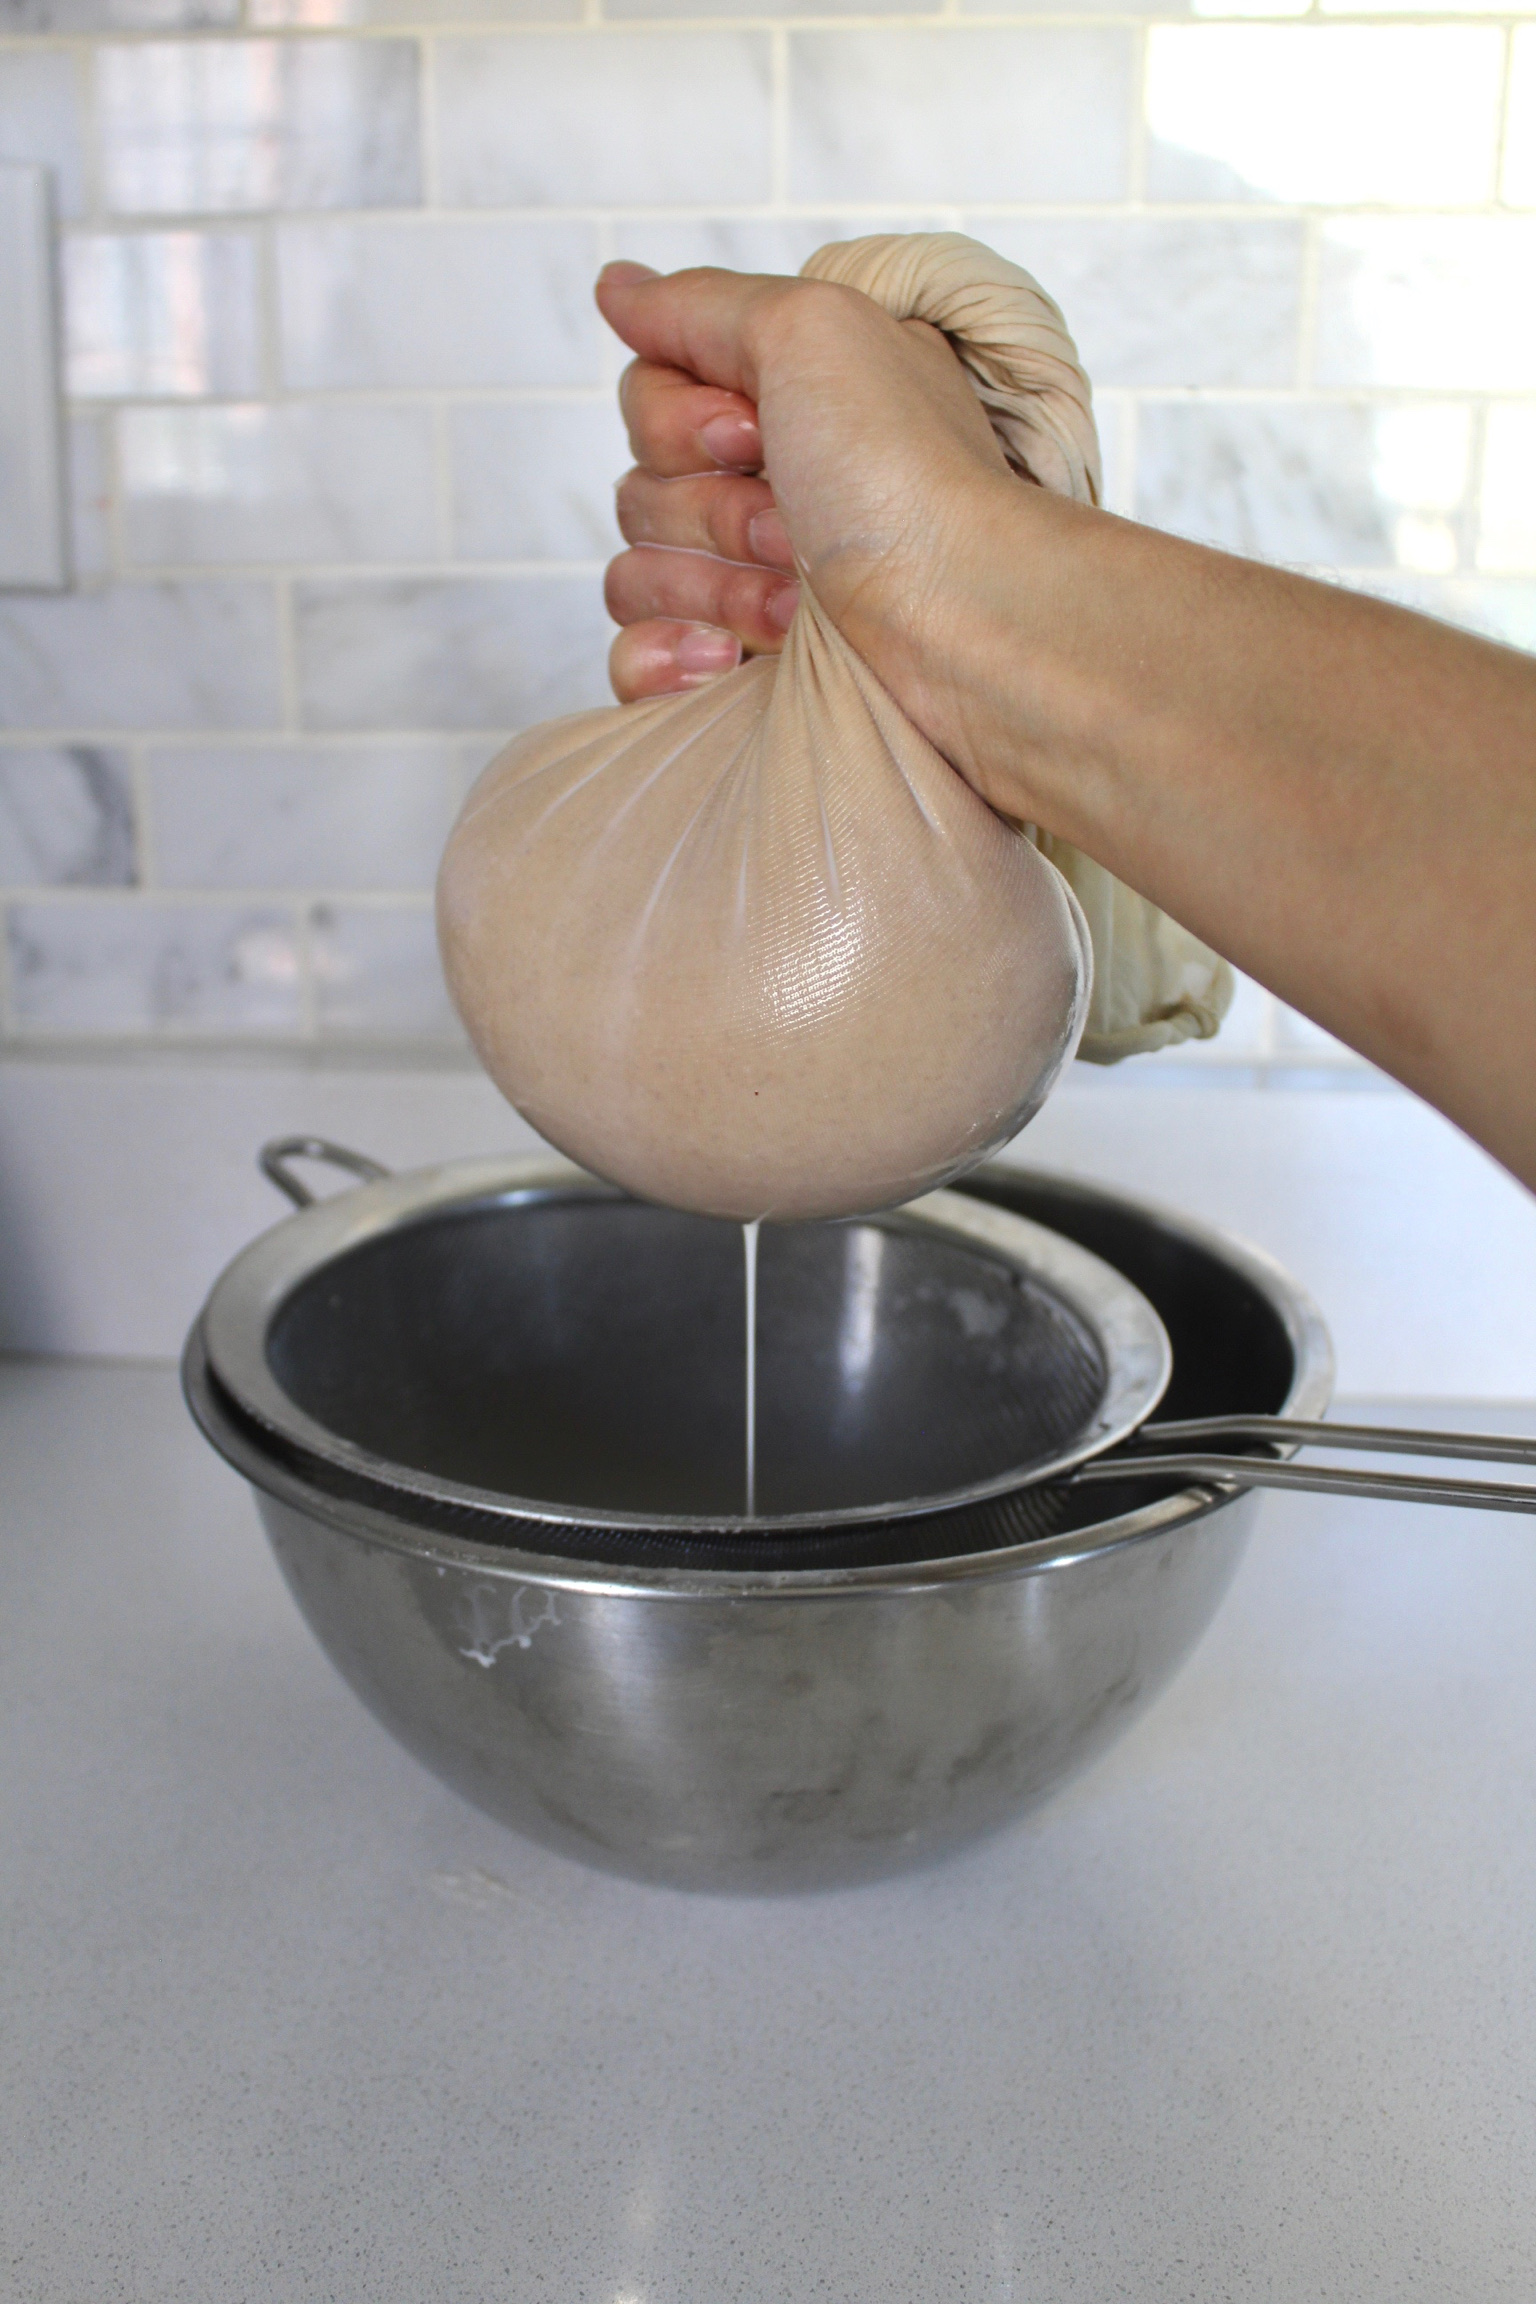
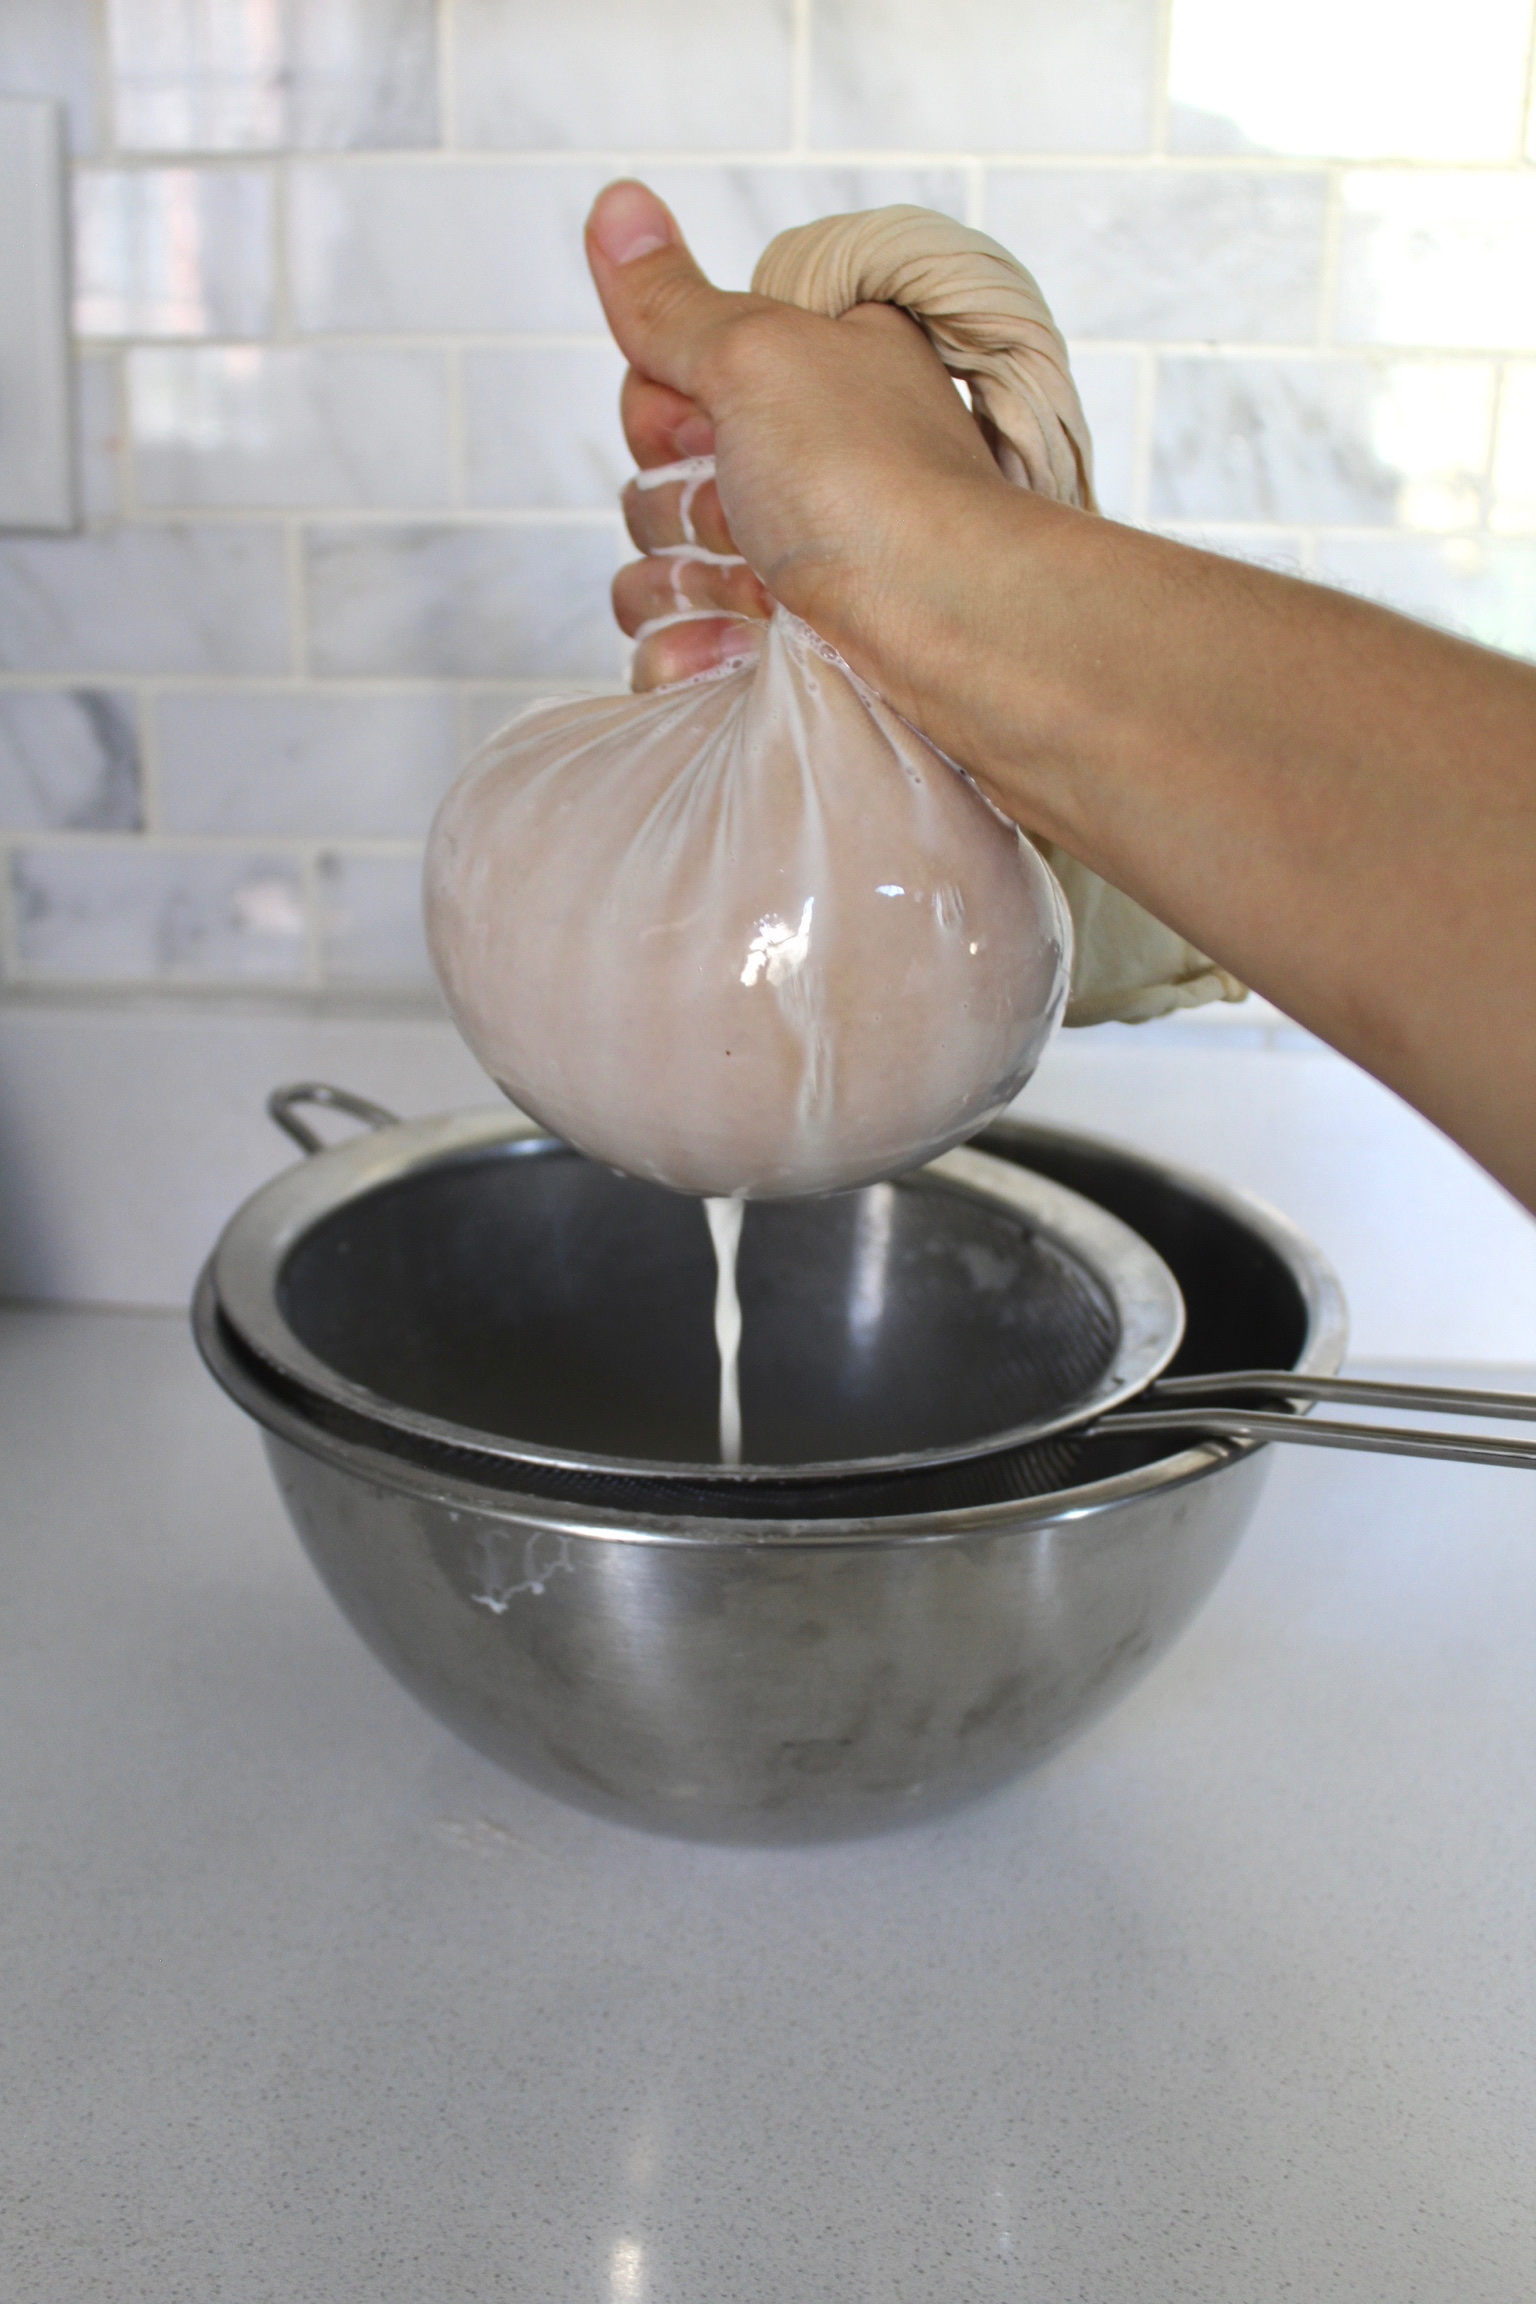
With clean hands, bring up the sides of the bag, twist the top of it, and begin squeezing all the liquid out of it. You’ll notice you’ll get to a point where the liquid isn’t coming out of the bottom as easily – this is because the nut/seed pulp is blocking the small holes of the bag or cheesecloth at the bottom. Keep rotating the bag and squeezing different sides of it to move the pulp around and make sure you get every ounce of liquid out of there.
-
You should be left with lumps of nut pulp. Don’t throw it away! Place the pulp in a container and store in the freezer. It can be used for_, and it’ll last for months frozen.
-
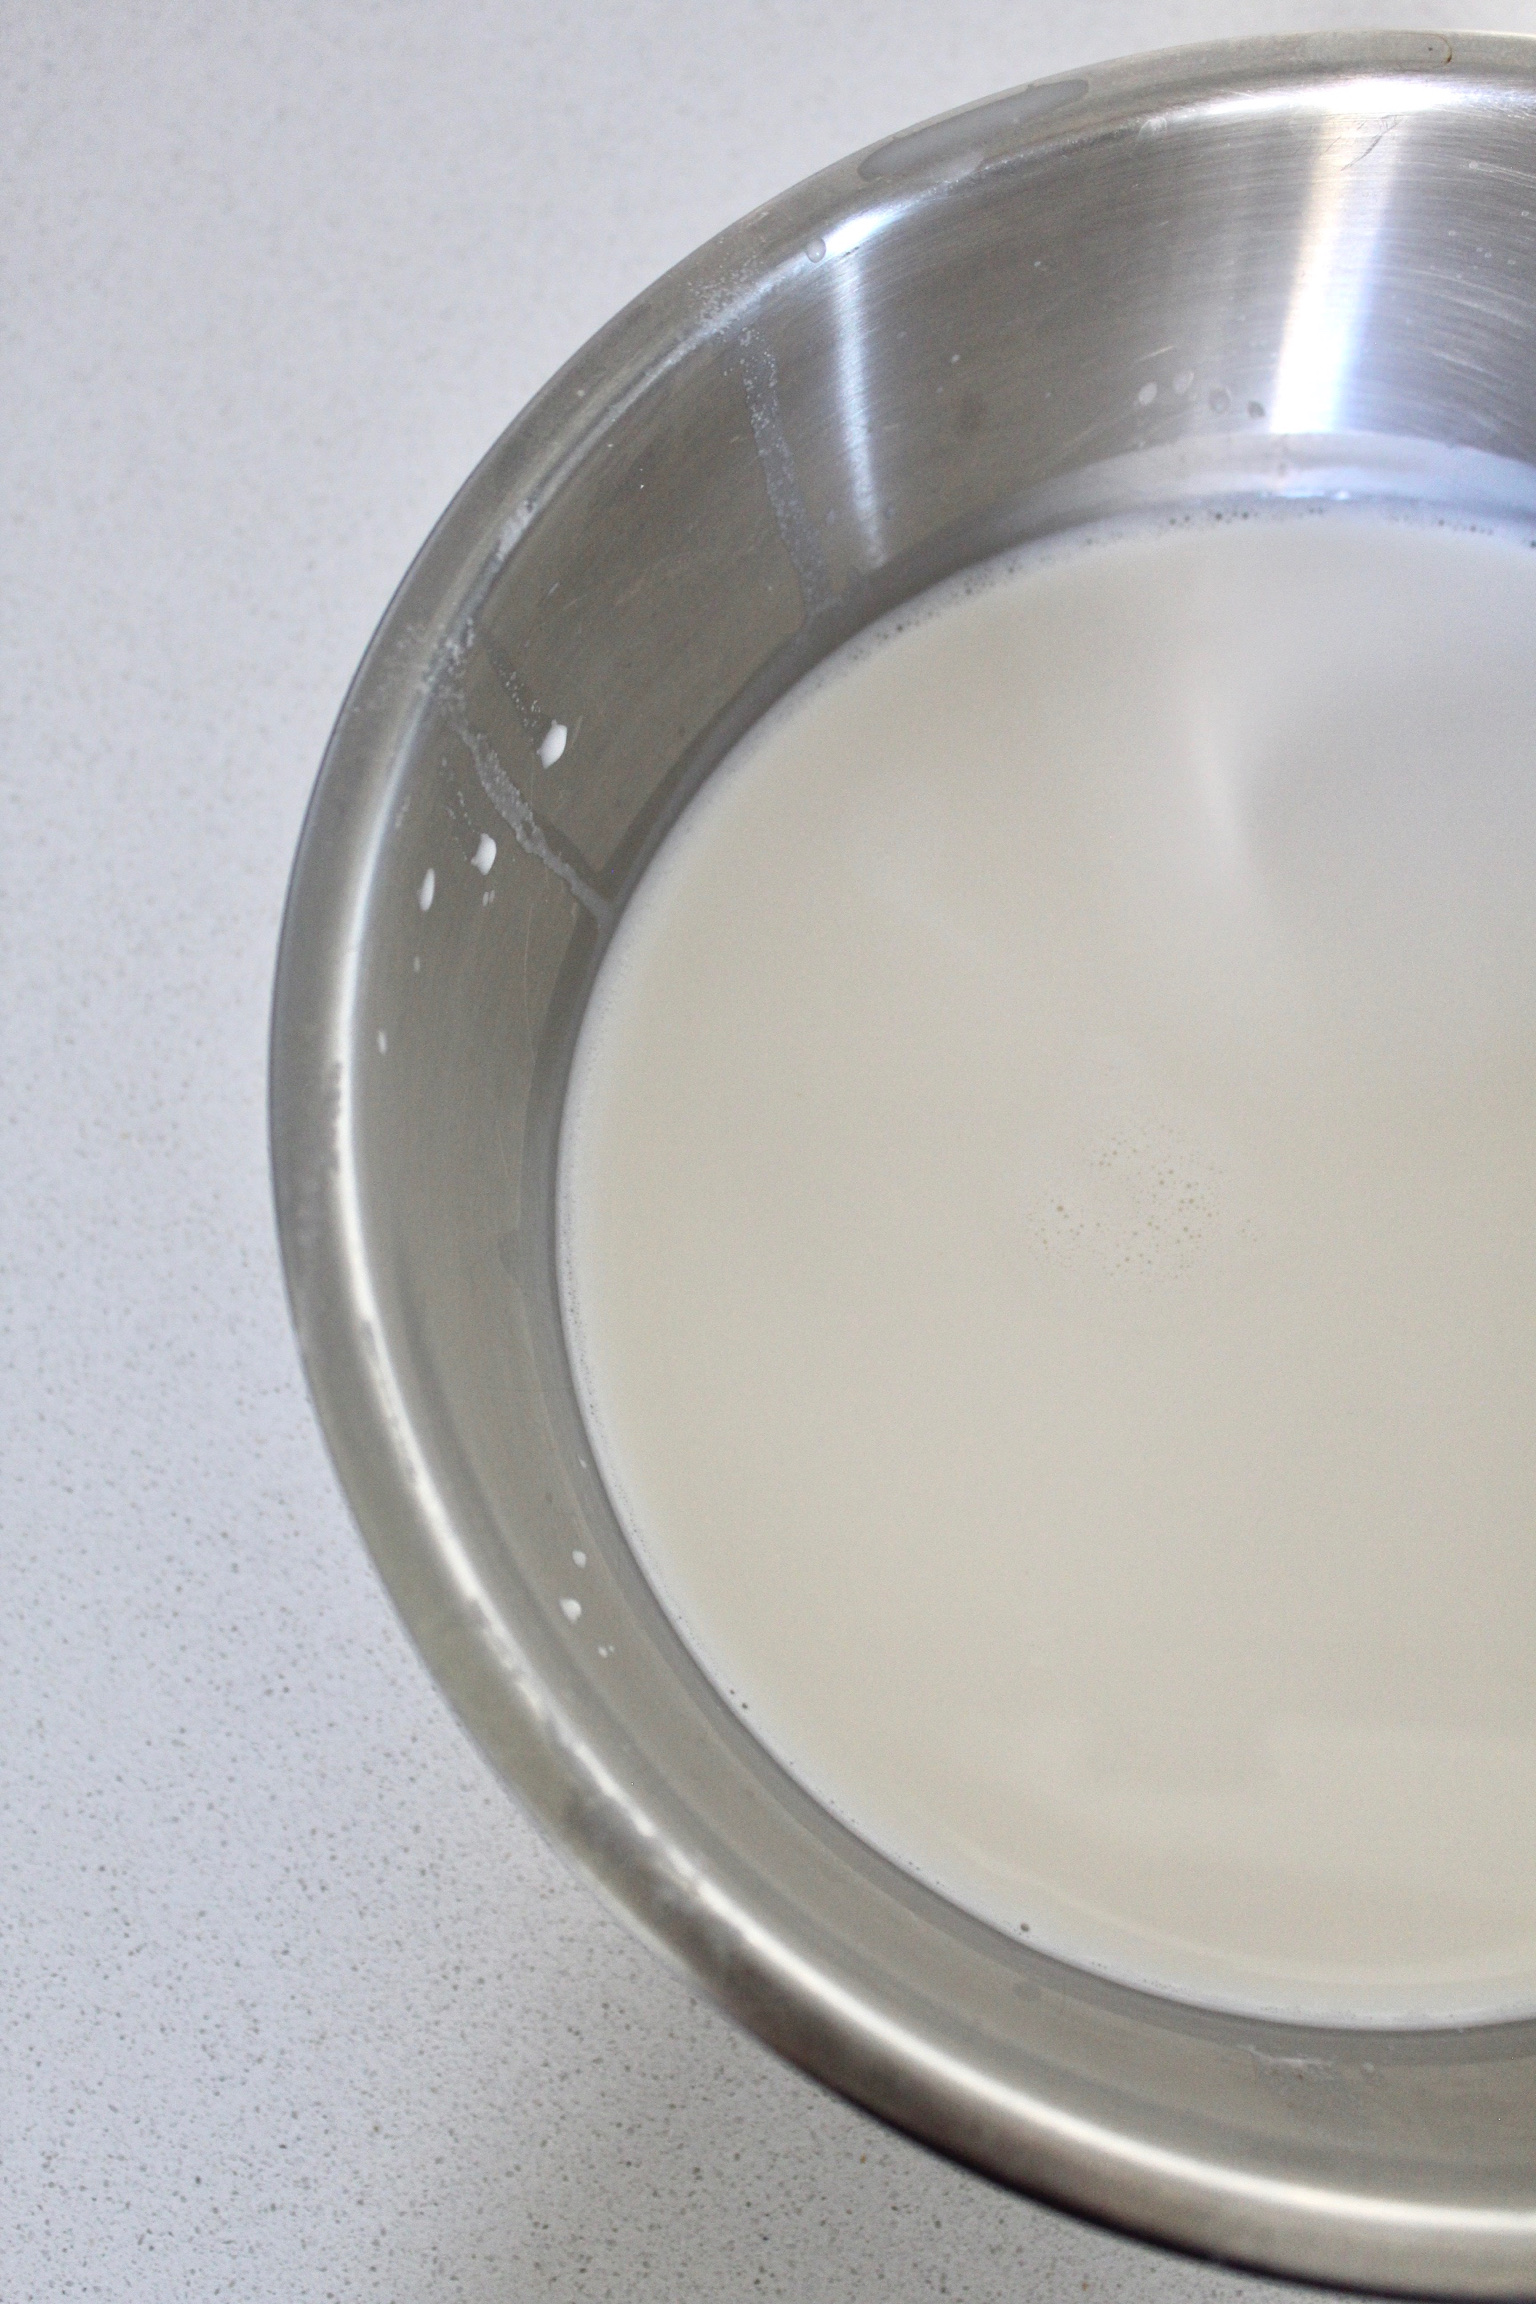
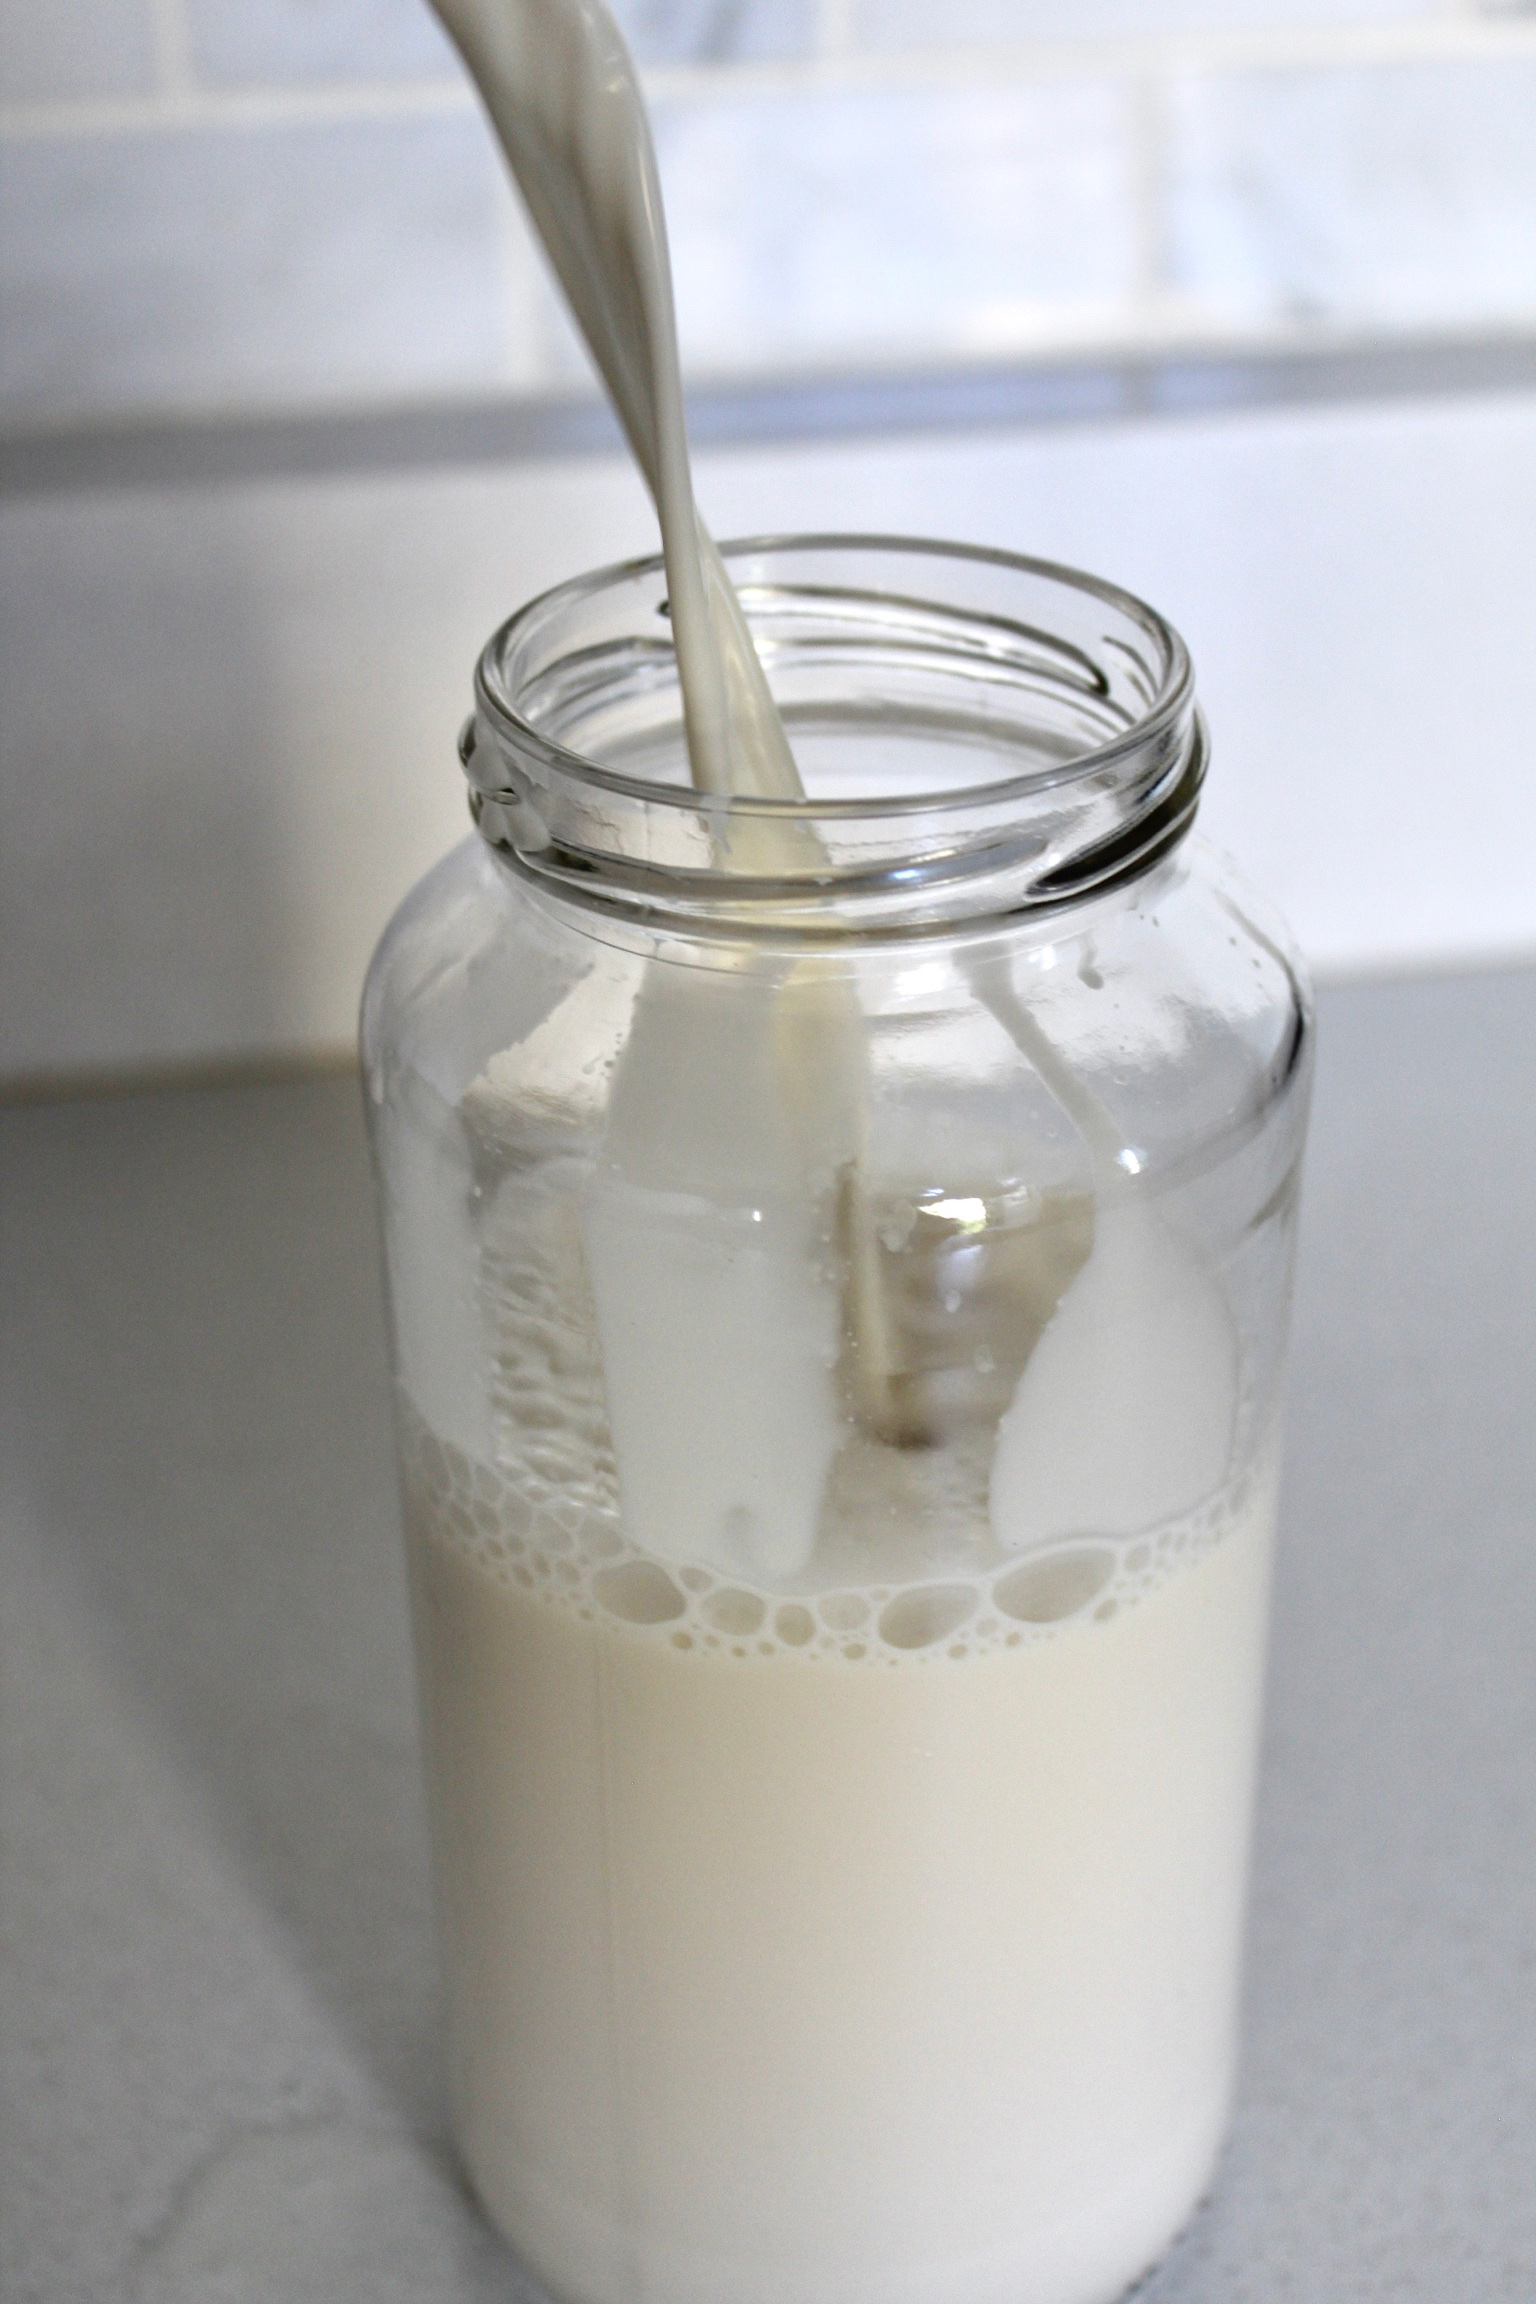
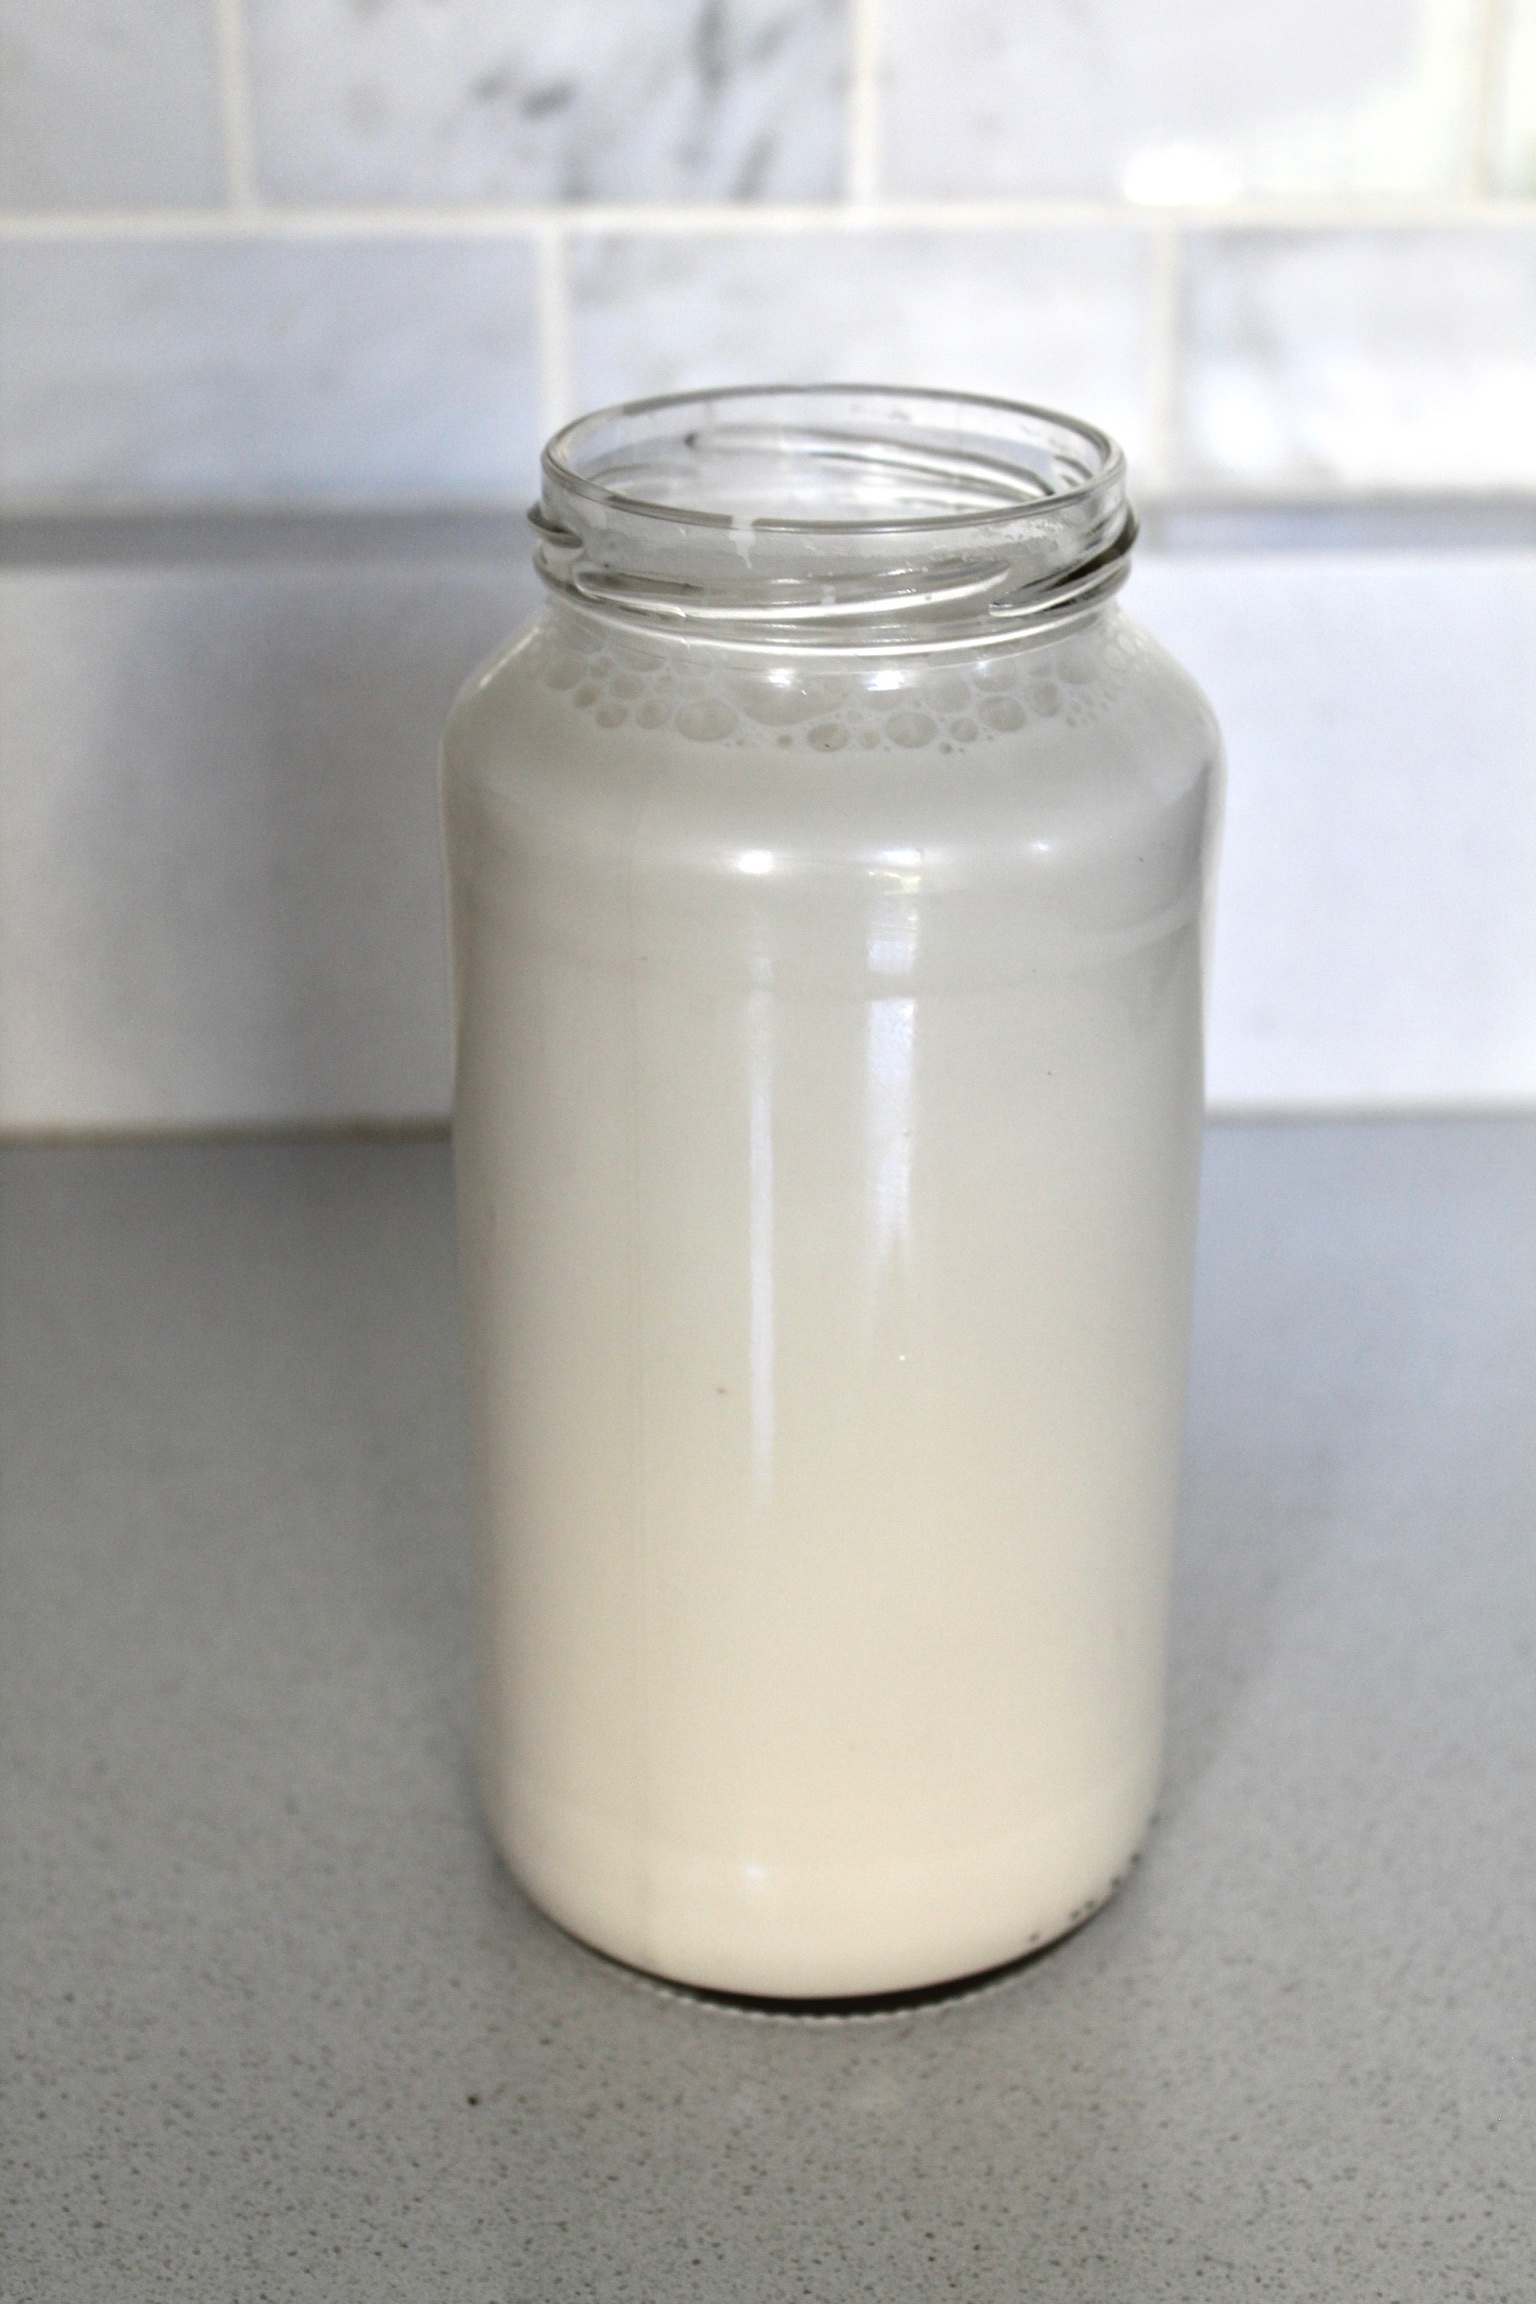
Carefully transfer all that strained milk you just made into a bottle, or wherever you want to store it. We reuse the big glass bottles that we buy of kombucha since they’re perfect for storing milk, but you could use anything you want (although glass is preferable over plastic). To make sure I don’t spill it everywhere when transferring it, I like to pour it from the bowl into a small pitcher that has a spout, and that allows me to pour it into the bottle with a lot more precision.
-
Refrigerate immediately. Lasts about 3 days in the fridge.


Love the step-by step photos! I have to try this 😀
Thanks Gabby! Let us know how it turns out! 😉