Fermented Chilis & Cauliflower Mix
March 19, 2021


Gluten-free · Soy-free · Nut-free
It’s no secret that I’m a chili lover. What can I say, I’m from Mexico and I’m used to eating a good amount of chili. Personally, I think chili is key in contributing to the harmony of a dish with the other flavors of sweet, salty, bitter, and acidic (Ariana disagrees). I truly believe that learning how to use chilis in your cooking is a fantastic tool to have to add surprise, body, and richness to your dishes.
So since I’m on a fermentation kick, I decided to ferment chilis of course! This recipe has Fresno and Serrano chiles, both are mildly spicy. You can use other chilis if you prefer, but this combination was tasty. I also realized that chilis lose a bit of their heat when fermented, so keep that in mind for the spice level that you want. Experiment, use some other chilis and see what you like the taste of most.
Of course, another benefit of fermenting—aside from the taste—is the healthy probiotics that are created in the fermentation process. The salt creates lactic acid, and that’s what creates the gut-friendly bacteria that your body loves. I love adding fermented foods to my meals, and it’s a great way of including gut-friendly food that you don’t need to spend a fortune on! If you’re not used to fermented veggies, the smell is a little strange in the beginning, but you’ll get used to it and you’ll love them.
It’s very important to work clean and to sanitize your containers when fermenting food, otherwise, unwelcome microbes could be produced in the process and ultimately damage your product. Before making the recipe, please read the Basic Rules for Fermenting below to ensure you use the safest practices.
BASIC RULES FOR FERMENTING
Before you start any kind of fermenting, it’s important to understand these basic rules that apply to all fermentation processes to ensure a safe environment and safe food.
-
Clean and sanitize your workspace before doing anything else. You can use hot water and soap, white distilled vinegar, or at least 60% alcohol.
-
Sanitize your fermenting jar and any tools you’ll be using. To do this, you can either run everything through the dishwasher or place your jar and tools into a pot full of boiling water and boil for 5 minutes.
-
Wash your hands thoroughly.
NOTES:
The ideal temperature for this lactic acid fermentation is between 64.5- 71.5 F.
In this fermentation, we want to create lactic acid bacteria, which is tolerant to high salt concentrations.
EQUIPMENT
For this process, you’ll need a 1.5-gallon glass jar + lid that have been sterilized (you can do this by running them through your dishwasher or boiling it in water for 5 minutes), 1 metal spoon, 1 large bowl, cheesecloth or sanitized weighted stones, and a kitchen scale.
Uses
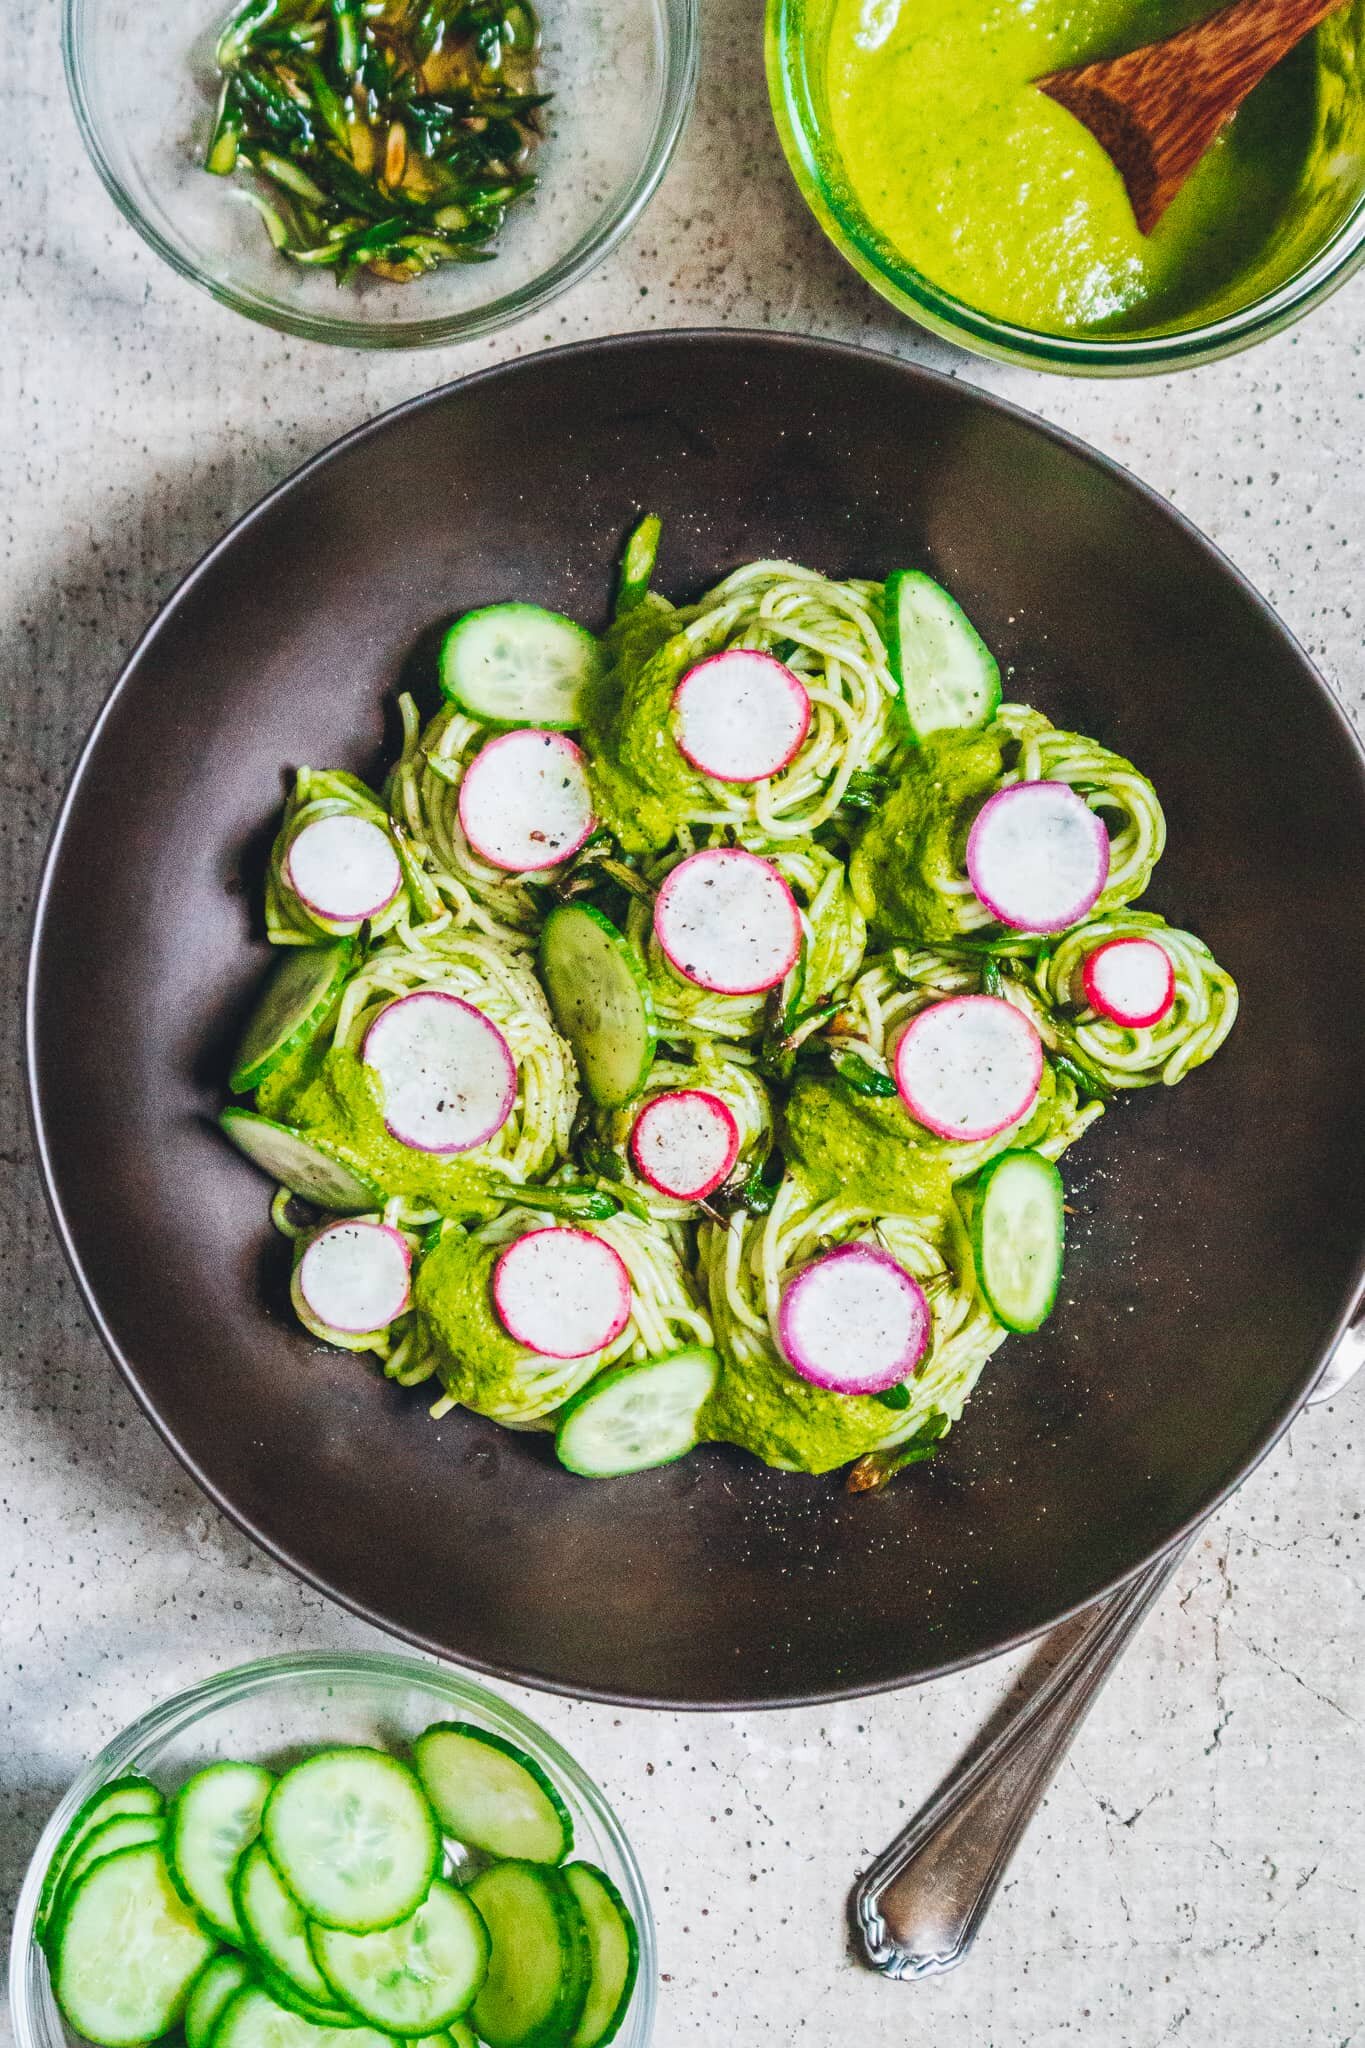
Use these fermented chilis as a topping, blend them into a purée, or use them as a seasoning (you can also use the liquid!).
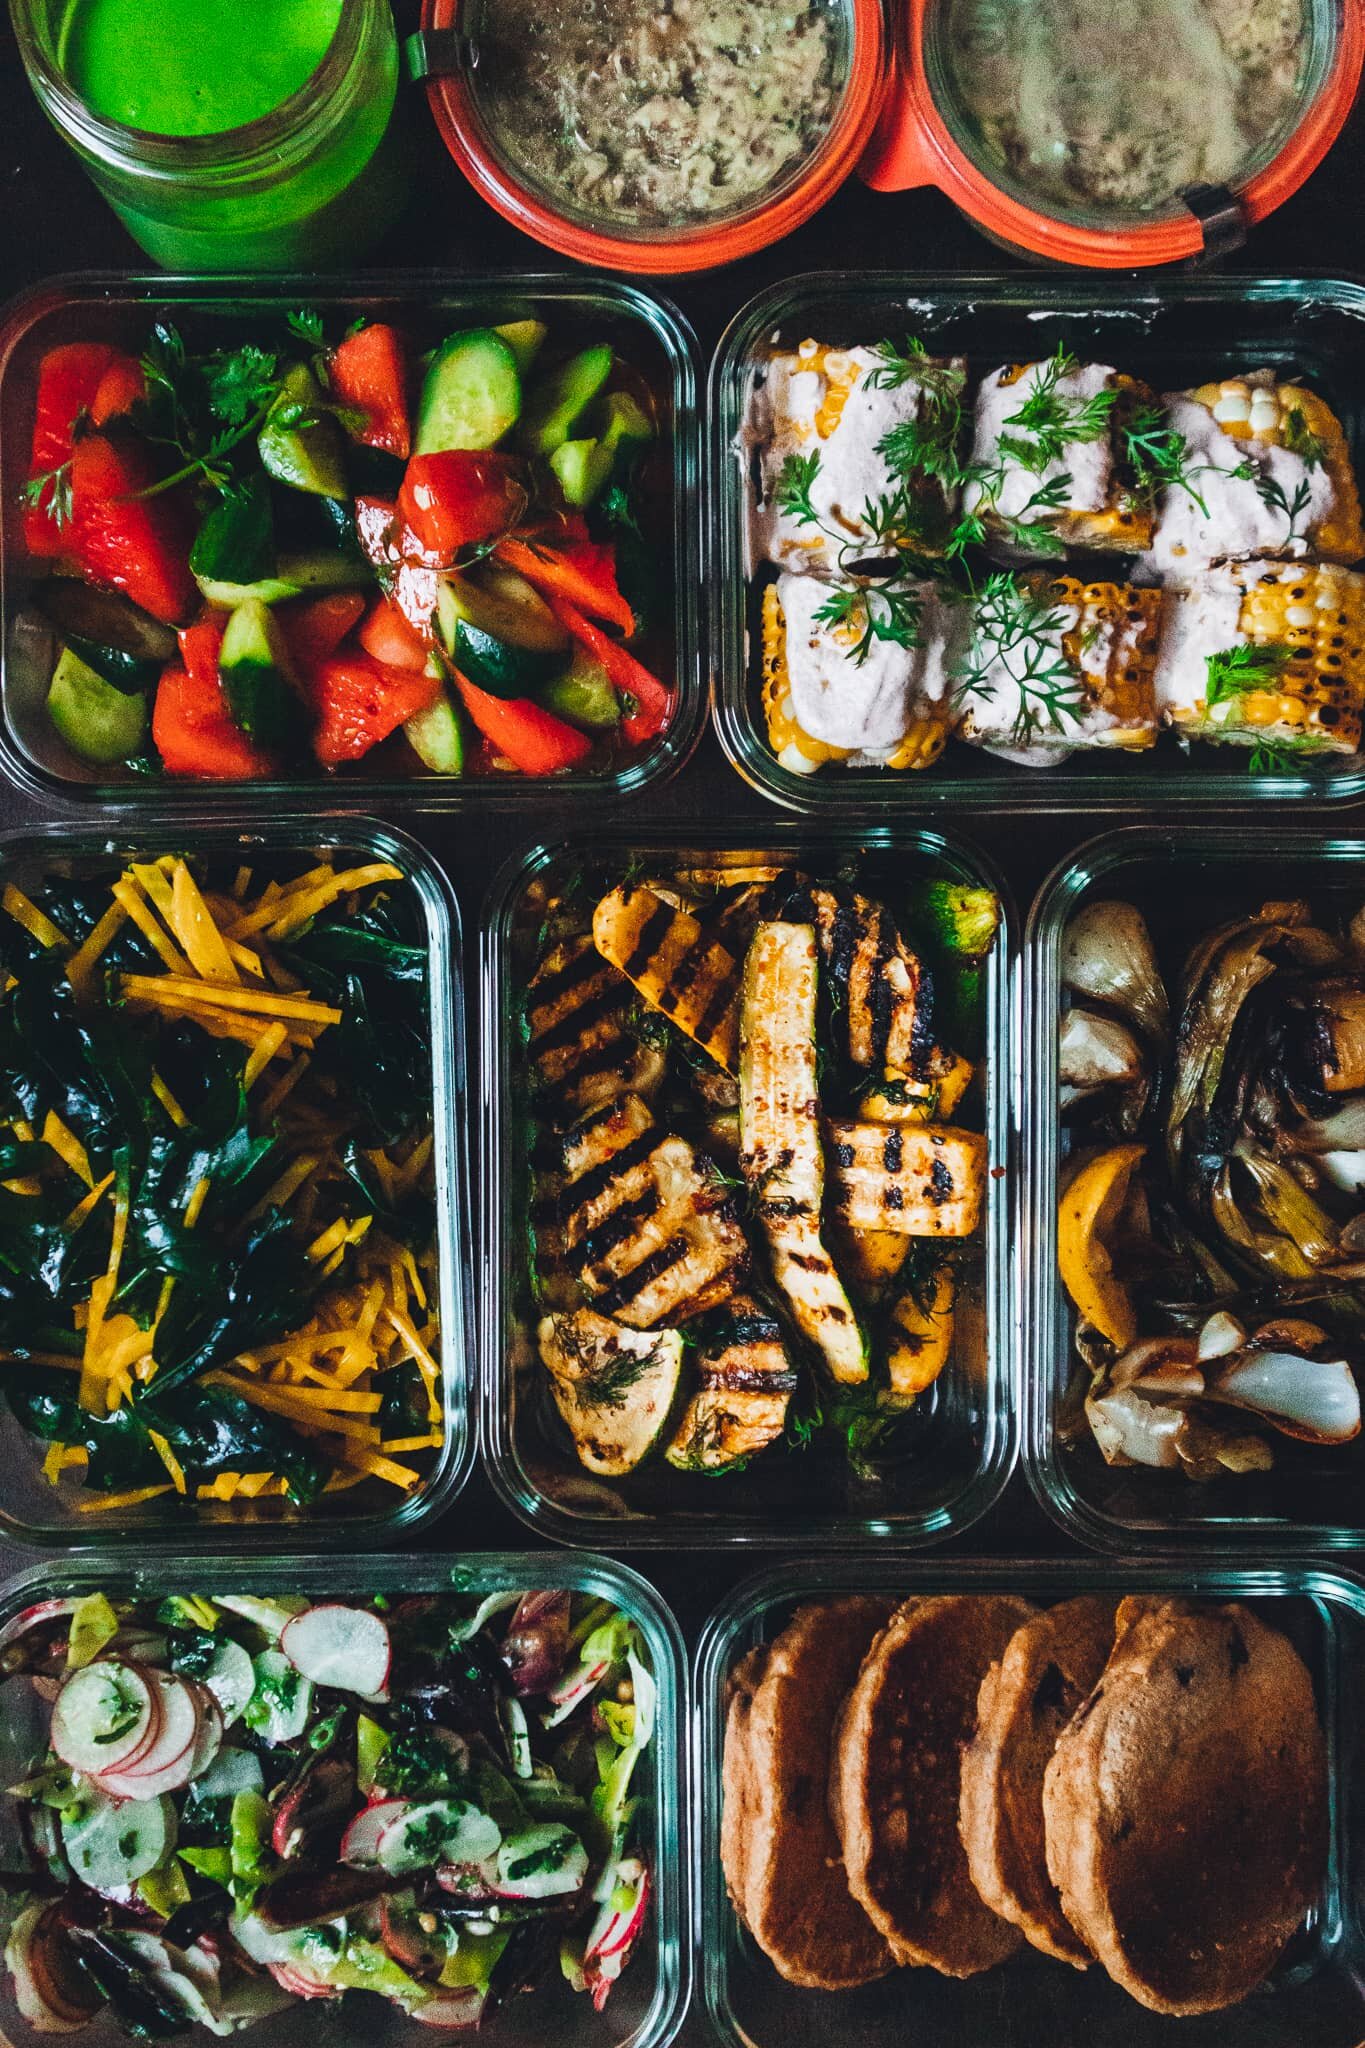
Food I eat them with:
-
Tostadas
-
Tacos
-
Rice and beans
-
Grilled vegetables
-
Fried rice
-
Nachos
-
Soups


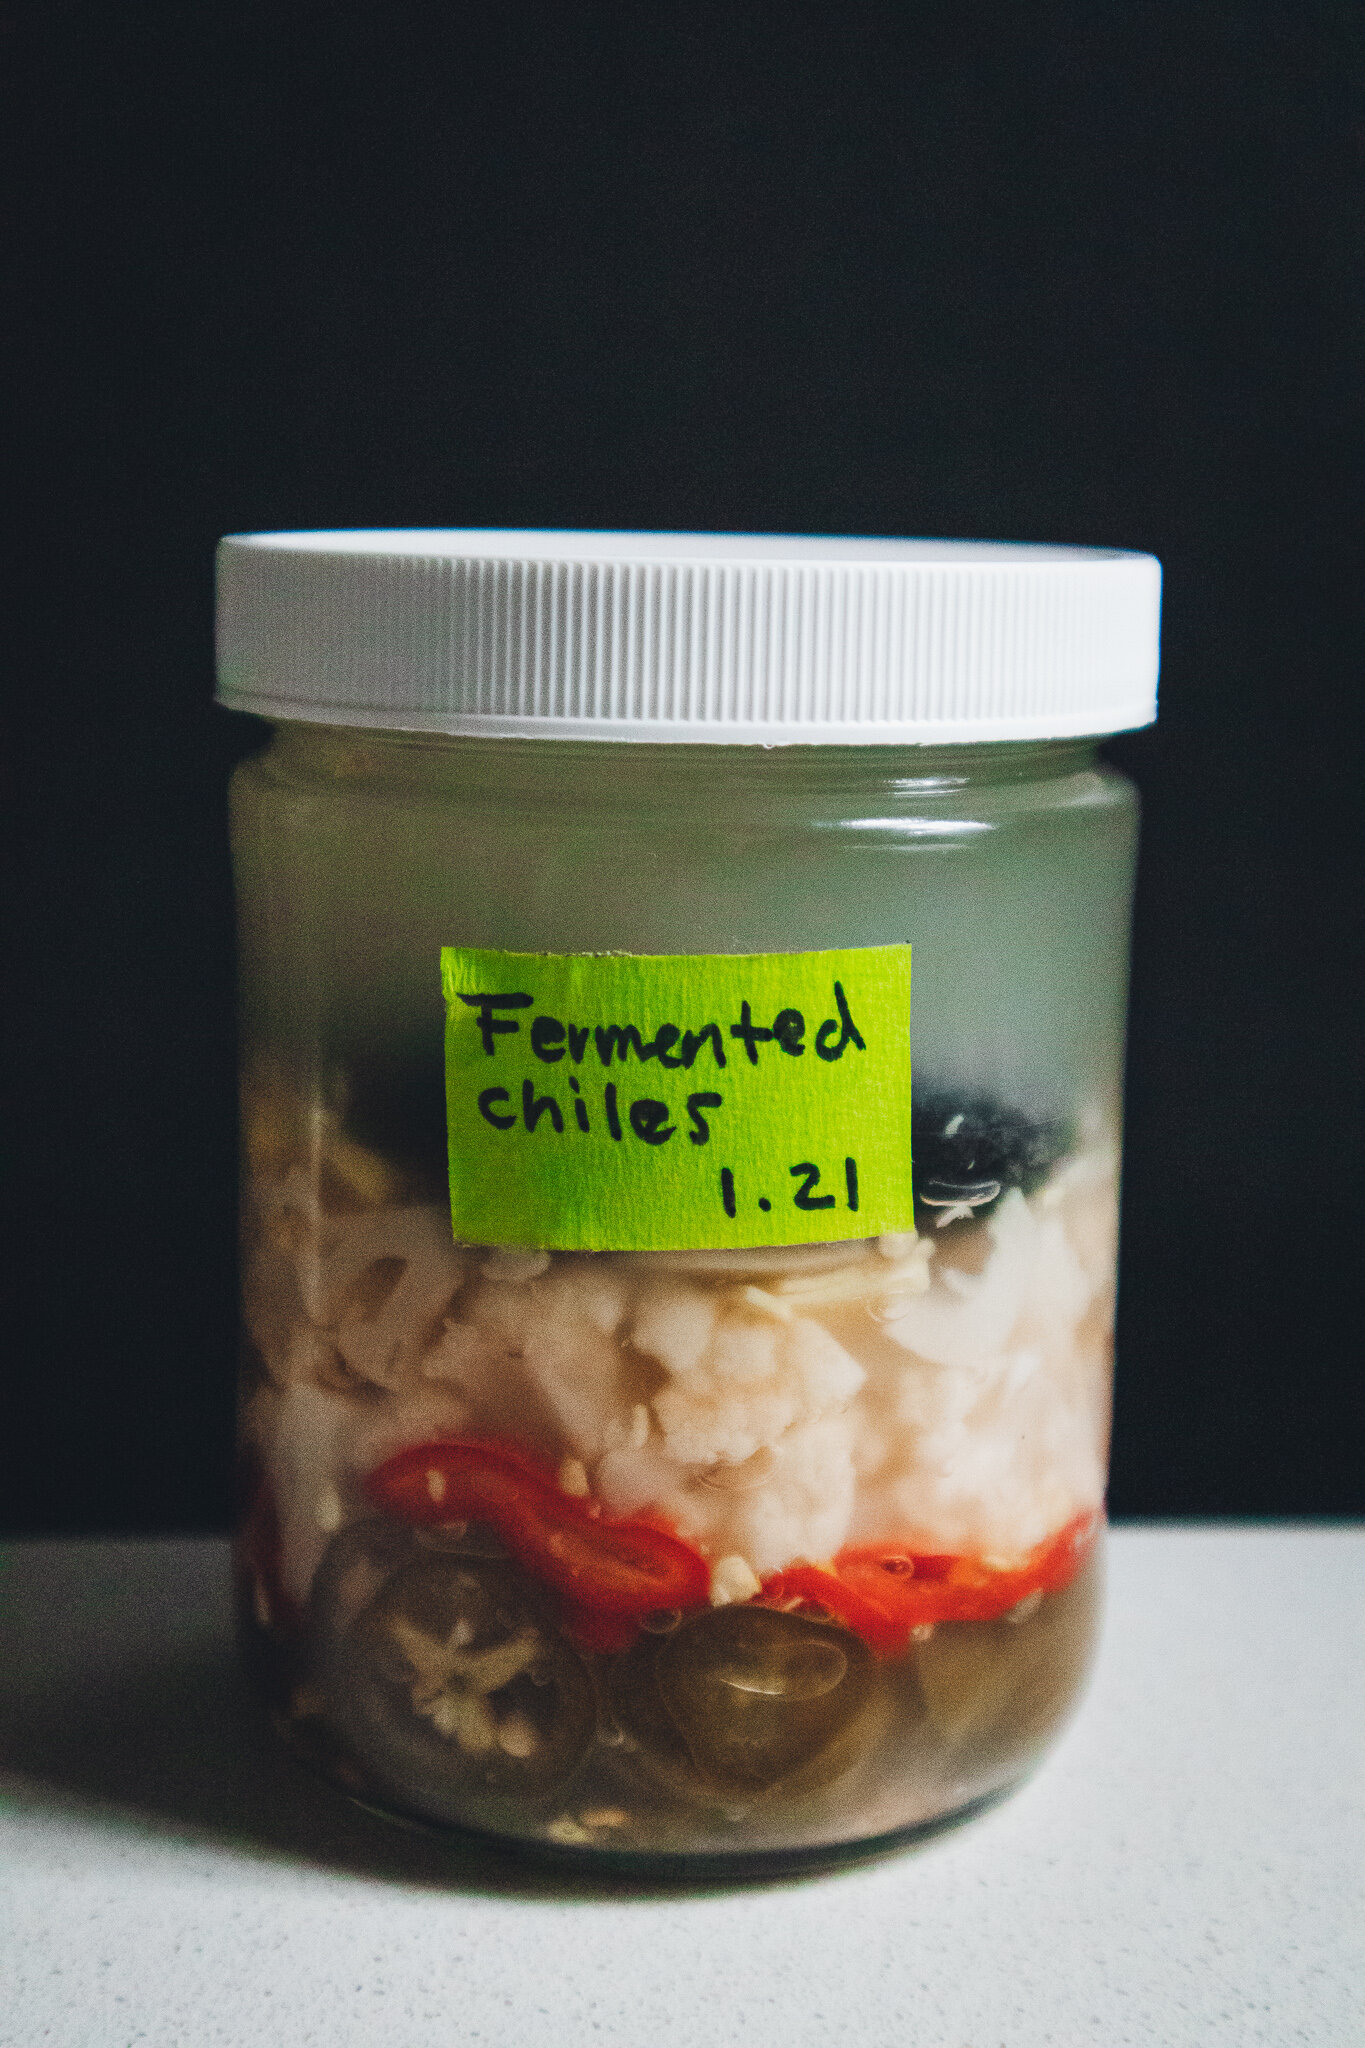
Yields: 345ml jar
Ingredients
460ml water
10.5g sea salt or kosher salt (avoid iodized salt)
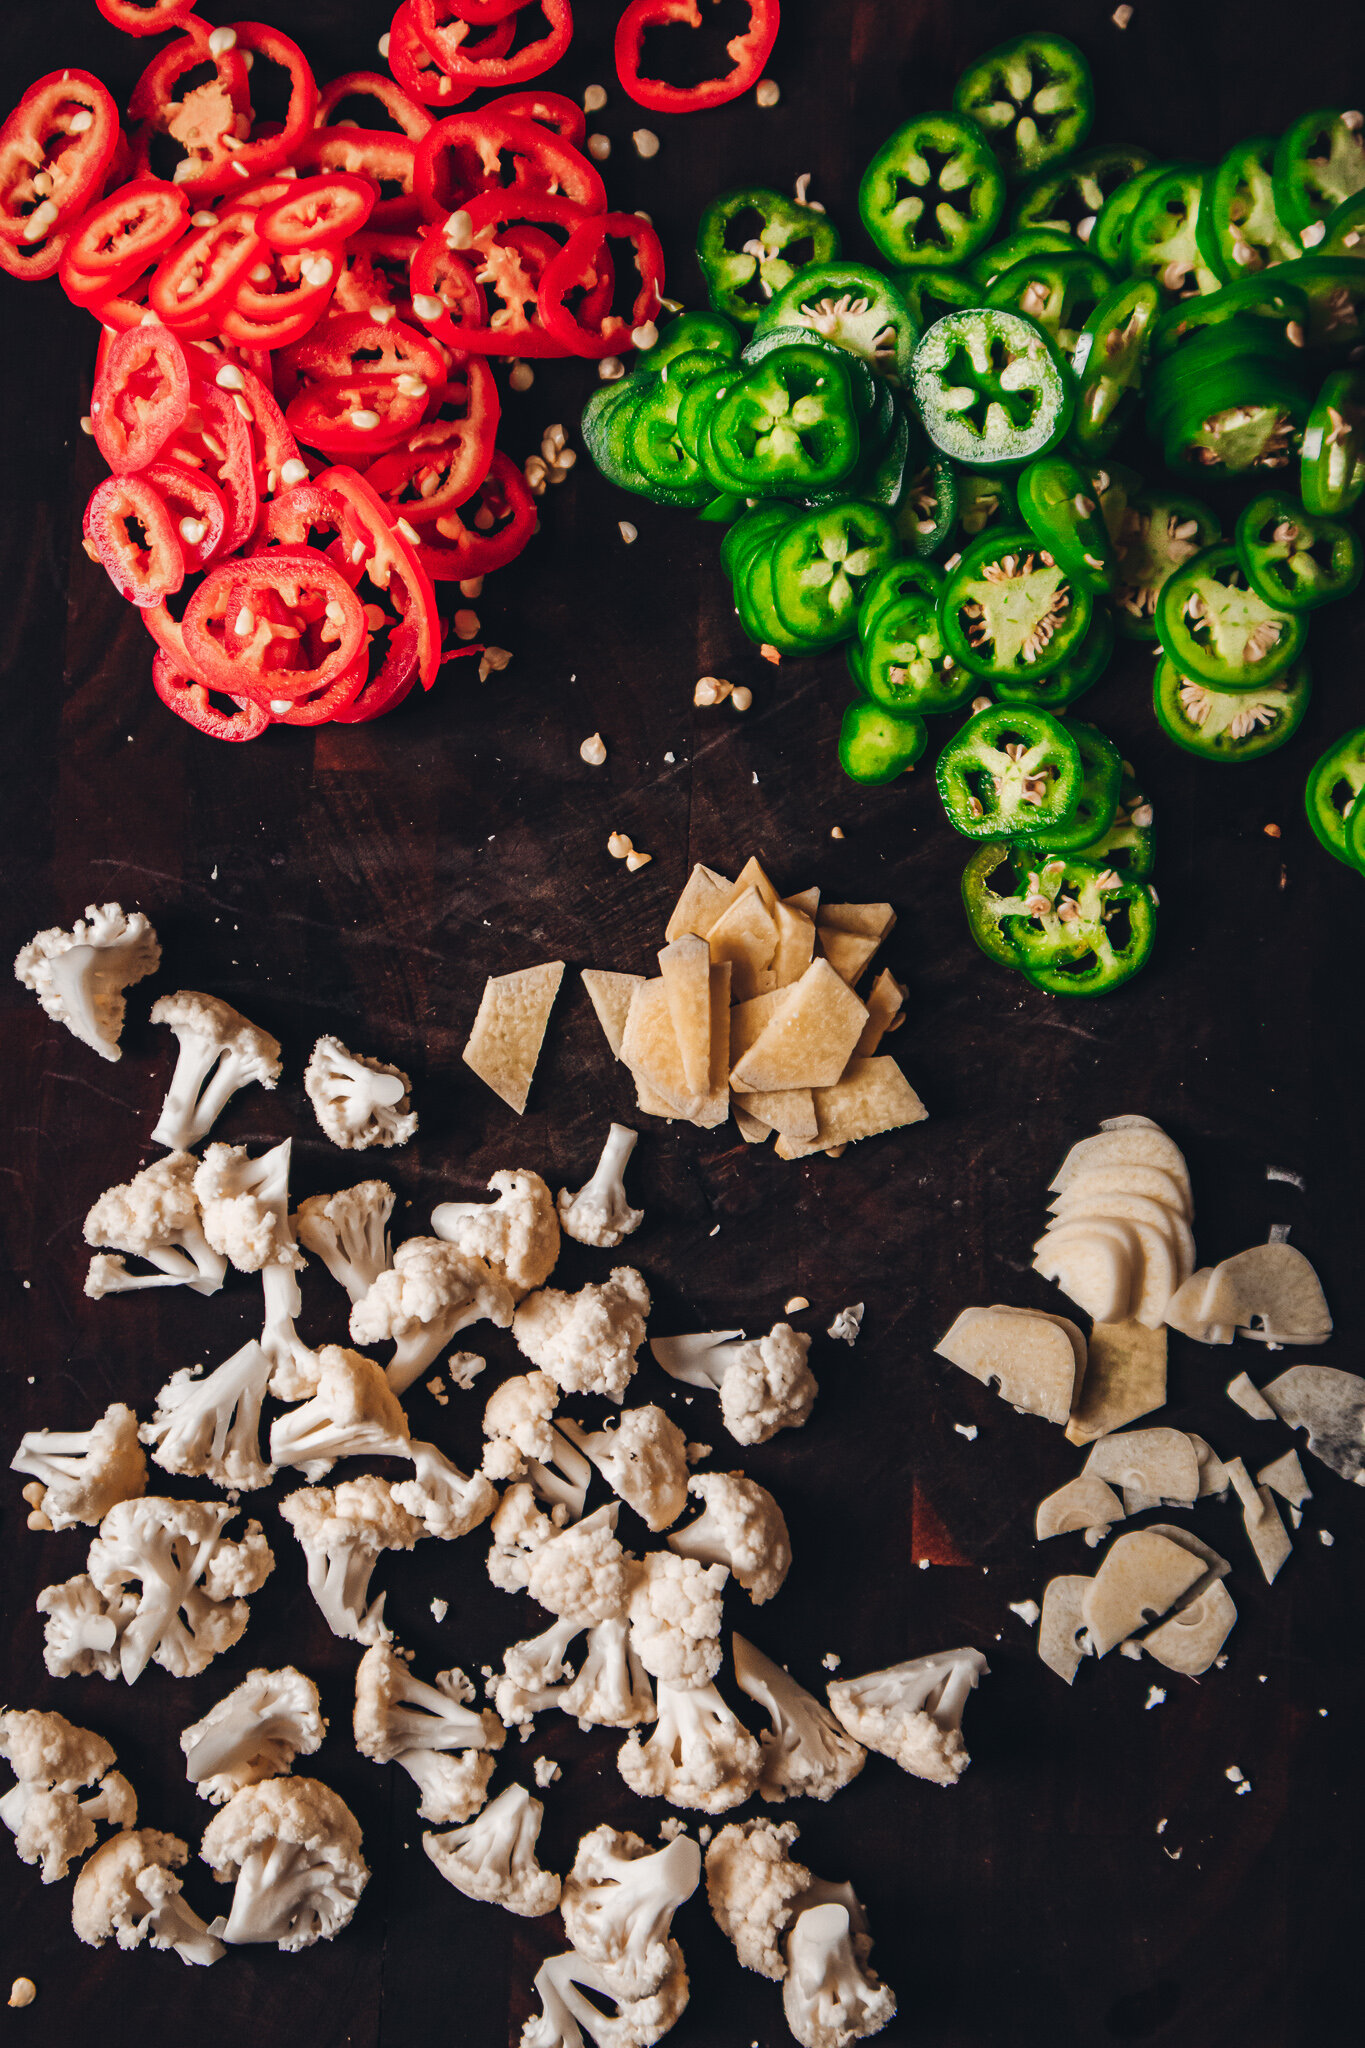
108g sliced Serrano pepper
74g sliced Fresno pepper
20g sliced ginger
12g sliced garlic
100g small cauliflower florets
Method
-
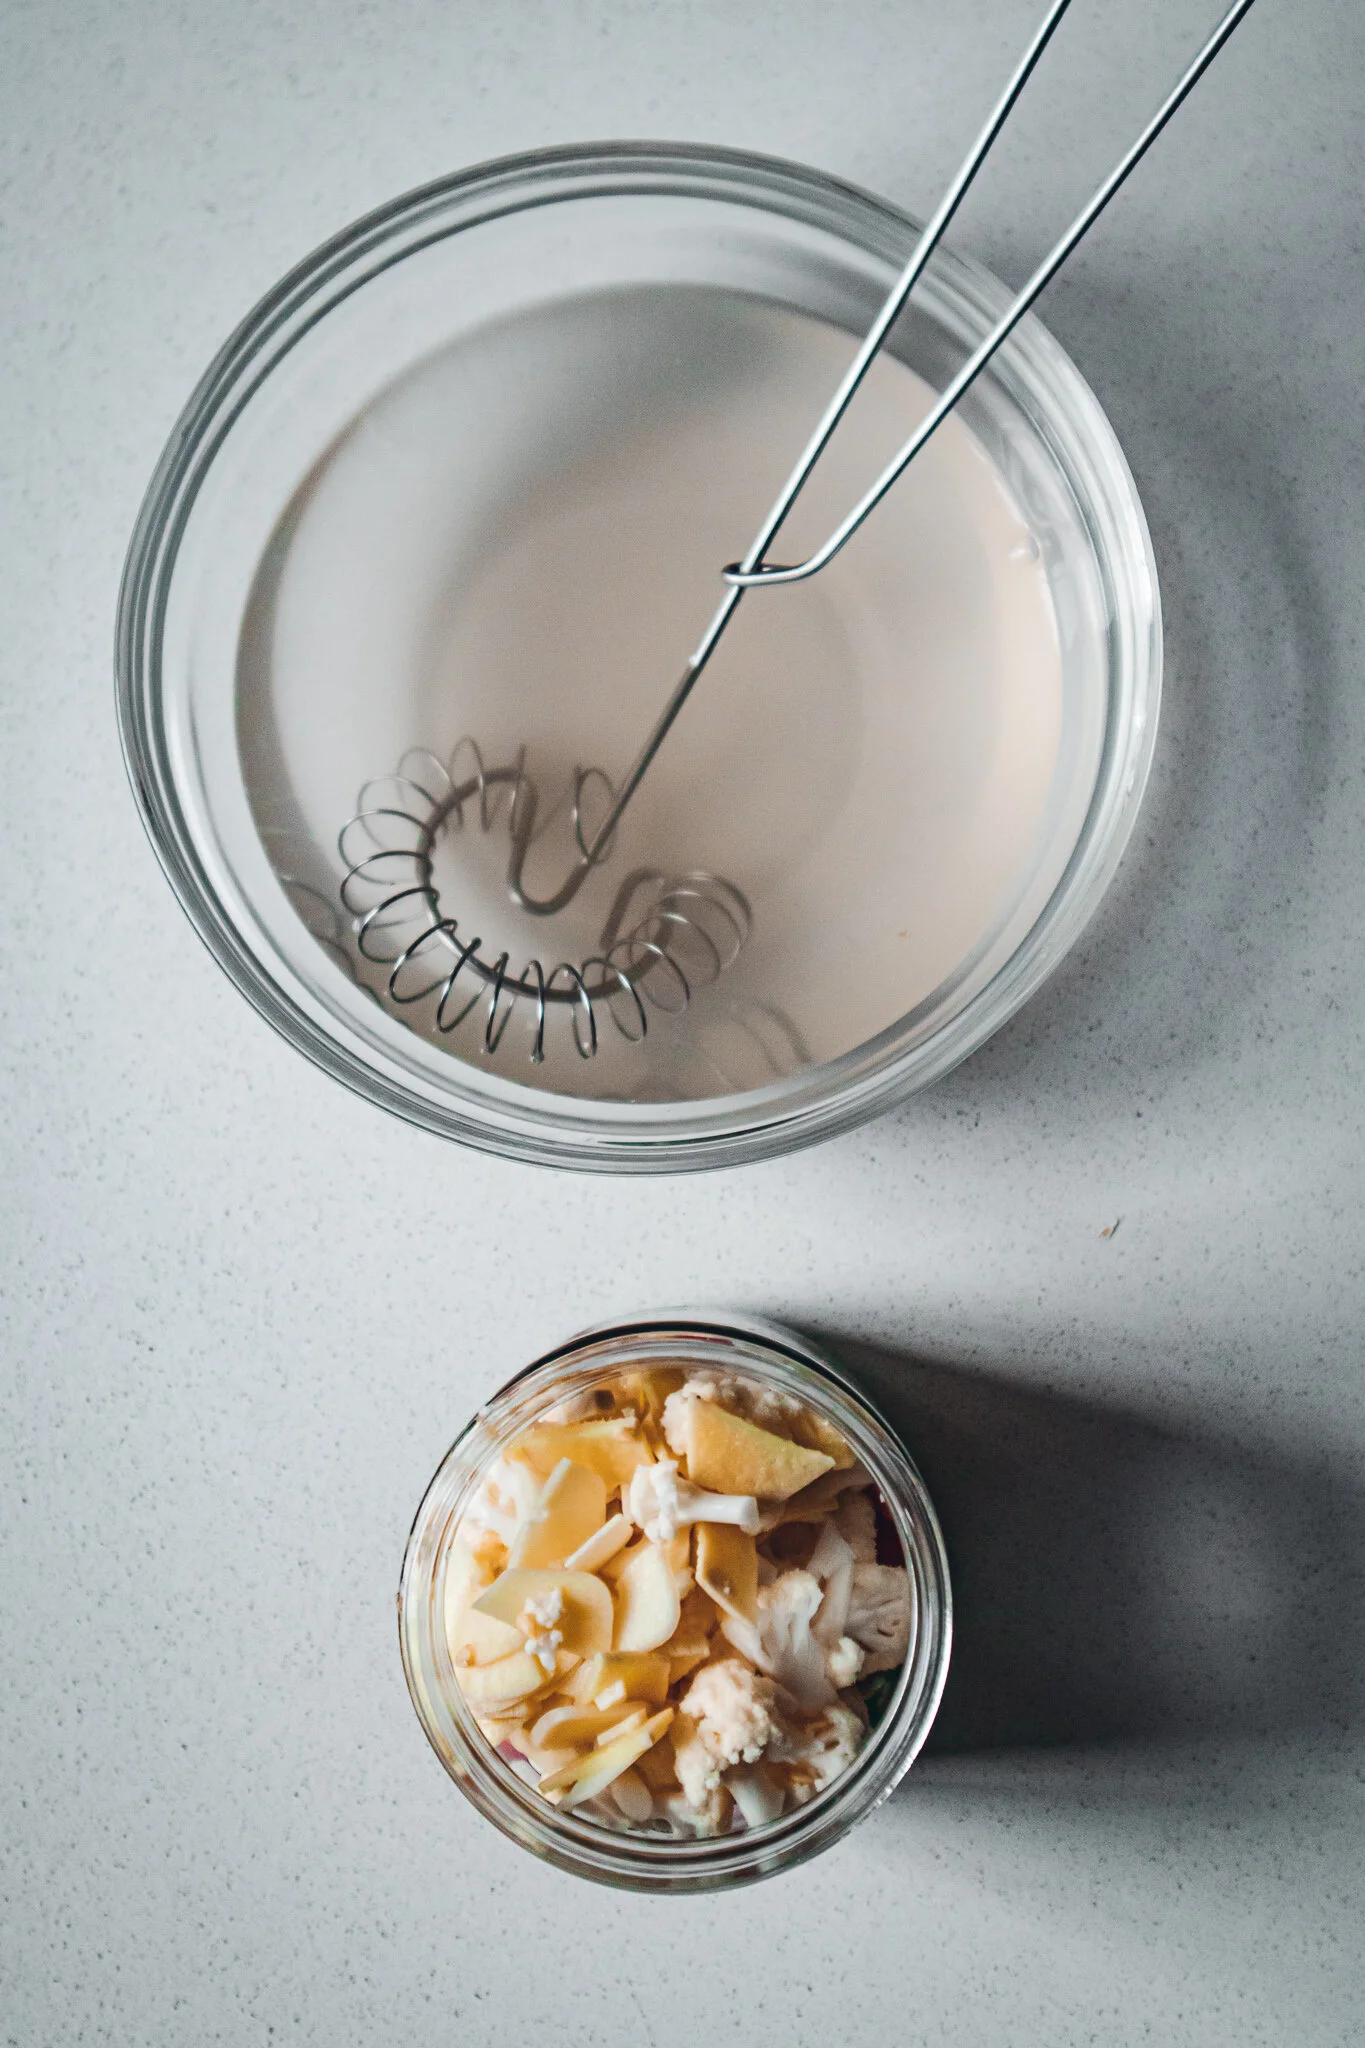
Add water and salt to a large bowl. Whisk together to dissolve the salt.
-
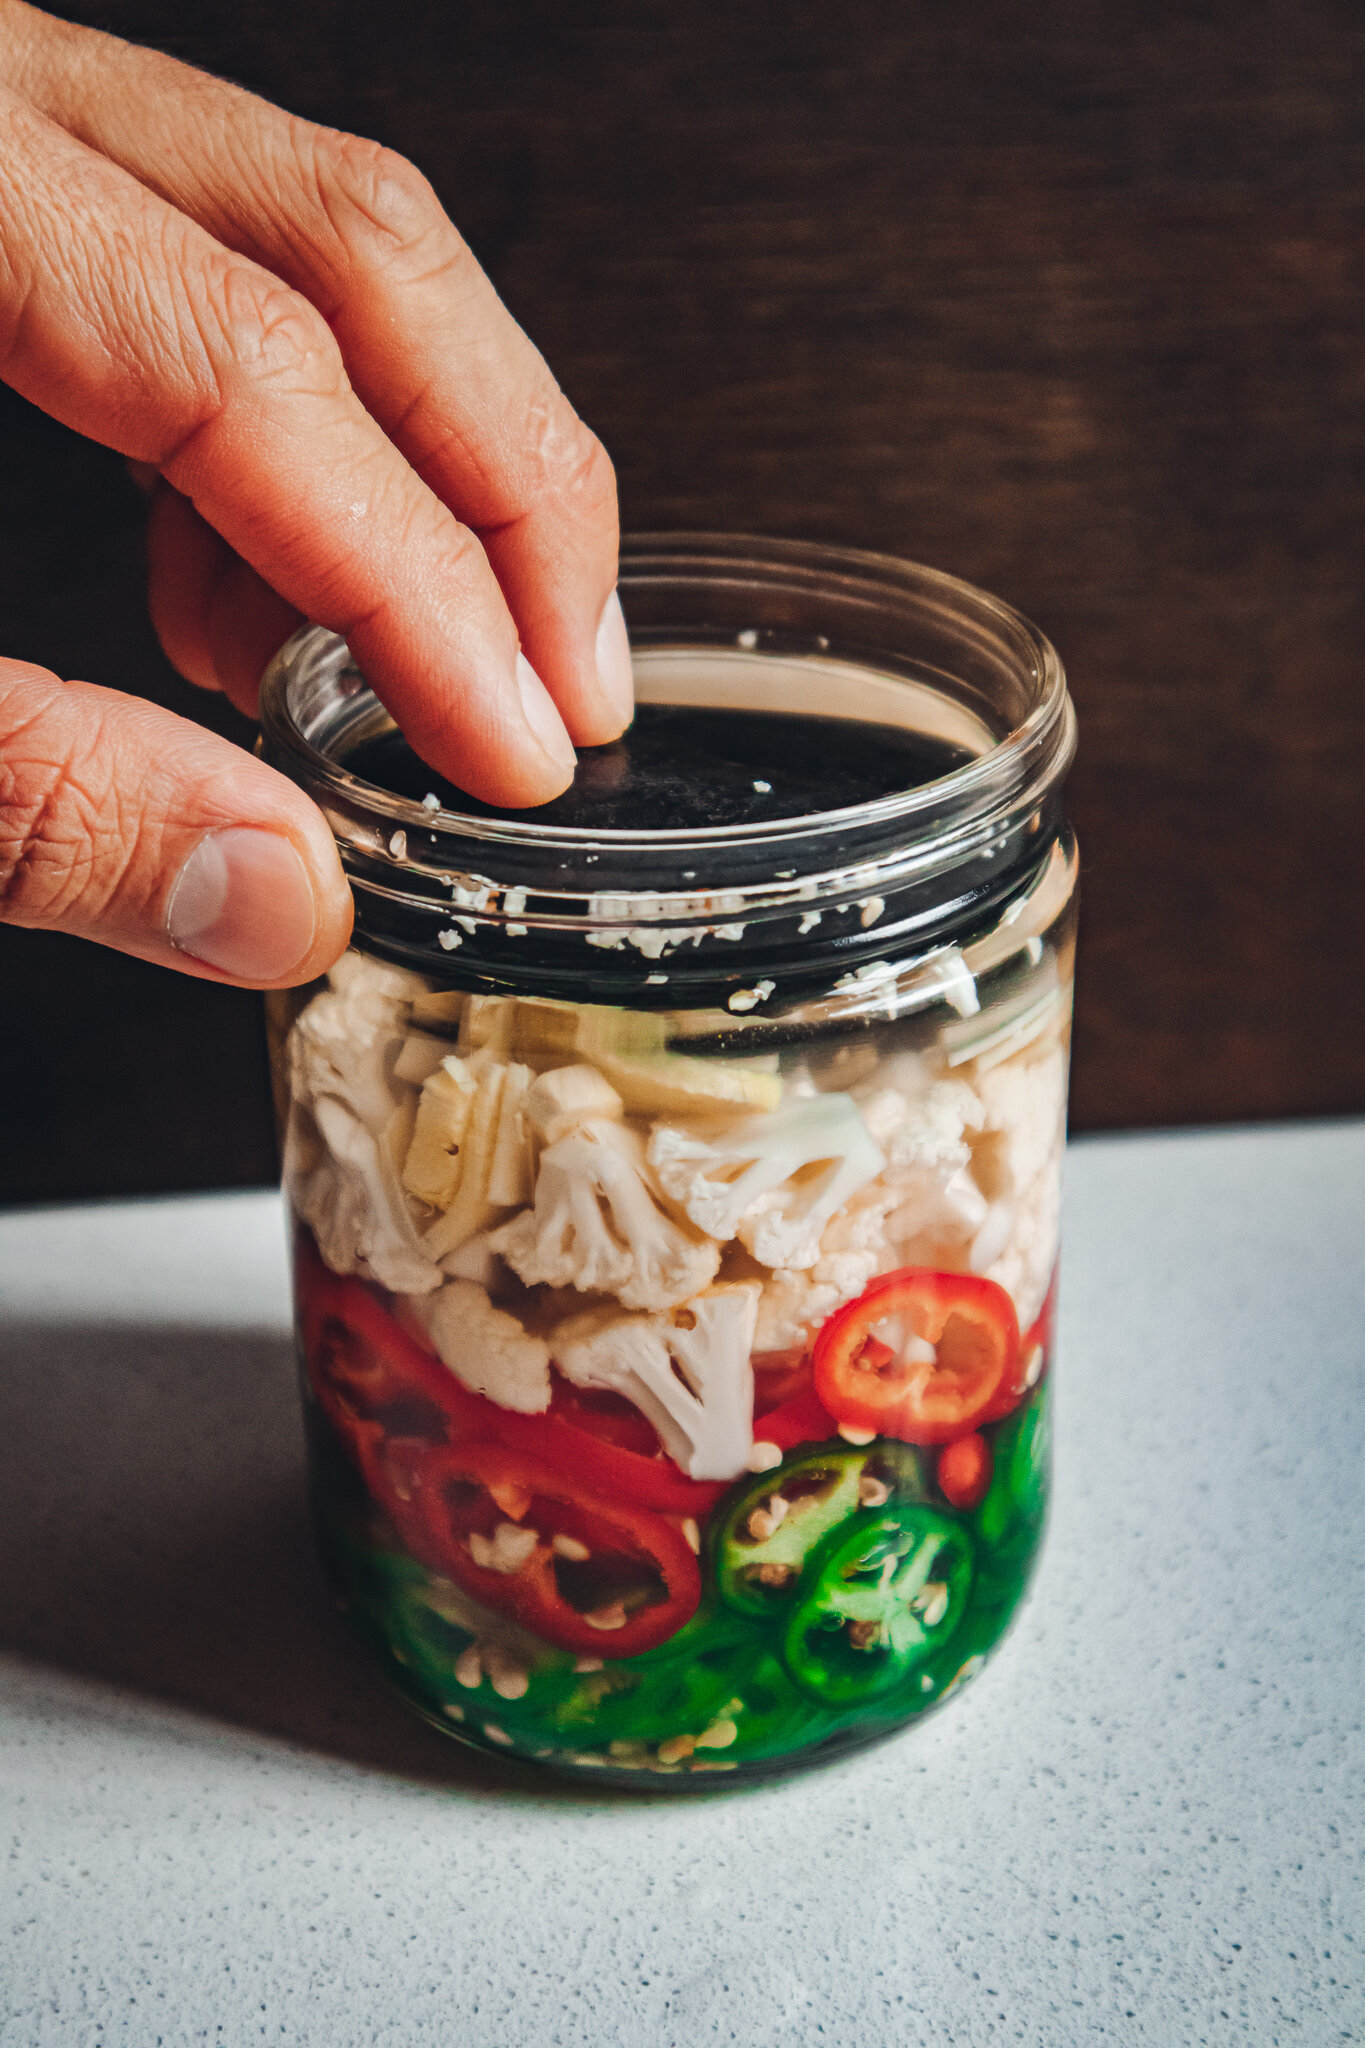
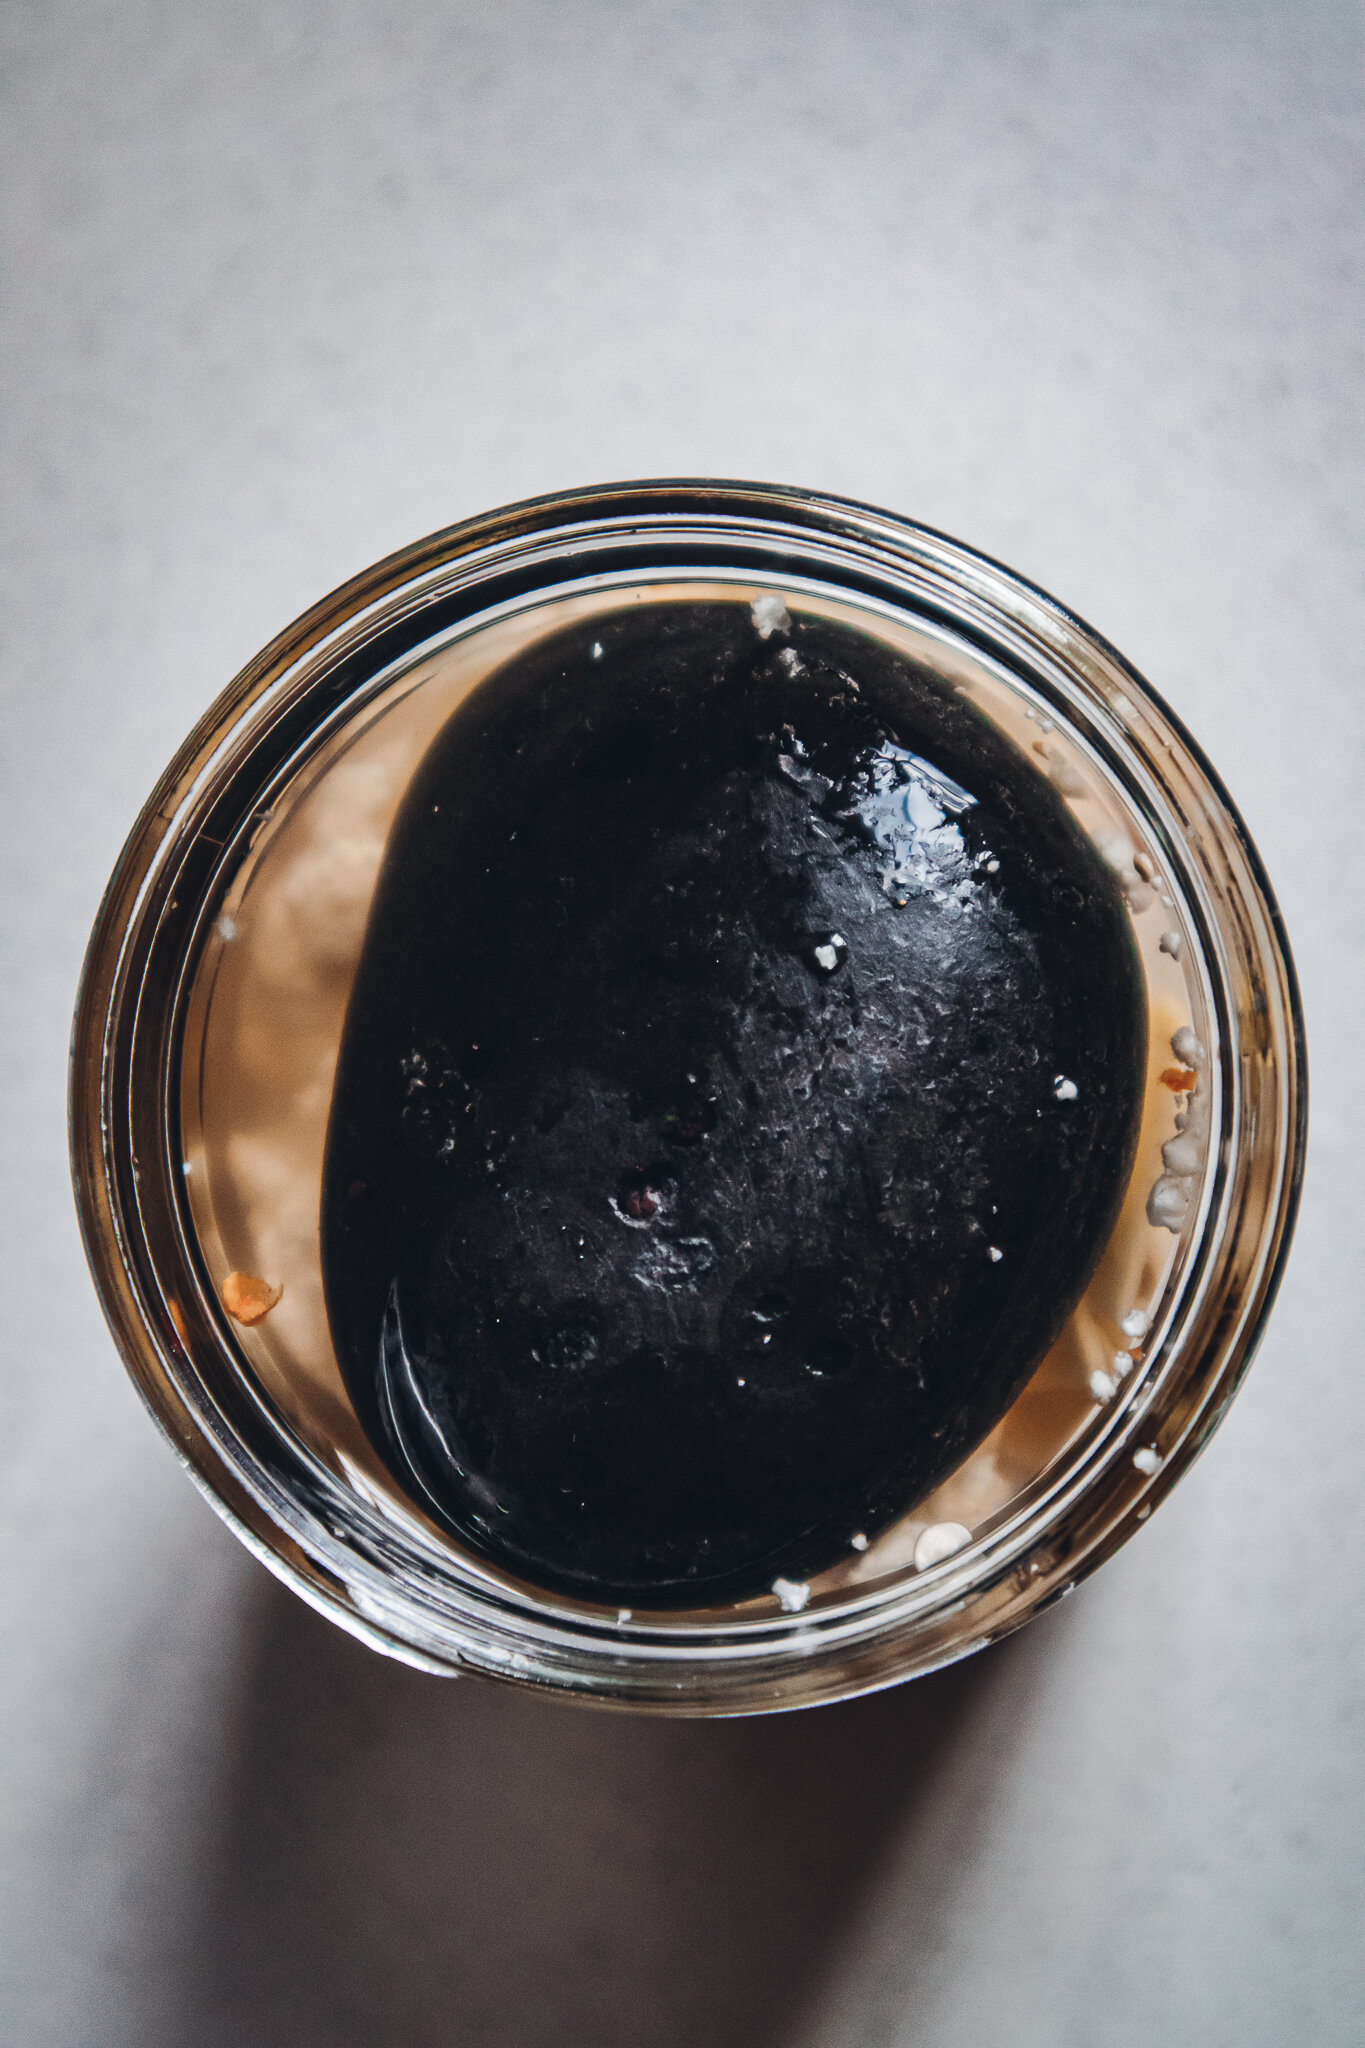
Place all the ingredients in a 1.5 qt jar and add the salty water. Make surer to leave a 1-inch space at the top of the jar. Add something to weigh down the chilis—this could be a piece of cheesecloth, a smaller lid, or some sanitized weighted stones). It’s important that the chilis are covered by the brine so that no mold can form on them. Loosely screw on the lid and store indoors at a temperature of around 60-75ºF for 3 days.
-
After 3 days, taste them with a clean utensil and see if you like the flavor. The more it ferments, the more acidic it will taste. If you like how it tastes, tightly screw the lid back on and store in the fridge for up to 5 months. If you want to ferment them longer, loosely cover with the lid again and continue fermenting until desired flavor.
You might also like:


be the first to comment